Parsware Platform
Publish an app as a portal
Any Studio app can be published at a web address of its own. One panel says which app, which address, who can open it, and which screens a stranger may see before signing in; one tick puts it on the internet, and the same tick takes it off. We published the landing page sample and opened it on a desktop and a phone.
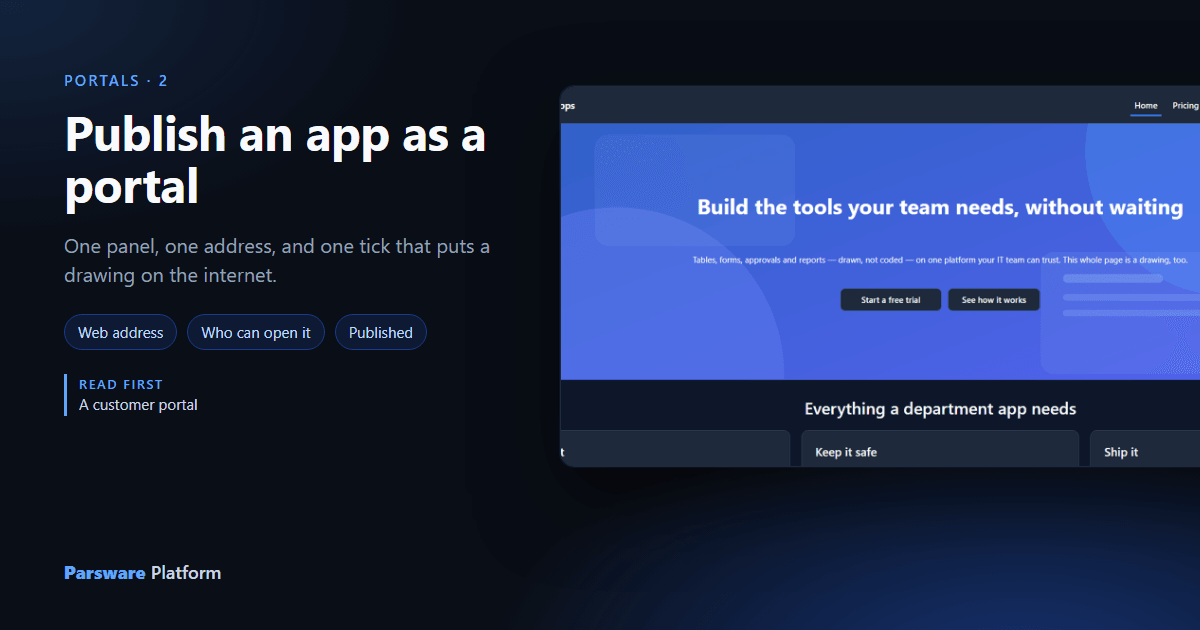
A portal is a Studio app published at an address of its own. The last article was about what that buys you. This one is about the publishing itself: the one panel that turns a drawing into a website, and what each of its fields decides.
We'll use the Portal landing page sample, samples/solutions/portal-landing-page: a marketing
site for an imaginary product called Northwind Apps, with a home page, a pricing page and a way in
drawn on the same canvas. It reads no table at all, which keeps this article to the publishing.
The Portals page
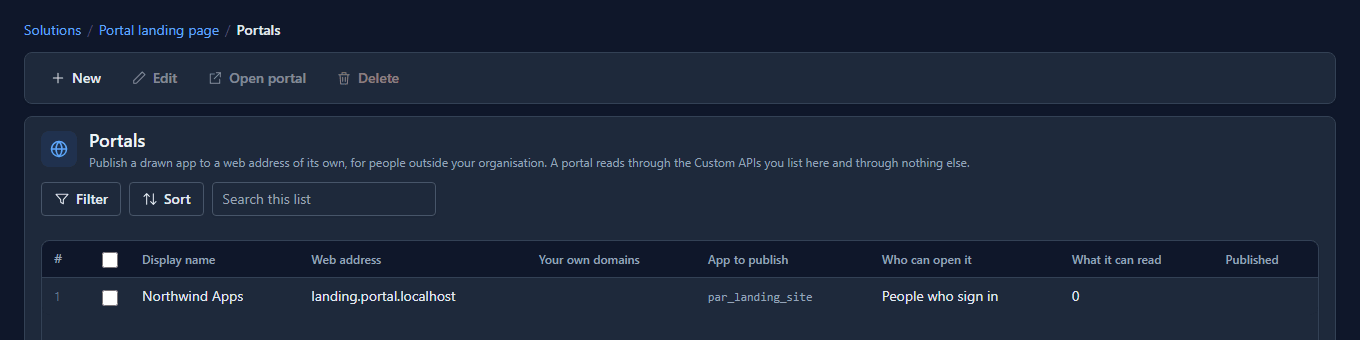
Import the solution and open its Portals page. Each row is one portal: the address it answers at, the app it publishes, who can open it, how many Custom APIs it may call, and whether it's published.
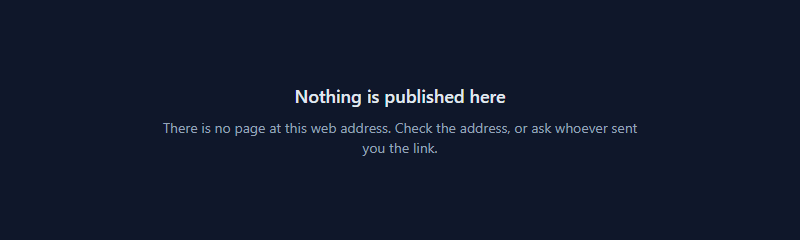
The sample arrives unpublished, on purpose. Until somebody ticks it, the address answers with the platform's own page:
What the panel decides
Open the portal and the panel starts with the three things every portal has:
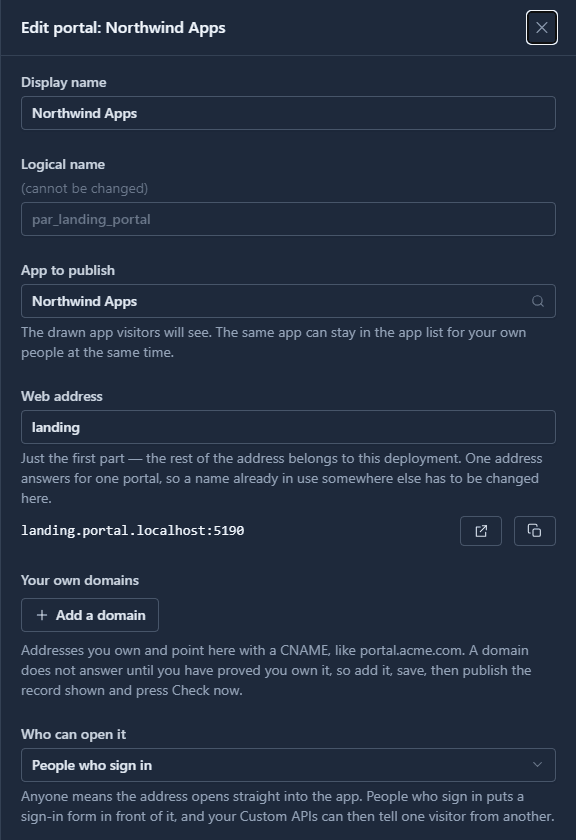
- App to publish. Any Studio app in the environment. Publishing it doesn't take it away from anybody: the same app can stay in the Shell's app list for your own people.
- Web address. Only the first part. The rest belongs to the deployment, so the same solution
gets
landing.portal.<your domain>wherever it's imported, and one address answers for one portal. If the label is already taken (say, by the same portal in Development when you import into Production), the portal arrives without an address and asks for one. - Your own domains.
portal.northwind.example, pointed here with a CNAME. A domain doesn't answer until you've proved you own it with a DNS record, because anybody can type a name into a box. - Who can open it. Anyone opens straight into the app. People who sign in puts a way in in front of it, and from then on your Custom APIs can tell one visitor from another.
The way in
Choose People who sign in and four more fields appear:
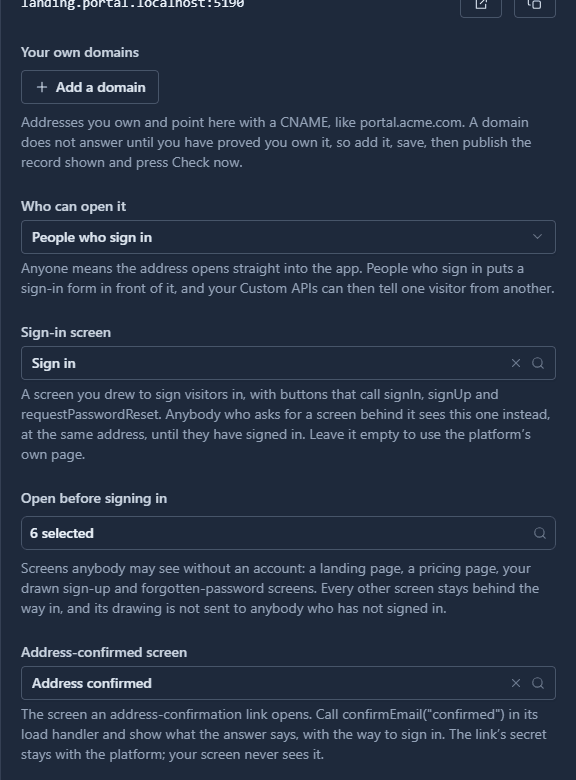
Sign-in screen is a screen you drew, with buttons that call signIn, signUp and
requestPasswordReset. Leave it empty and visitors get the platform's own page instead. The
address-confirmed and new-password screens are where the links in the platform's emails land.
Open before signing in lists the screens a stranger may see:
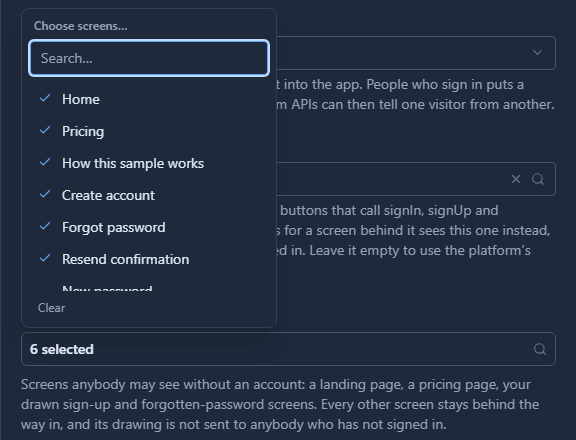
Every other screen is behind the way in, and its drawing isn't sent to the browser until the visitor has signed in. That's a real boundary, not a hidden button.
Publish it
Further down, What it can read names the Custom APIs the portal may call and Visitors act as names the security roles every visitor holds. This site reads nothing, so both stay empty. Then there's the tick:
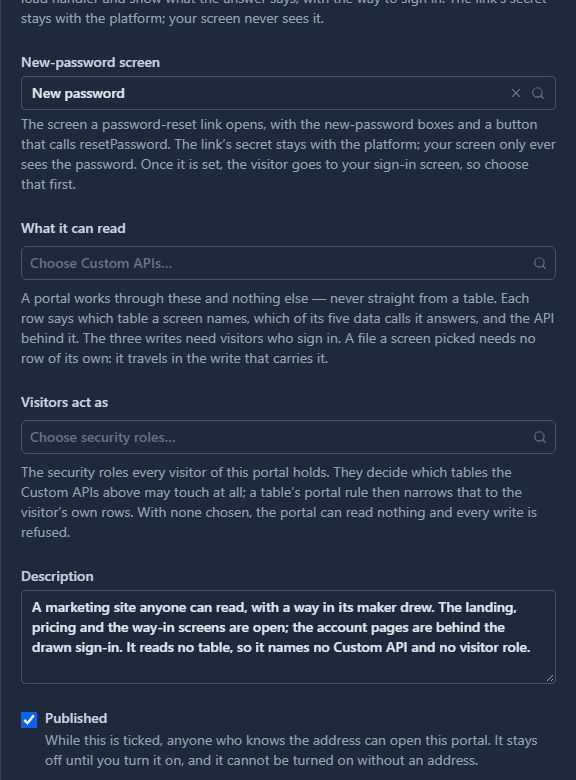
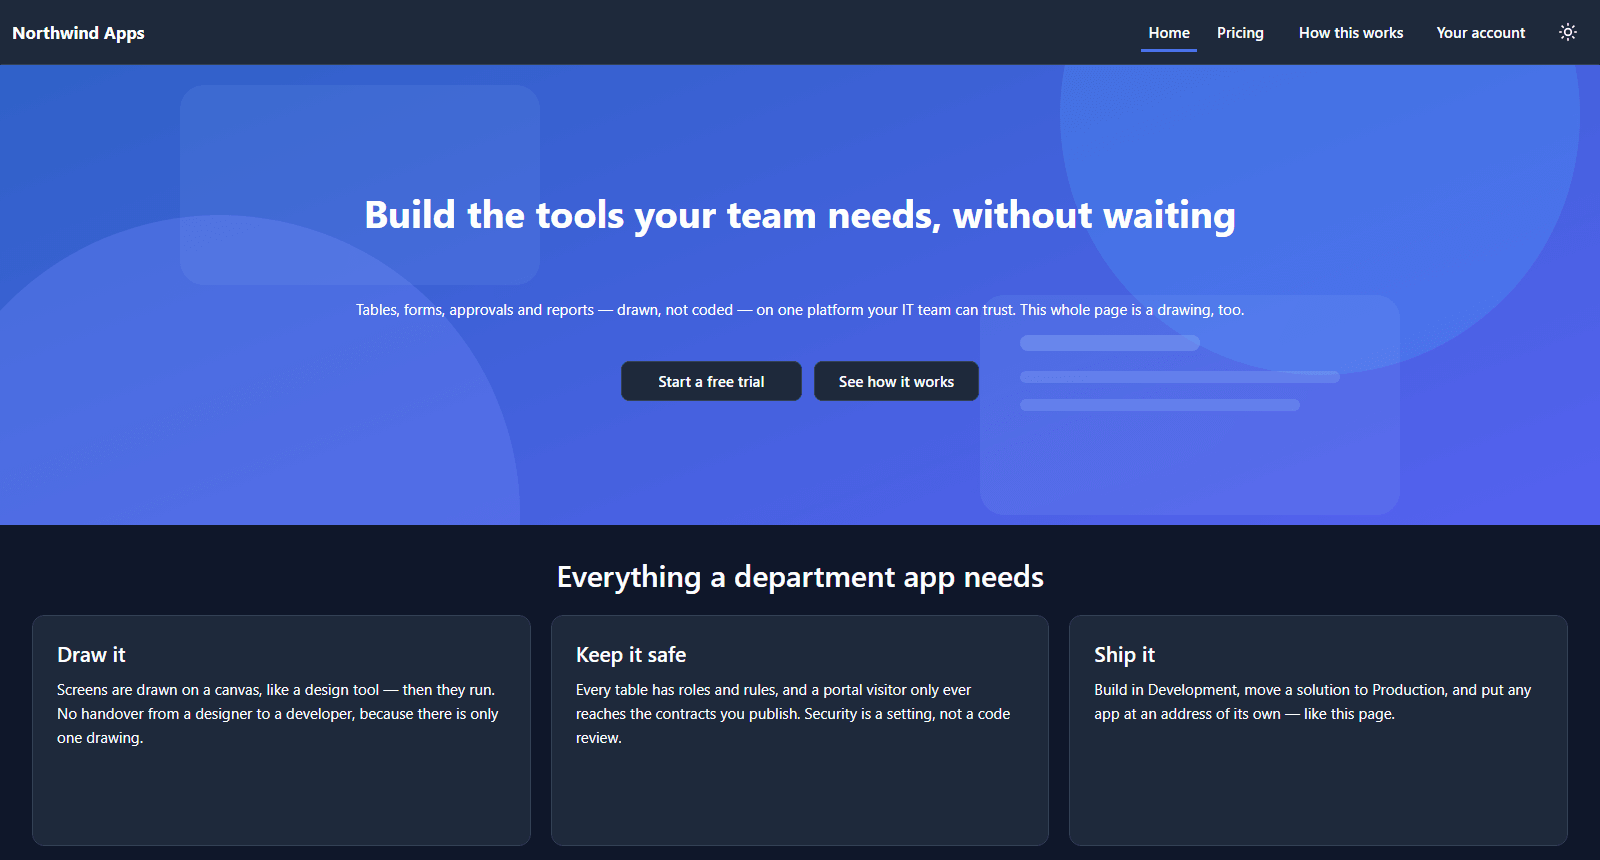
Save, and the address is a website:
Press Your account without signing in. The address bar says /Account, and the page is the
drawn sign-in:
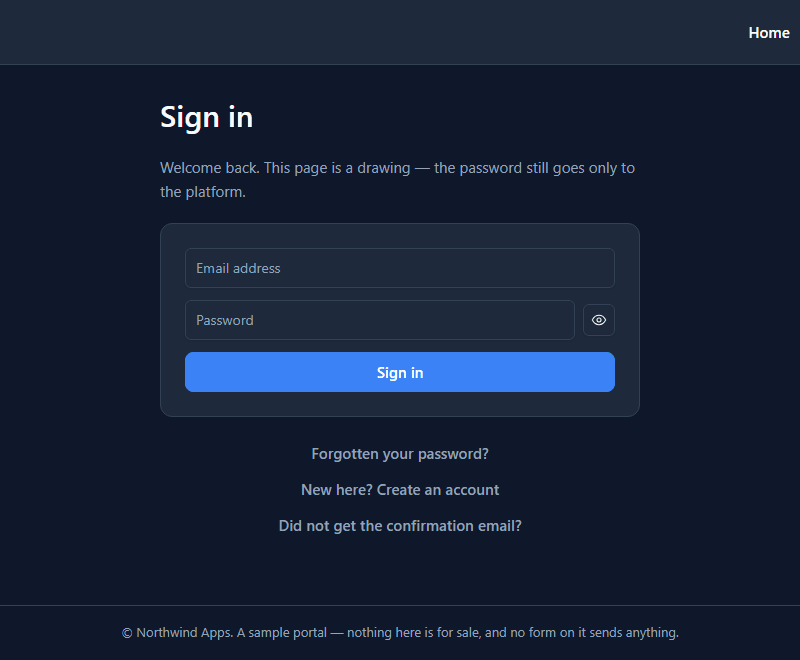
Sign in, and the same address is the account page. Nothing moved; the platform just started sending that screen.
On a phone
The drawing decides how it behaves at each width, not the publishing. The landing page folds its links into a menu and puts its cards one per line:
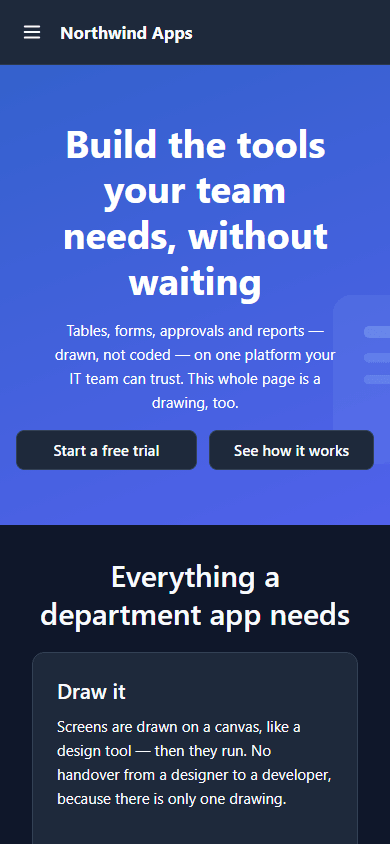
How it's drawn to do that is the next article.
Taking it down
Untick Published and save. The address goes back to Nothing is published here, the drawing stays as it was, and ticking it again brings it back. Importing the solution again applies the package's own setting, and this sample's is unpublished, so tick it again after an upgrade.
What we fixed
- The sample's README described a drawing it no longer had. It said to look under each band of cards for a row and a column drawn twice; a band has been one row that wraps for a while. It now says what's there, and that the portal arrives with an address already filled in.
Try it
Import samples/solutions/portal-sign-in-kit and then samples/solutions/portal-landing-page,
tick Published on Northwind Apps, and open the address in a private window.
Next: A landing page.