Parsware Platform
A welcome screen
A Studio screen that greets whoever opened it by name and says which account they are signed in with, then gives them a link to each app they use. Two bindings and three links.
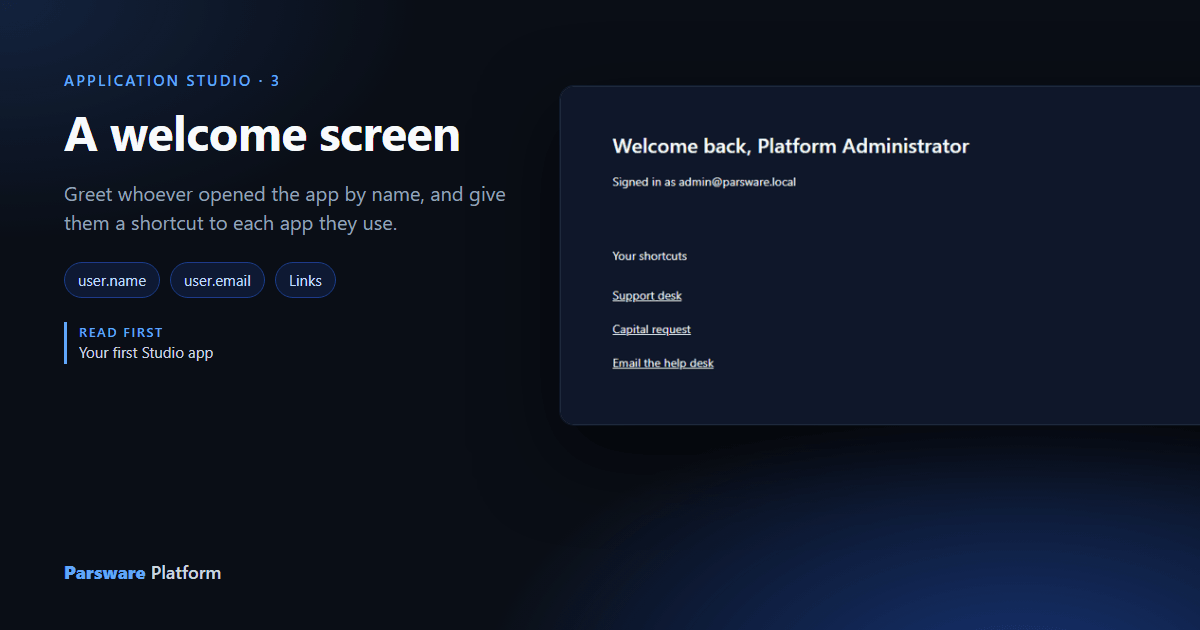
Your first Studio app put fixed words on a screen. A welcome screen can't use fixed words for the most important line, because it should say the name of whoever opened it. This article draws one: a greeting with the signed-in person's name, the account they're signed in with, and a link to each app they use.
It's two bindings and three links. A binding is a one-line expression that decides what something on the screen says. A link is a piece of text that goes somewhere when it's clicked.
We built it in the Main solution of a Development environment.
1. Create the app
In your solution, choose Studio apps and press New. We called it Welcome, gave it a one-line description and the House icon, and left it as an Application that shows in the app list:
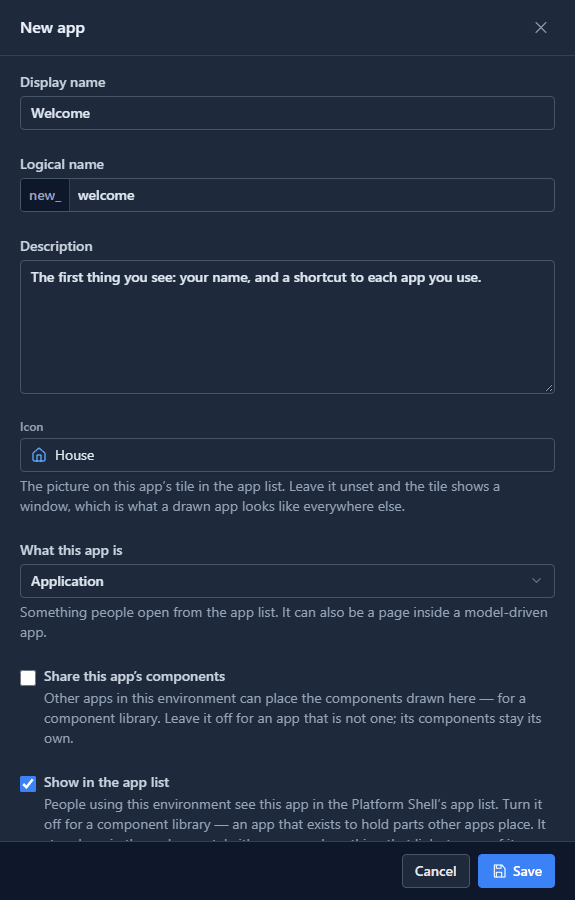
Save it, select it and press Design.
2. Draw the screen
As in the last article, click — The screen — under Elements, set W 1200 and H 760, and name it Home. Then place six things from Elements, each with its X at 96:
| Element | Y | Name | Text |
|---|---|---|---|
| A heading | 96 | Greeting | Welcome back |
| A paragraph | 144 | Signed in as | Signed in as |
| A paragraph | 232 | Shortcuts | Your shortcuts |
| A link | 280 | Support desk | Support desk |
| A link | 320 | Capital request | Capital request |
| A link | 360 | Email the help desk | Email the help desk |
Name each one in the inspector as you go. Every element arrives called A heading or A link, and six rows of the same two names in Layers is hard to find your way around later.
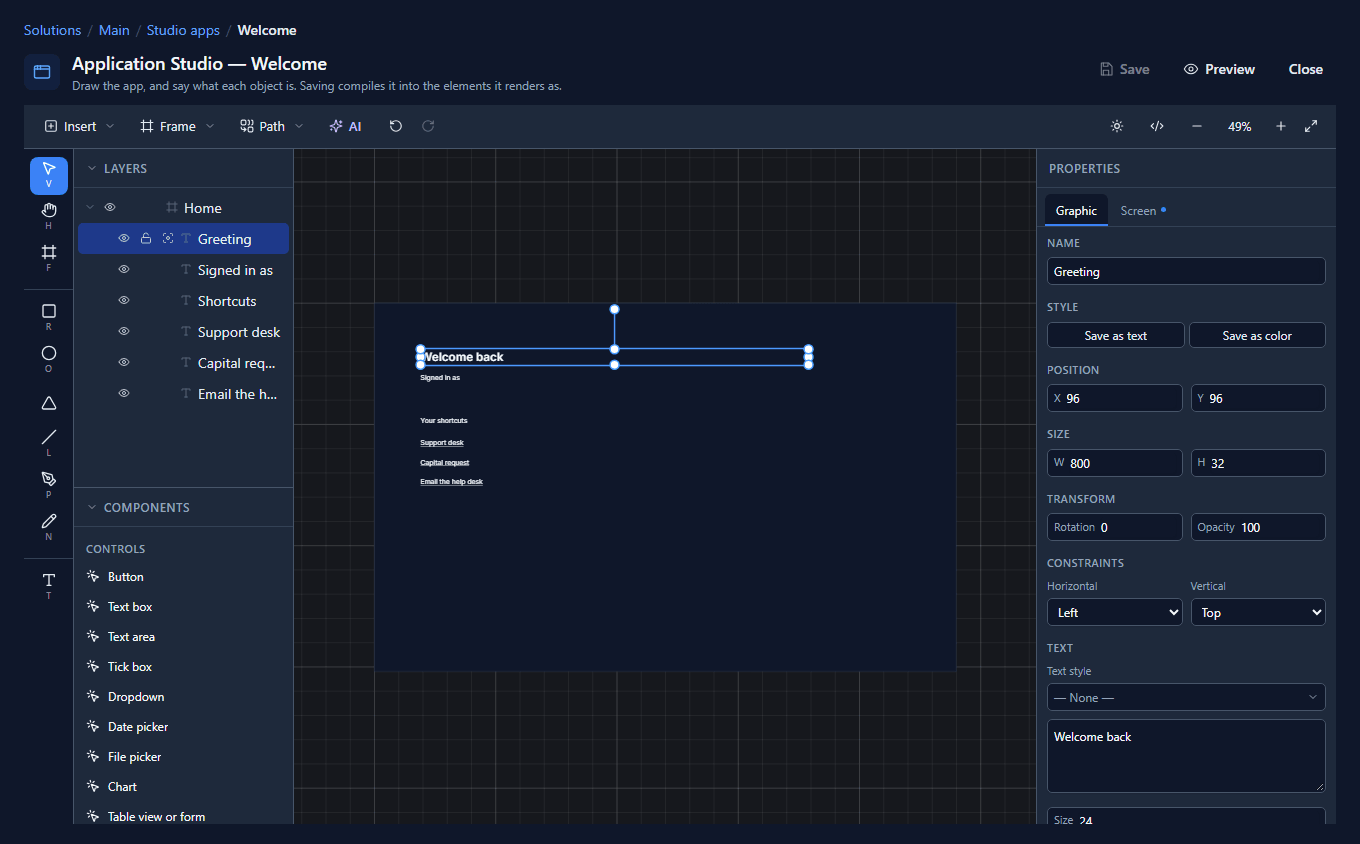
The words Welcome back and Signed in as are only placeholders. The next step replaces them.
3. Say the person's name
Select Greeting, press Write code (the </> button), choose Text under Bindings,
and type:
"Welcome back, " + user.name
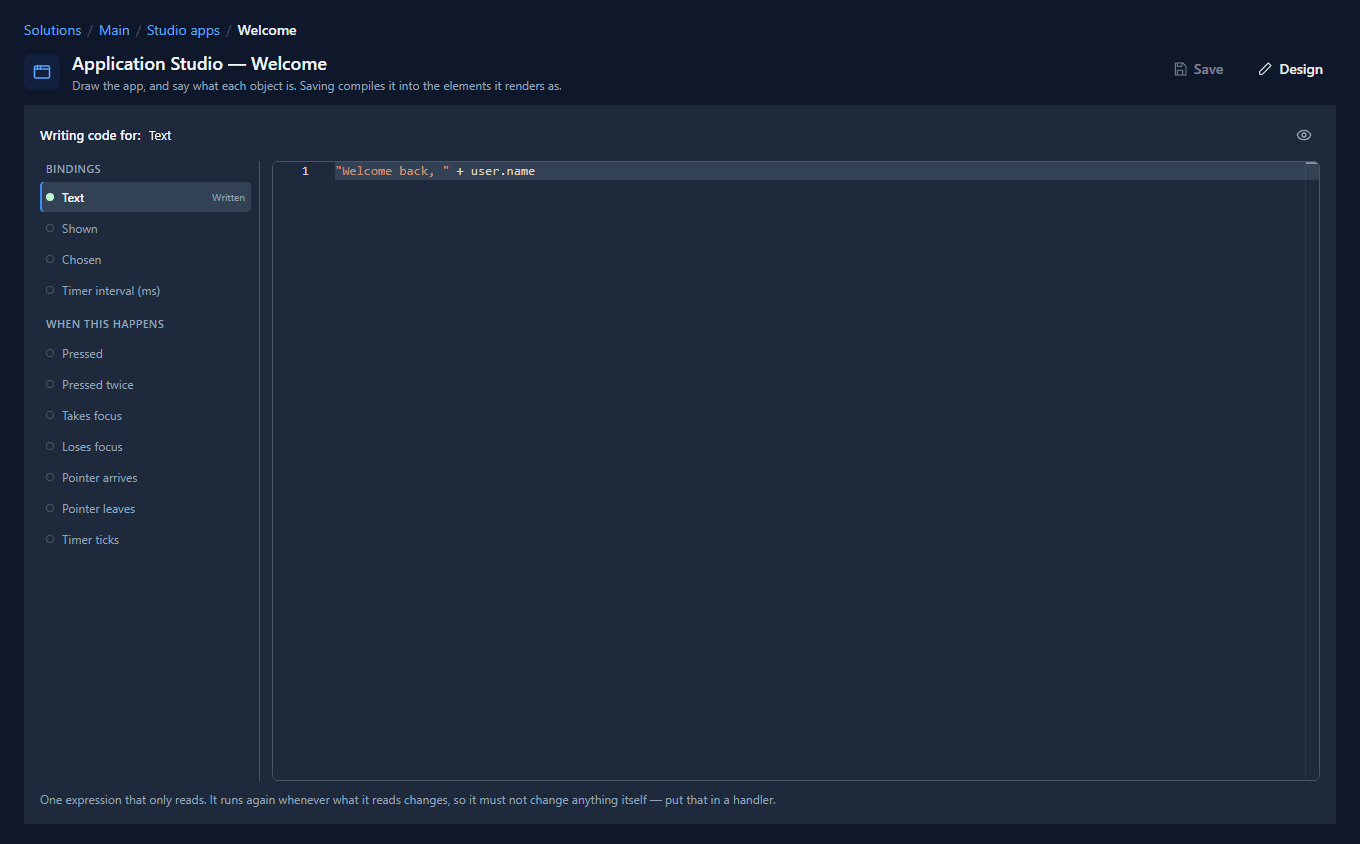
user is who has the app open. It has three things a screen can read:
| Name | Is |
|---|---|
user.name |
their display name |
user.email |
the address they sign in with |
user.photo |
their profile photo, or empty when they have none |
Do the same for Signed in as, with "Signed in as " + user.email.
That's all a screen gets to know about the person reading it. Their security roles aren't on the list, on purpose: a screen is something people can see, not something that decides what they're allowed to do. That's checked on the server, whatever the screen shows.
4. Point each link somewhere
Select Support desk and open the Screen tab. A link has two fields of its own:
- Address: where it goes.
- Opens: In this window or In a new tab.
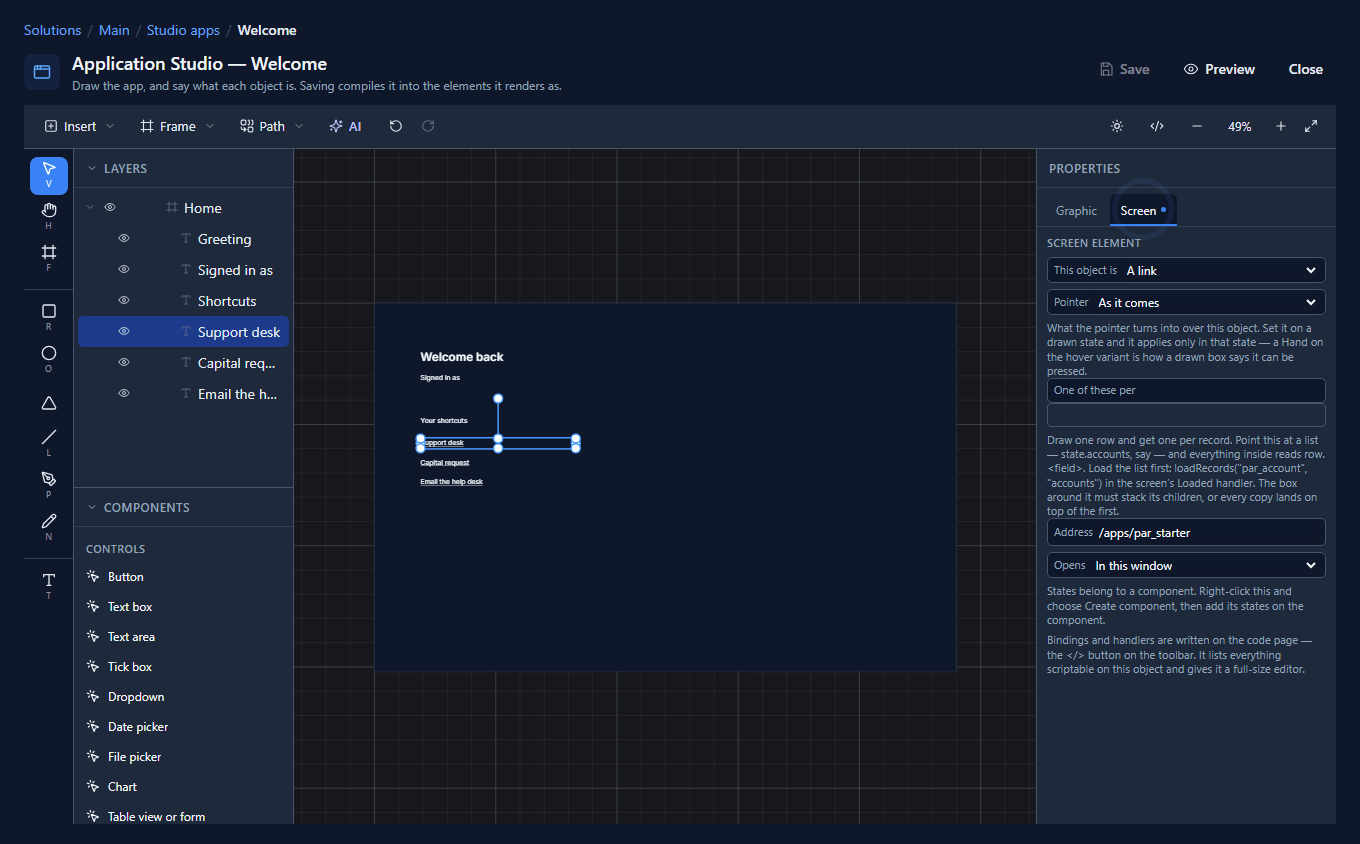
An app in the Shell lives at /apps/ followed by its name. For a Studio app the name is its
logical name, so the two Studio apps in our environment are:
- Support desk:
/apps/par_starter - Capital request:
/apps/par_capital_request_phone
The third link is an email address, mailto:helpdesk@example.com. A link accepts a web address,
an email address (mailto:), a phone number (tel:) or a path in the platform like the two above.
Anything else turns the field red.
Use the logical name rather than the address you see in your browser for a model-driven app. A model-driven app's address has an id in it, and an id is different in every environment. A logical name stays the same when your solution moves from Development to Test.
Why a link and not a button
A button with a handler that opens the app would work too. A link does more, because it's a real link: you can middle-click it to open the app in a new tab, right-click to copy its address, and a screen reader can list it with every other link on the page. None of that is something you build.
5. Preview it
Save, and press Preview:
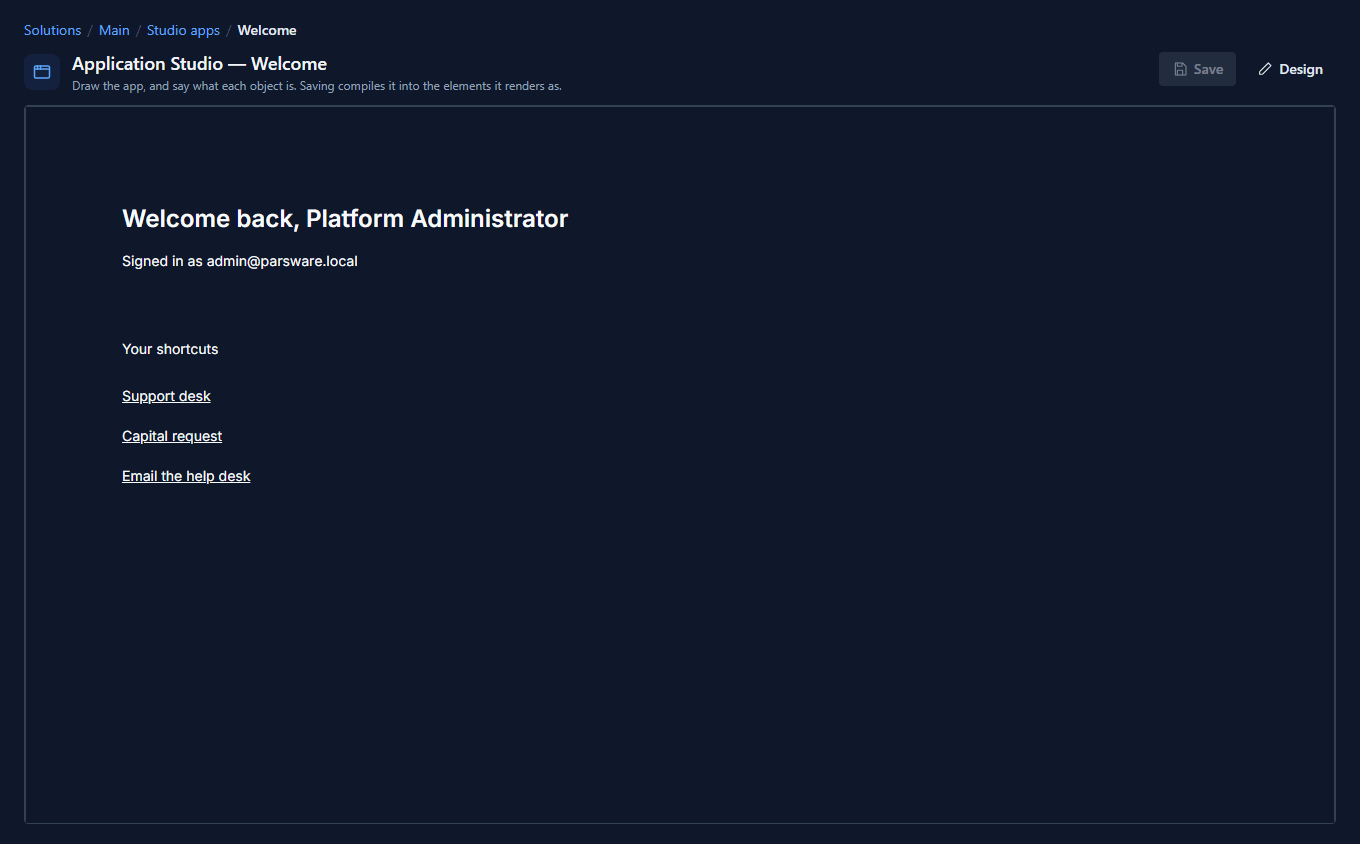
Preview reads your own name and email, so what you see is what you'll see in the Shell.
6. Open it in the Shell
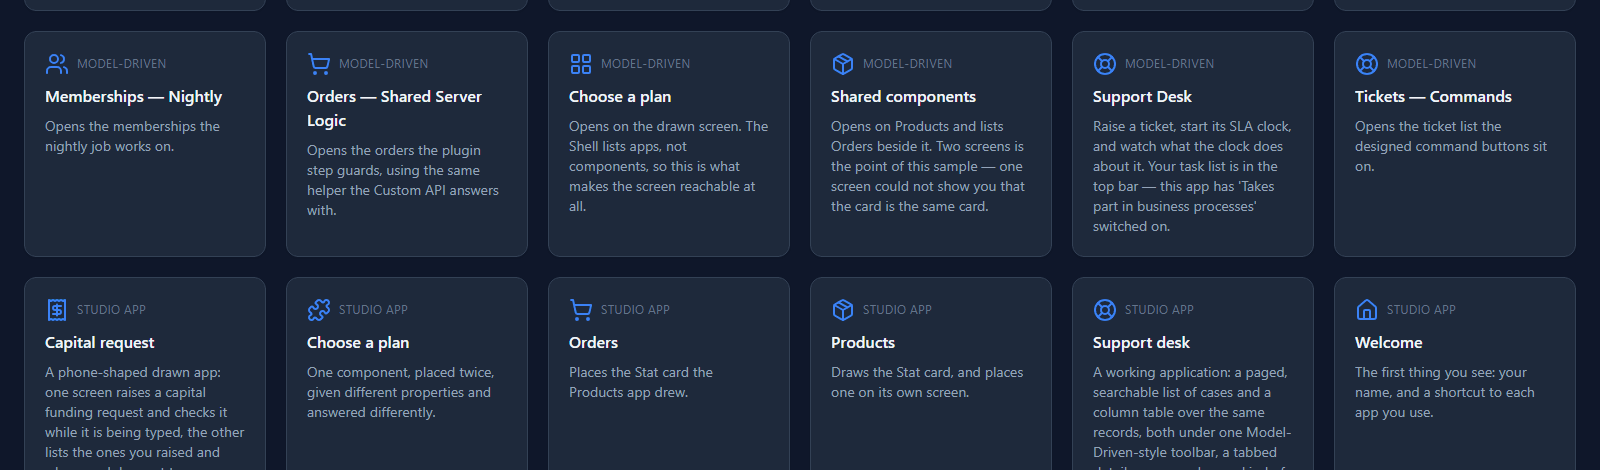
Welcome is in the Shell's app list, with its house icon:
Open it:
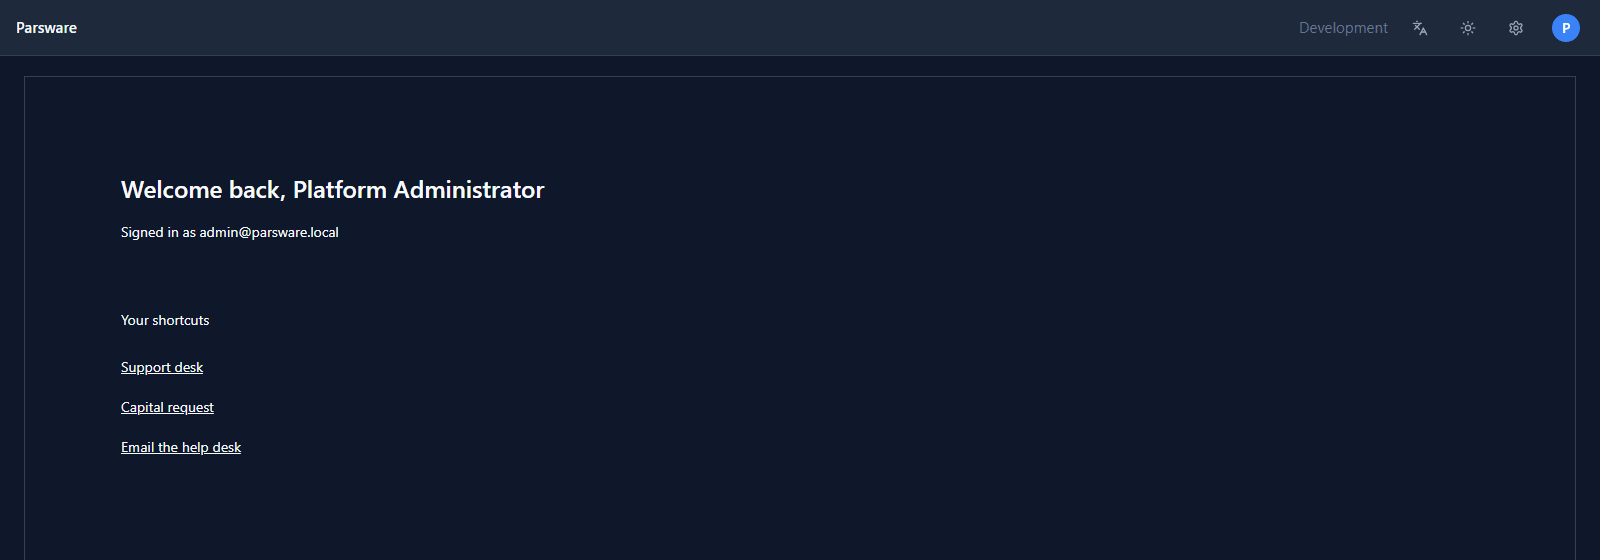
Click Support desk and the Support desk app opens:
Sign in as somebody else and the same screen greets them by their own name. Nothing on it was written for one person.
Make it the first thing people see
A welcome screen is most useful when people land on it. Two ways:
- Make it a model-driven app's home page, so opening that app opens on the welcome screen. Choose it as the home page when you edit the app, the way the samples' apps open on a drawn screen.
- Share it with the people who need it, as you would any app, and it's in their app list. See your first app, shared with the people who need it.
What we fixed
Building this screen turned up one problem, now fixed, and one gap in the help:
user.emailwas always empty. The sign-in token carried the email address under a long claim name that neither the Shell nor the maker portal read, so Signed in as had nothing after it, in Preview and in the Shell. The token now carries it asemail, which both read.- The help didn't list
user. The table of what a binding can read namedstate,screenanduibut notuser, although the Shell and Preview both supply it. It's on the page now, in all seven languages.
Try it
Draw a welcome screen with your name in the heading and a link to two apps you use. Then import the
Welcome — Studio Screen sample (studio-welcome-screen) and open it in the browser's inspector:
the heading is an <h2>, the text is a <p>, and the button is a <button>. Each tag comes from
the role it was given in the designer, which is what the next article is about.
Next: roles, and what each part of a screen is.