Parsware Platform
Your first Studio app
Create a Studio app, draw its one screen with a heading, a line of text and a button, give the button something to do, and open the app from the Platform Shell. About ten minutes, from nothing.
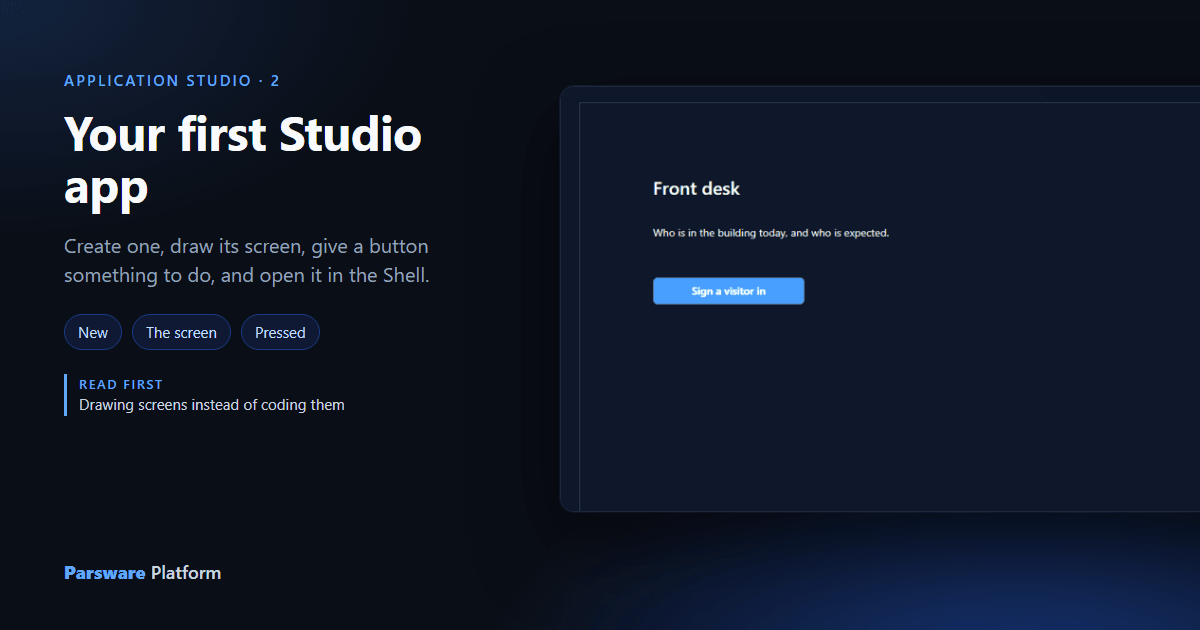
The last article explained what a Studio app is. This one makes one. It's deliberately small: one screen with a heading, a sentence and a button, and the button shows a message when it's pressed. Small is the point. Once you've been from an empty app to the Platform Shell once, every later article is about what goes on the screen, not how to get it there.
We built it in the Main solution of a Development environment. Use any solution of your own.
1. Create the app
Open your solution, choose Studio apps, and press New:
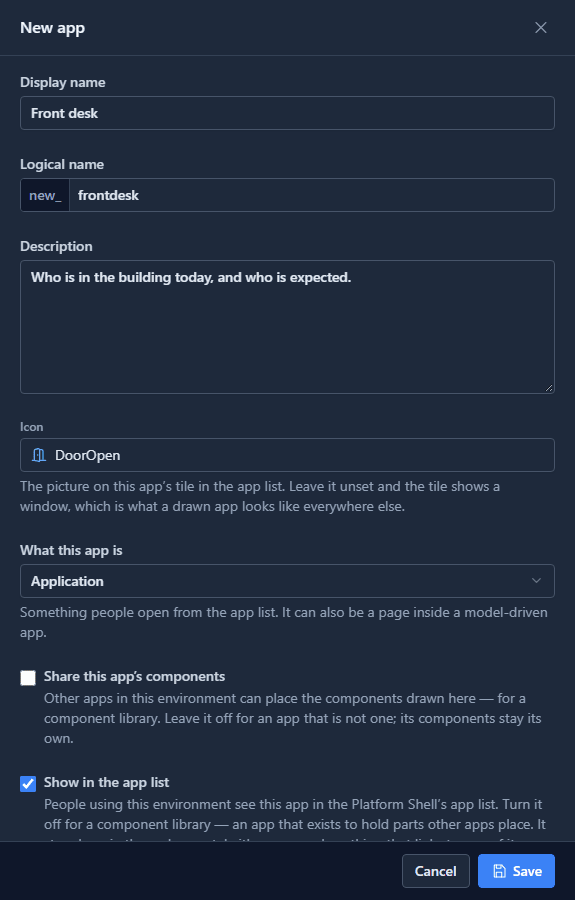
- Display name: Front desk. The logical name fills itself in from it, after your publisher's prefix, and can't be changed later.
- Description: one sentence. It's what the app's tile in the app list says under its name.
- Icon: press it and search. We typed door and chose DoorOpen.
- What this app is: leave it as Application, something people open from the app list.
- Show in the app list is on already. Leave Share this app's components and Hide the platform bar off.
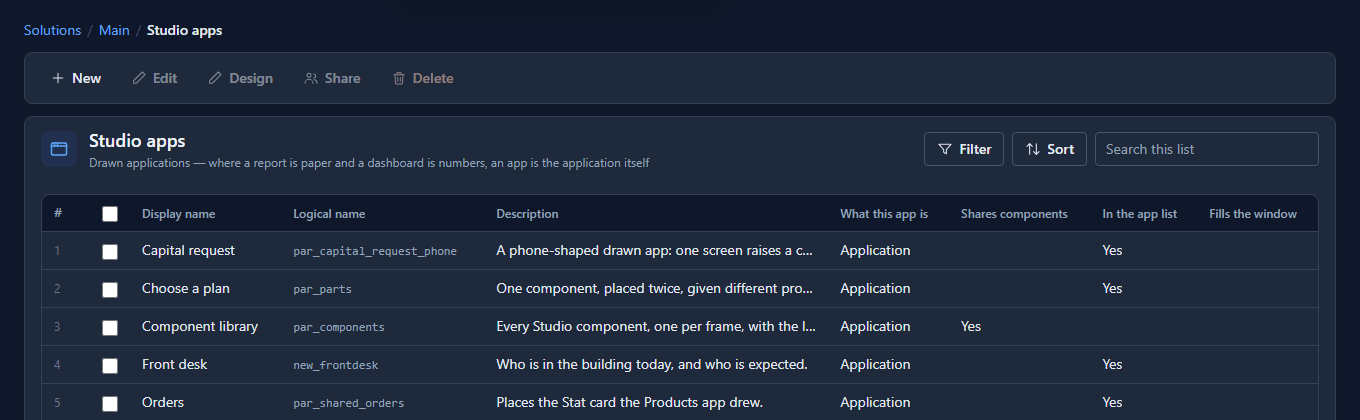
Press Save. The app is in the list:
2. Open the canvas
Select Front desk and press Design. A new app is an empty canvas:
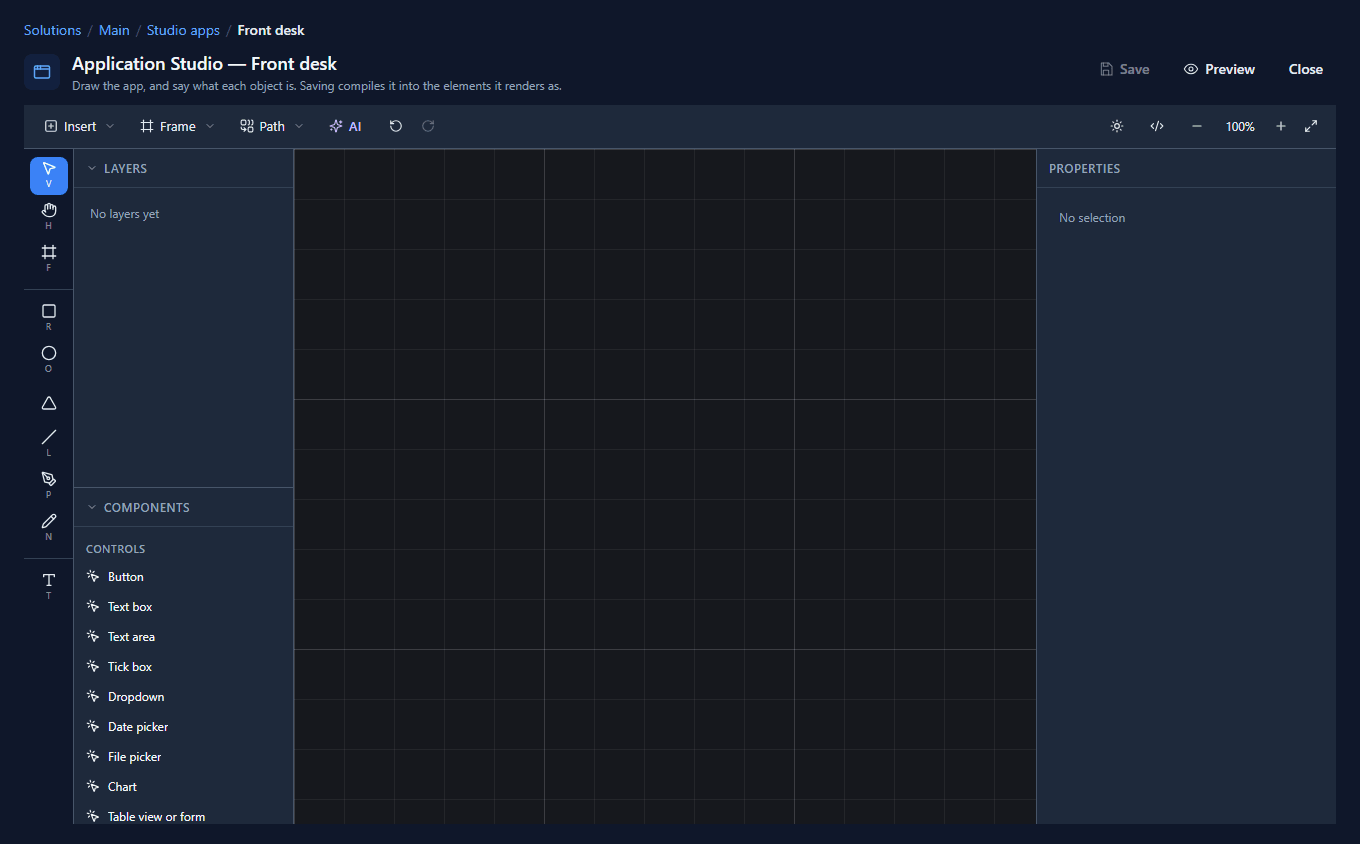
Down the left are Layers (empty for now) and Components, which lists everything you can put on a screen: the Controls, then the Elements, then any components.
3. Draw the screen
Scroll the Components panel to Elements and click — The screen —. A frame lands in the middle of the view, already marked as a screen and painted in the theme's background colour.
We gave it a size and a name in the inspector: W 1200, H 760, and the name Home. The name matters: it's the screen's name, which is how other screens will move to it later. Then Shift+1 to fit it in the window. Its Screen tab confirms what it is:
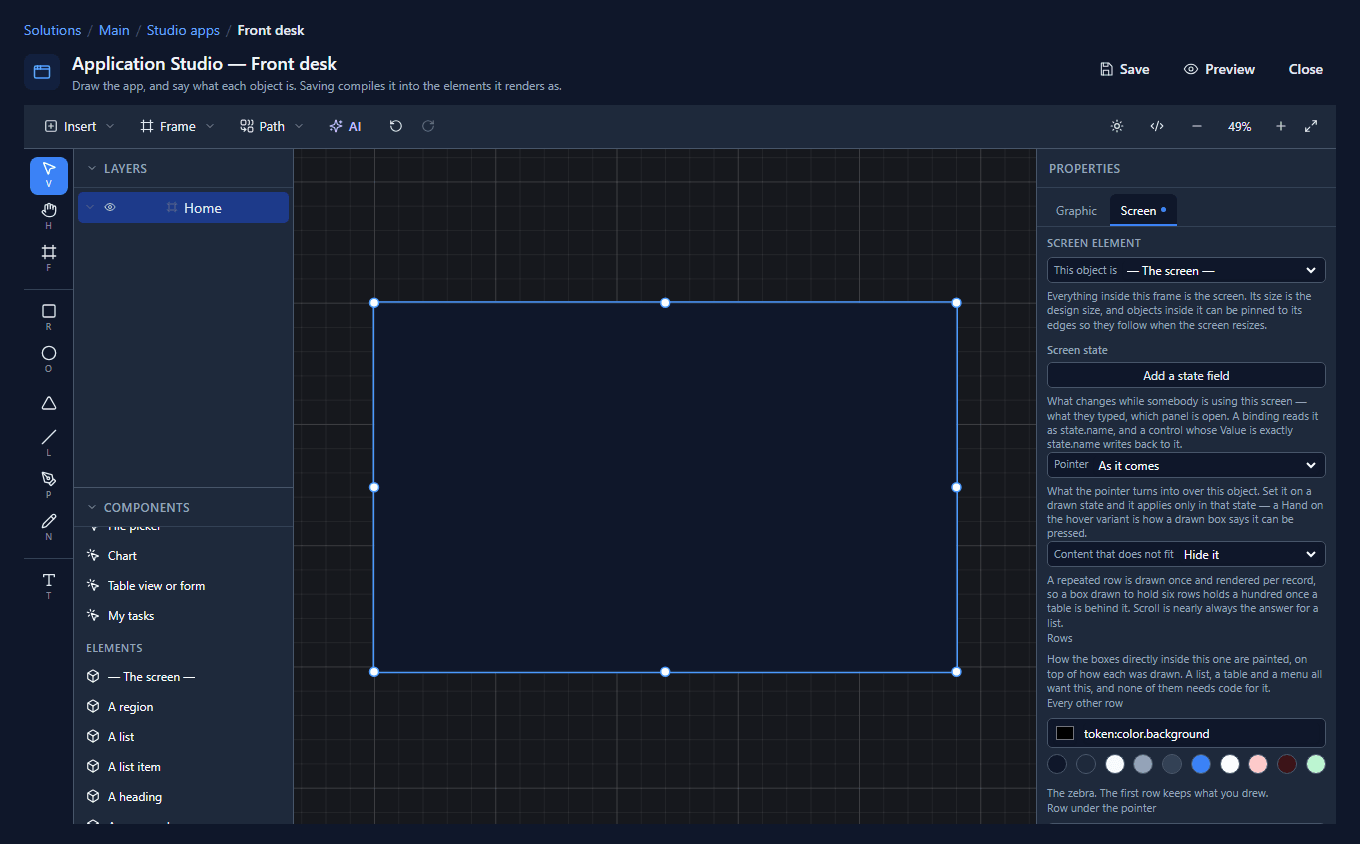
1200 by 760 is a comfortable size to draw at, not the size people will see. The screen fills whatever window it's opened in, and what you pin to its edges follows.
4. Put three things on it
Click each of these in the Components panel. Each one lands in the middle of the view, inside the screen, and is selected so you can set it up straight away:
- A heading, under Elements. In the inspector we set X 96 and Y 96, and replaced its text with Front desk.
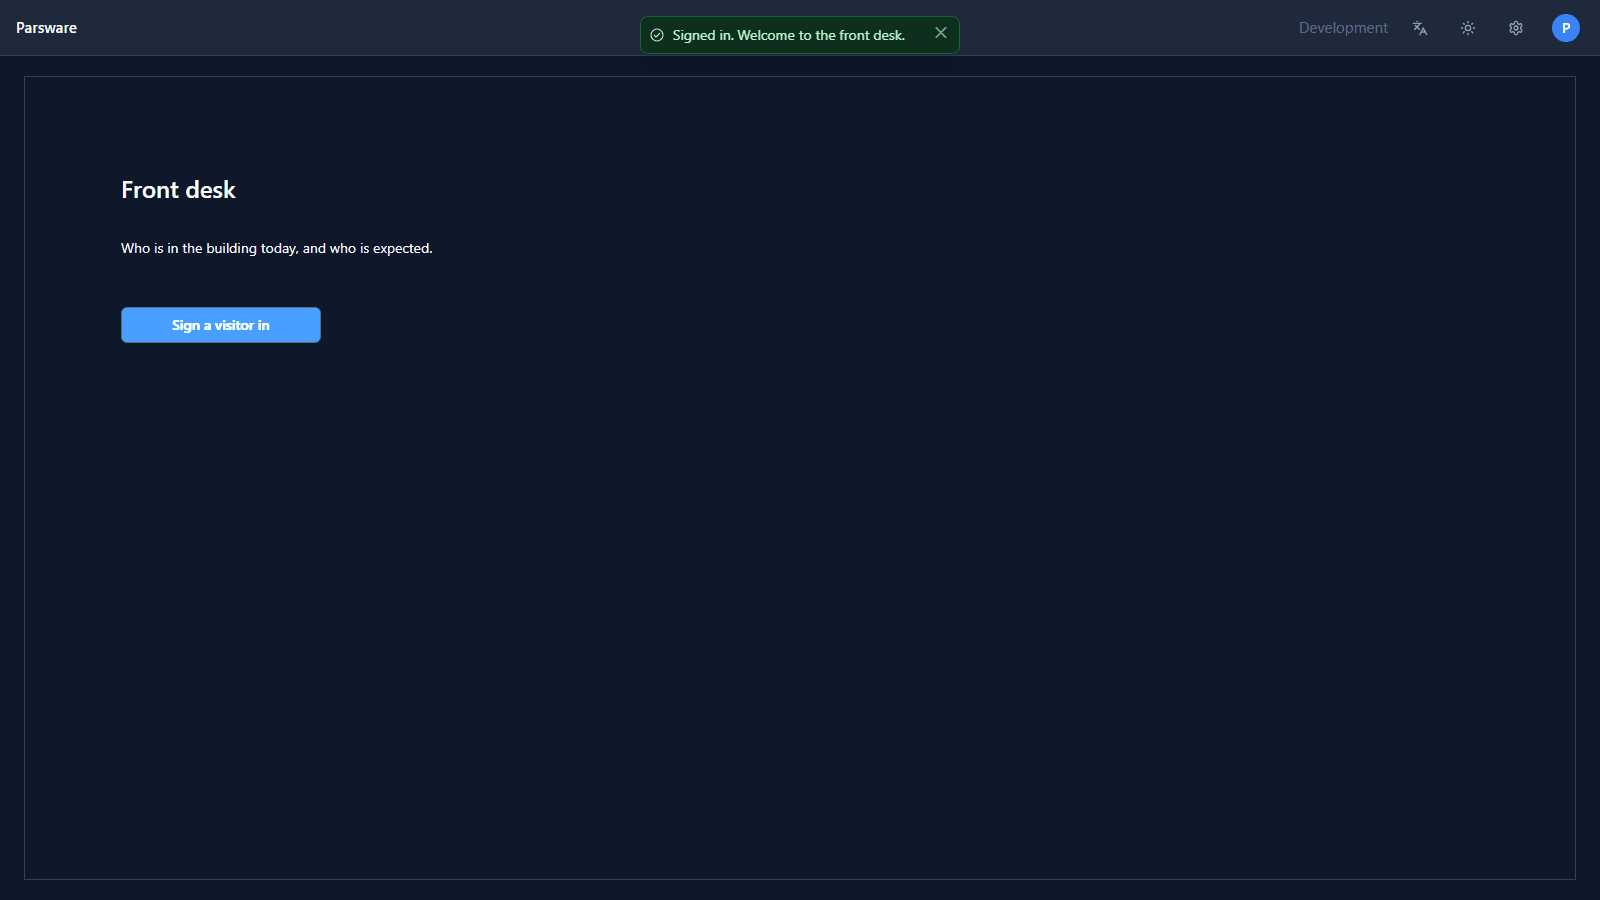
- A paragraph, under Elements. X 96, Y 160, W 640, and the text Who is in the building today, and who is expected.
- Button, under Controls. X 96, Y 230, W 200. A button's words are the text inside it: select that text in Layers and type Sign a visitor in.
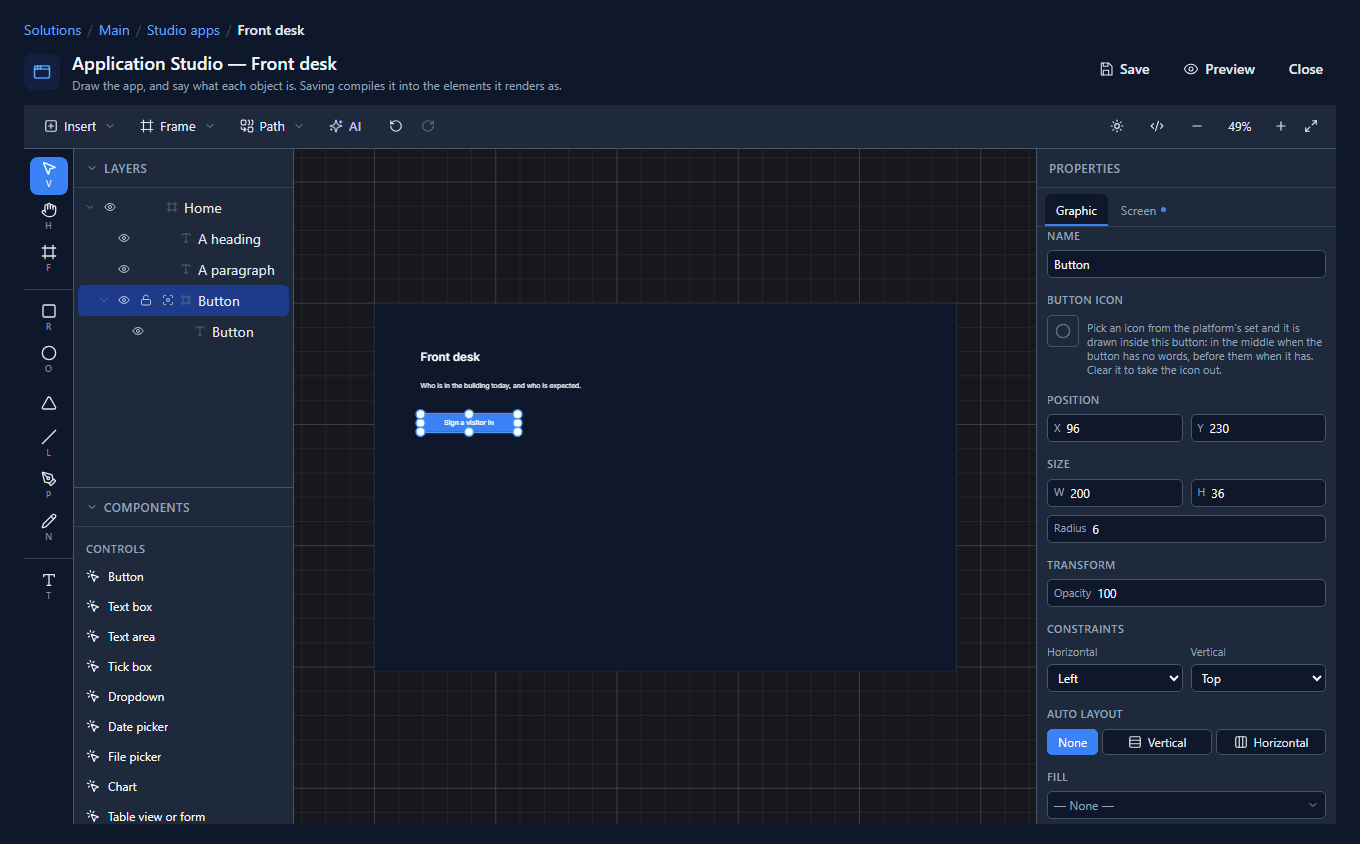
Look at Layers: all three are indented under Home. Only what's inside a screen is part of it.
The heading is a real heading and the paragraph a real paragraph, because they came from Elements. Draw a plain text with the text tool and it would look the same but say nothing about what it is. The button is a real button, not a drawing of one.
5. Make the button do something
With the button selected, press Write code on the toolbar, the </> button. The code page
lists everything you could write for the button. The Bindings decide what it shows; When
this happens lists the things it can react to. Choose Pressed and type:
notify("Signed in. Welcome to the front desk.");
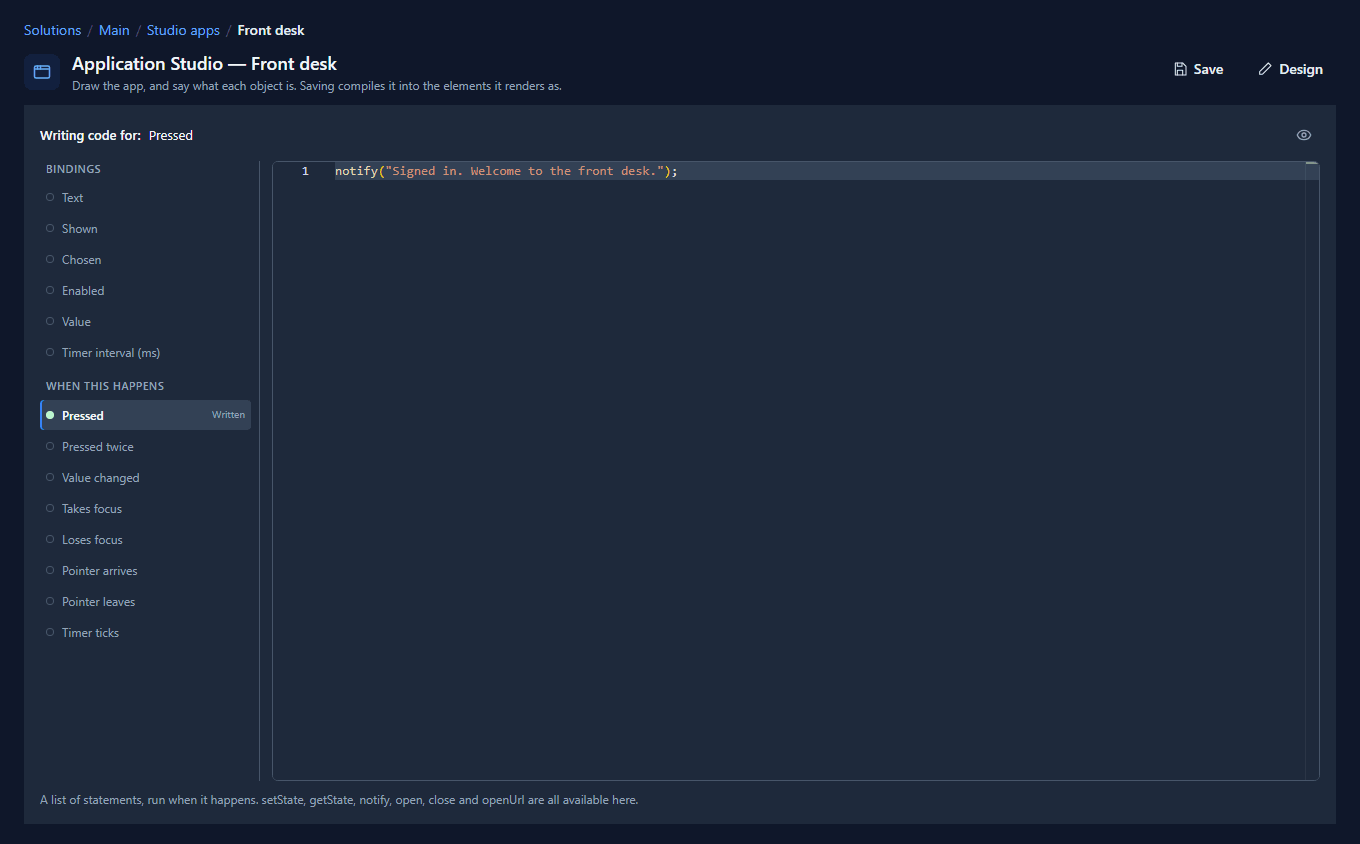
notify shows a message at the top of the window. Pressed now has a filled dot and says
Written. If the line had a mistake, the dot would turn red and the editor would underline it.
Press Design to go back to the drawing.
6. Save and preview
Press Save. The designer compiles the drawing into the app's page and says Saved successfully. Then press Preview and press the button:
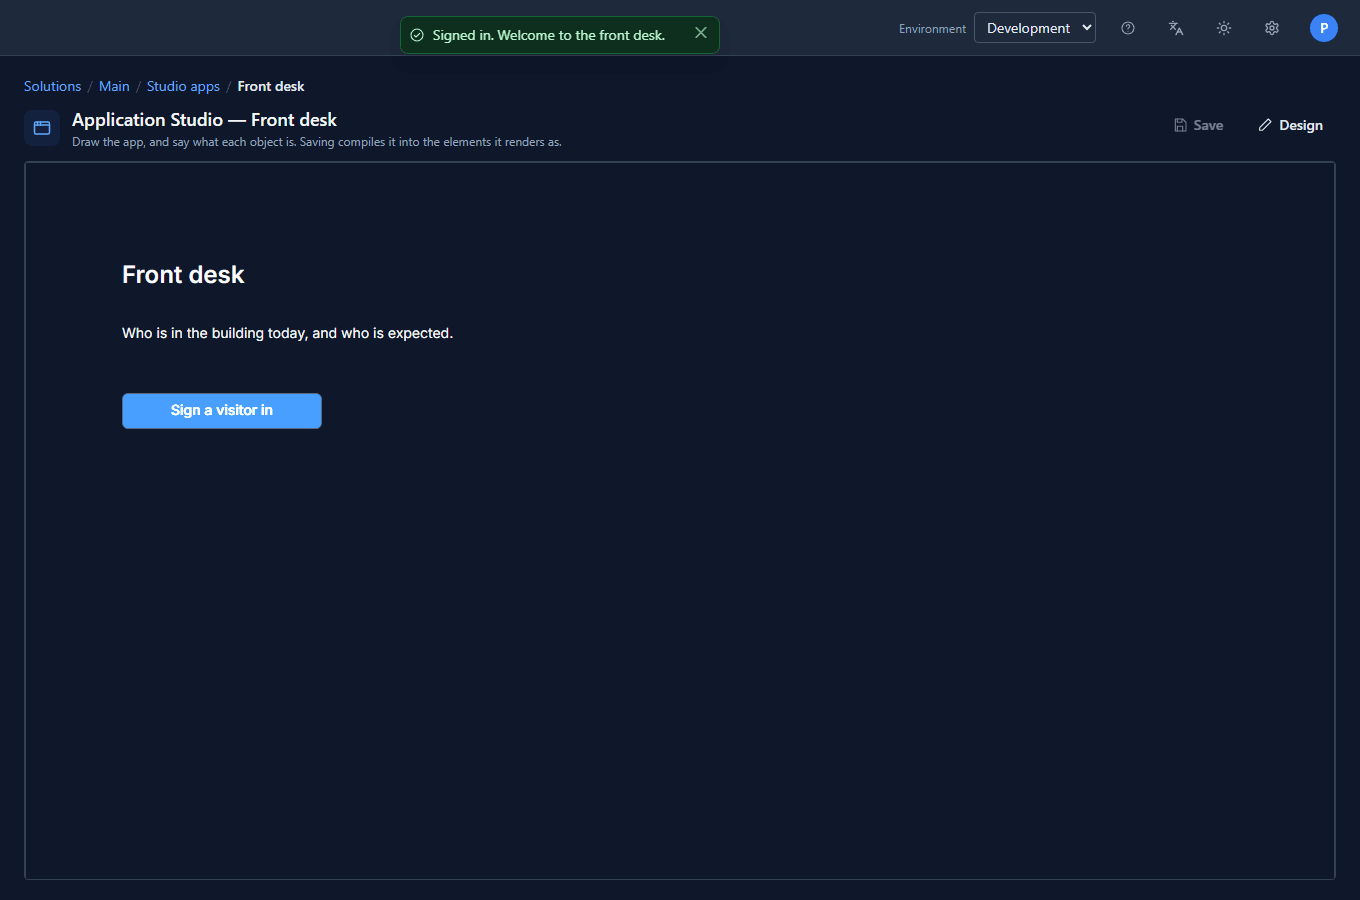
Preview is the screen as it will run, with one difference: it has no environment behind it, so a screen that reads records shows none here. This one doesn't read any, so what you see is the app.
7. Open it in the Shell
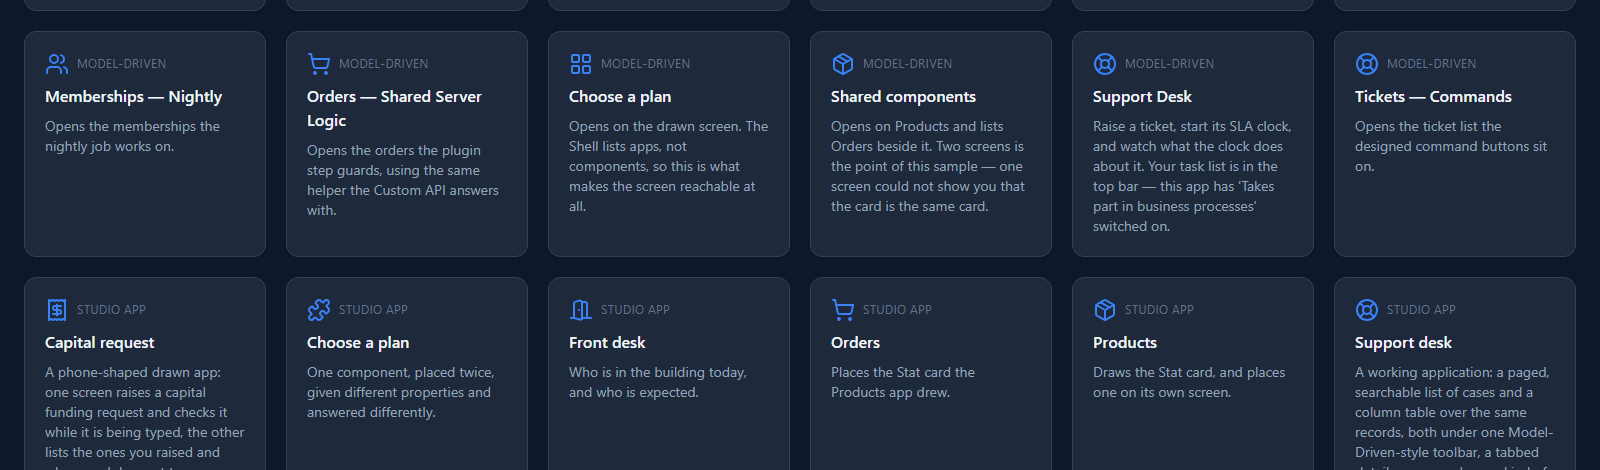
Go to the Platform Shell. Front desk is in the app list, with its door icon and its description, under Studio app:
Open it and press the button:
That's a Studio app, end to end. Who can open it is decided the same way as for any app, by the security roles you share it with: see your first app, shared with the people who need it.
What we fixed
Building this app turned up three problems, all fixed:
- Things placed by clicking now go inside the screen. Clicking A heading or Button in the Components panel put it in the middle of the screen but left it outside it in Layers, so after Save the app had no heading or no button. Only dragging used to put a part inside the screen. Clicking does now too.
- A button's words follow its width. Widening a button left its words at the old width, so Sign a visitor in wrapped onto two lines in a button with room to spare.
- The icon search takes your typing. In the New app drawer, the icon picker opened with the keyboard on its close button, so typing door went nowhere. It starts in the search box now.
Try it
Create a Studio app of your own and draw one screen with a heading, a sentence and a button.
Give the button a Pressed handler that calls notify, save, and open it from the Shell. Then
import the Studio — Starter app sample and open Support desk to see where this leads: a list
of records, a toolbar, drawers and dialogs, all drawn the same way.
Next: a welcome screen with the signed-in person's name and shortcuts.