A guide in the side pane
Step-by-step help for filling in an expense, opened beside the form from a button on it, so the guide and the form are on screen together.
Help that opens in a new tab takes you away from the form you were filling in. Help in the side pane sits beside it. This demo is a four-step guide to filing an expense, opened from the expense form itself.
The form’s Approval checklist section, a drawn screen, has a new button:
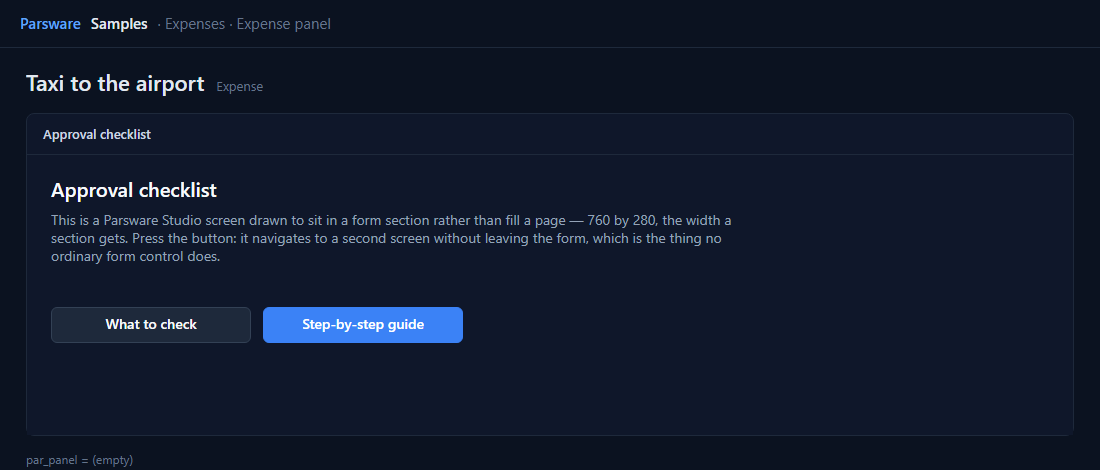
openDesign("Expense guide", "side");
Four steps, one at a time
Expense guide keeps the step in its state and shows one panel per step. A progress bar fills from the left as you go, and Back and Next move between steps:
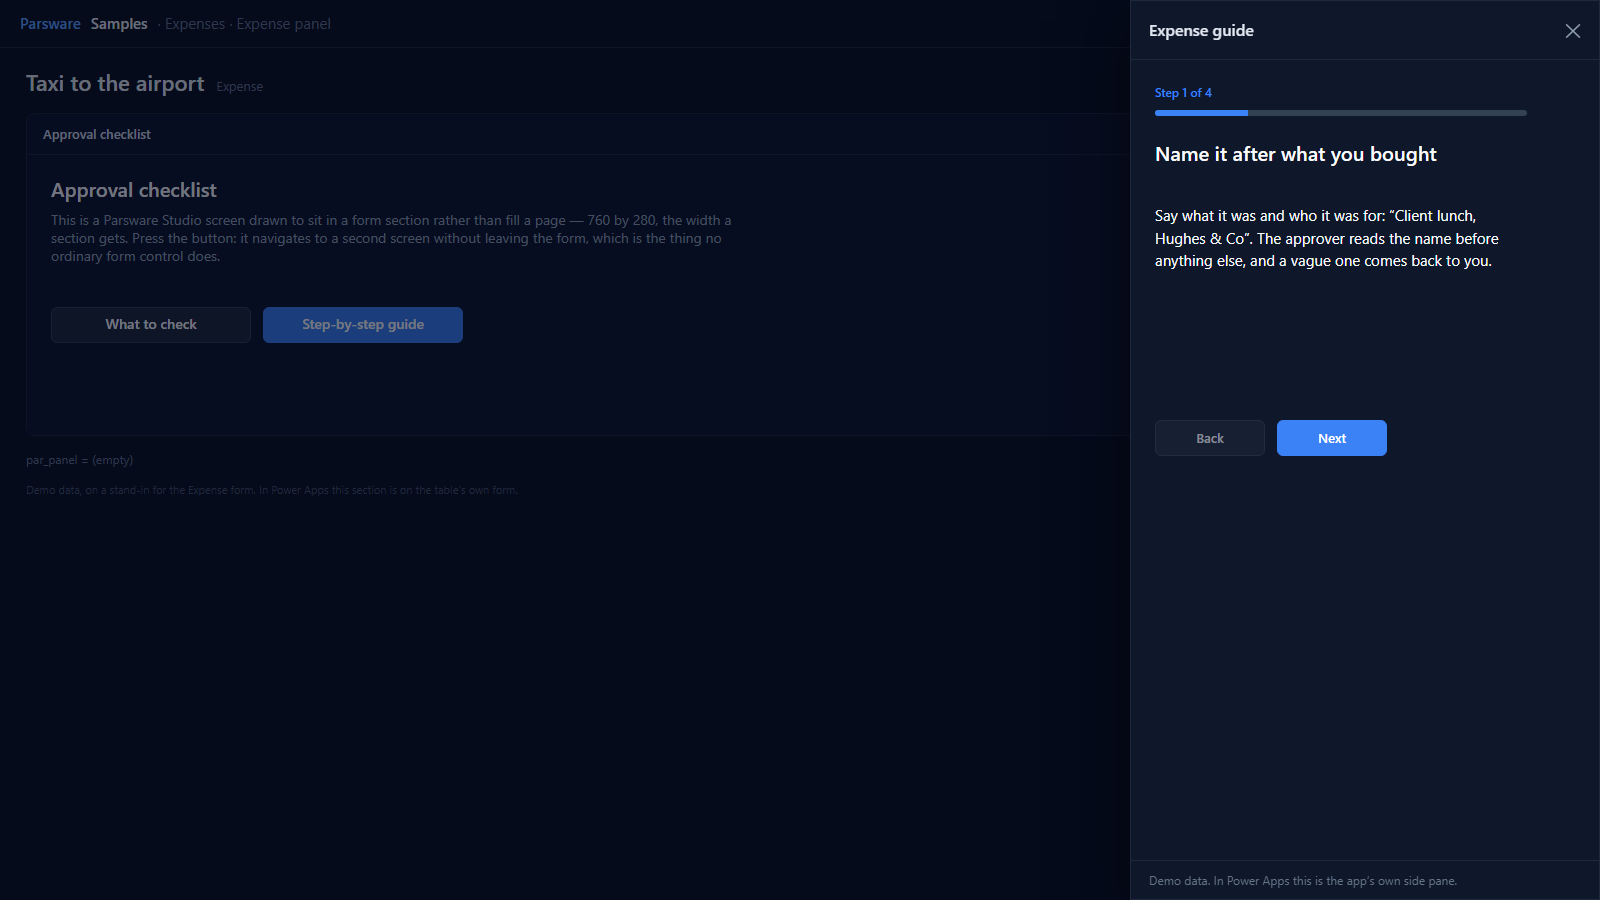
Each panel is visible when state.step is its number, and the bar is four segments, each shown
once state.step reaches it. Next is setState("step", state.step + 1). On the last step
it becomes Done, which closes the pane with closeDesign().
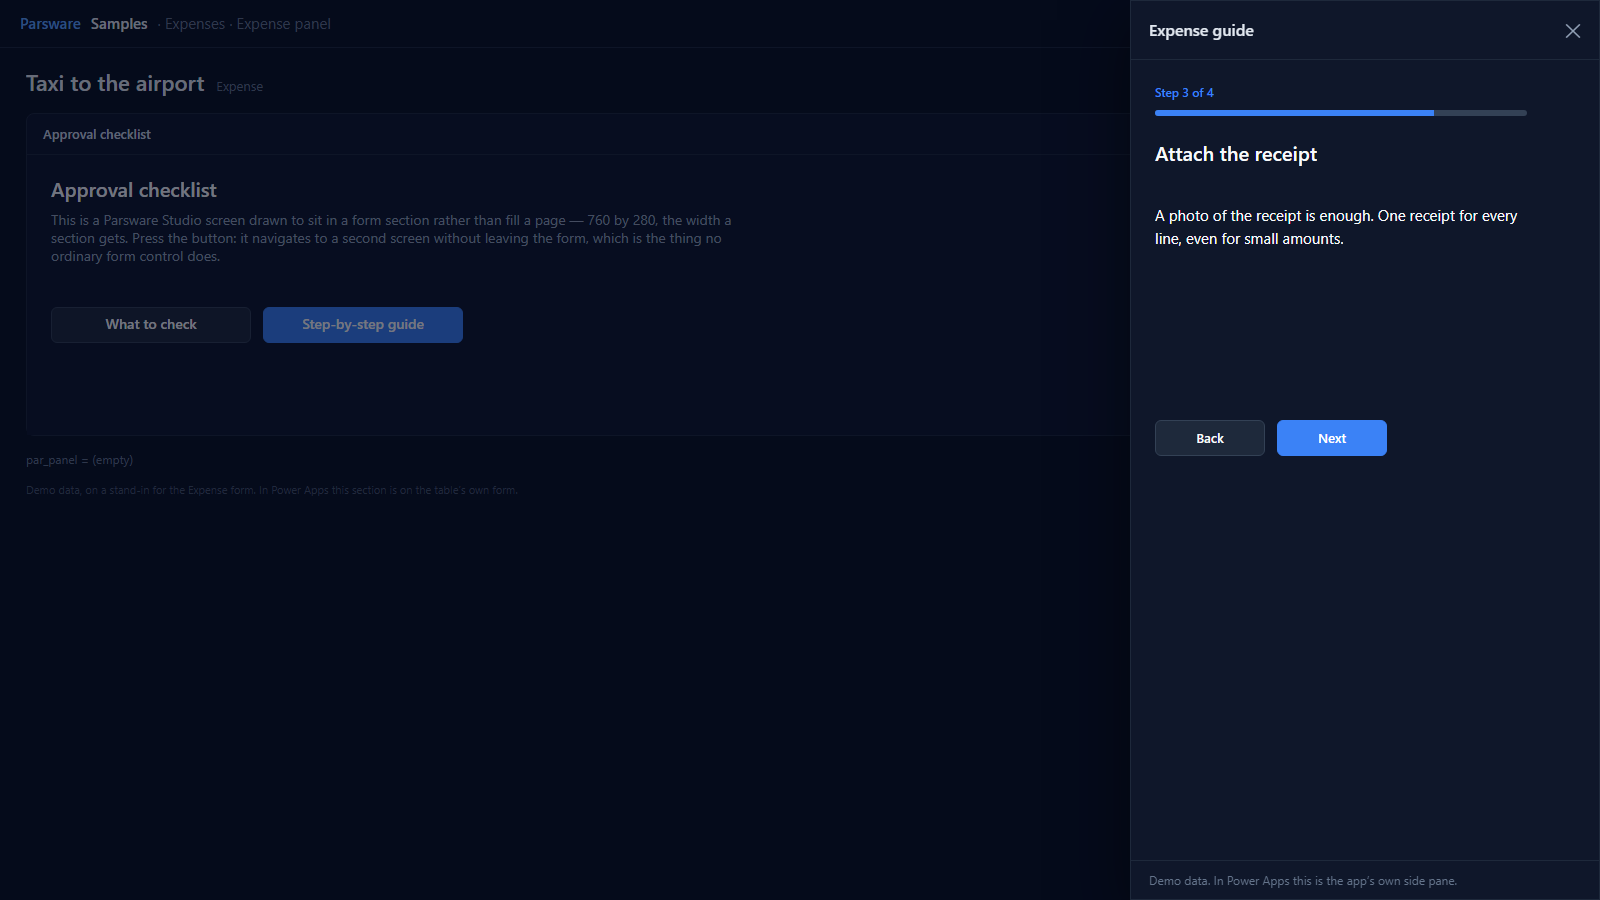
The words are the design’s own, so changing the guide is editing a drawing in Parsware Studio and publishing it. The form doesn’t change.
Try it
- Install the three Parsware for Power Apps solutions, samples included (Install it).
- Open Sample data and press Replace, so the newest columns are filled (The samples, and sample data).
- Open an expense in Parsware Samples, and in Approval checklist press Step-by-step guide.
The pictures show the shipped design running on demo data in Parsware’s own runtime. In Power Apps the form, the side pane and the dialog are the app’s own.