Parsware Platform
Snapping and alignment
Guides that line a shape up with its neighbours as you drag, and buttons that align, match and space several shapes at once. Trying them, we stopped the guides catching shapes that aren't on screen.
A screen looks finished when its edges line up: the buttons in a row share a top, the cards share a left edge, the gaps are equal. The designer helps in two ways. While you drag, guides pull a shape into line with its neighbours. With several shapes selected, Align, Match size and Arrange do it for all of them at once.
We worked in a 640 by 400 frame on an empty part of the Starter app sample's canvas, without saving, with three rectangles named One, Two and Three.
Guides while you drag
Drag a shape near the edge or the centre of another, and it jumps into line and a red guide shows which edge it's lining up with. We dragged Two up towards the top of One:
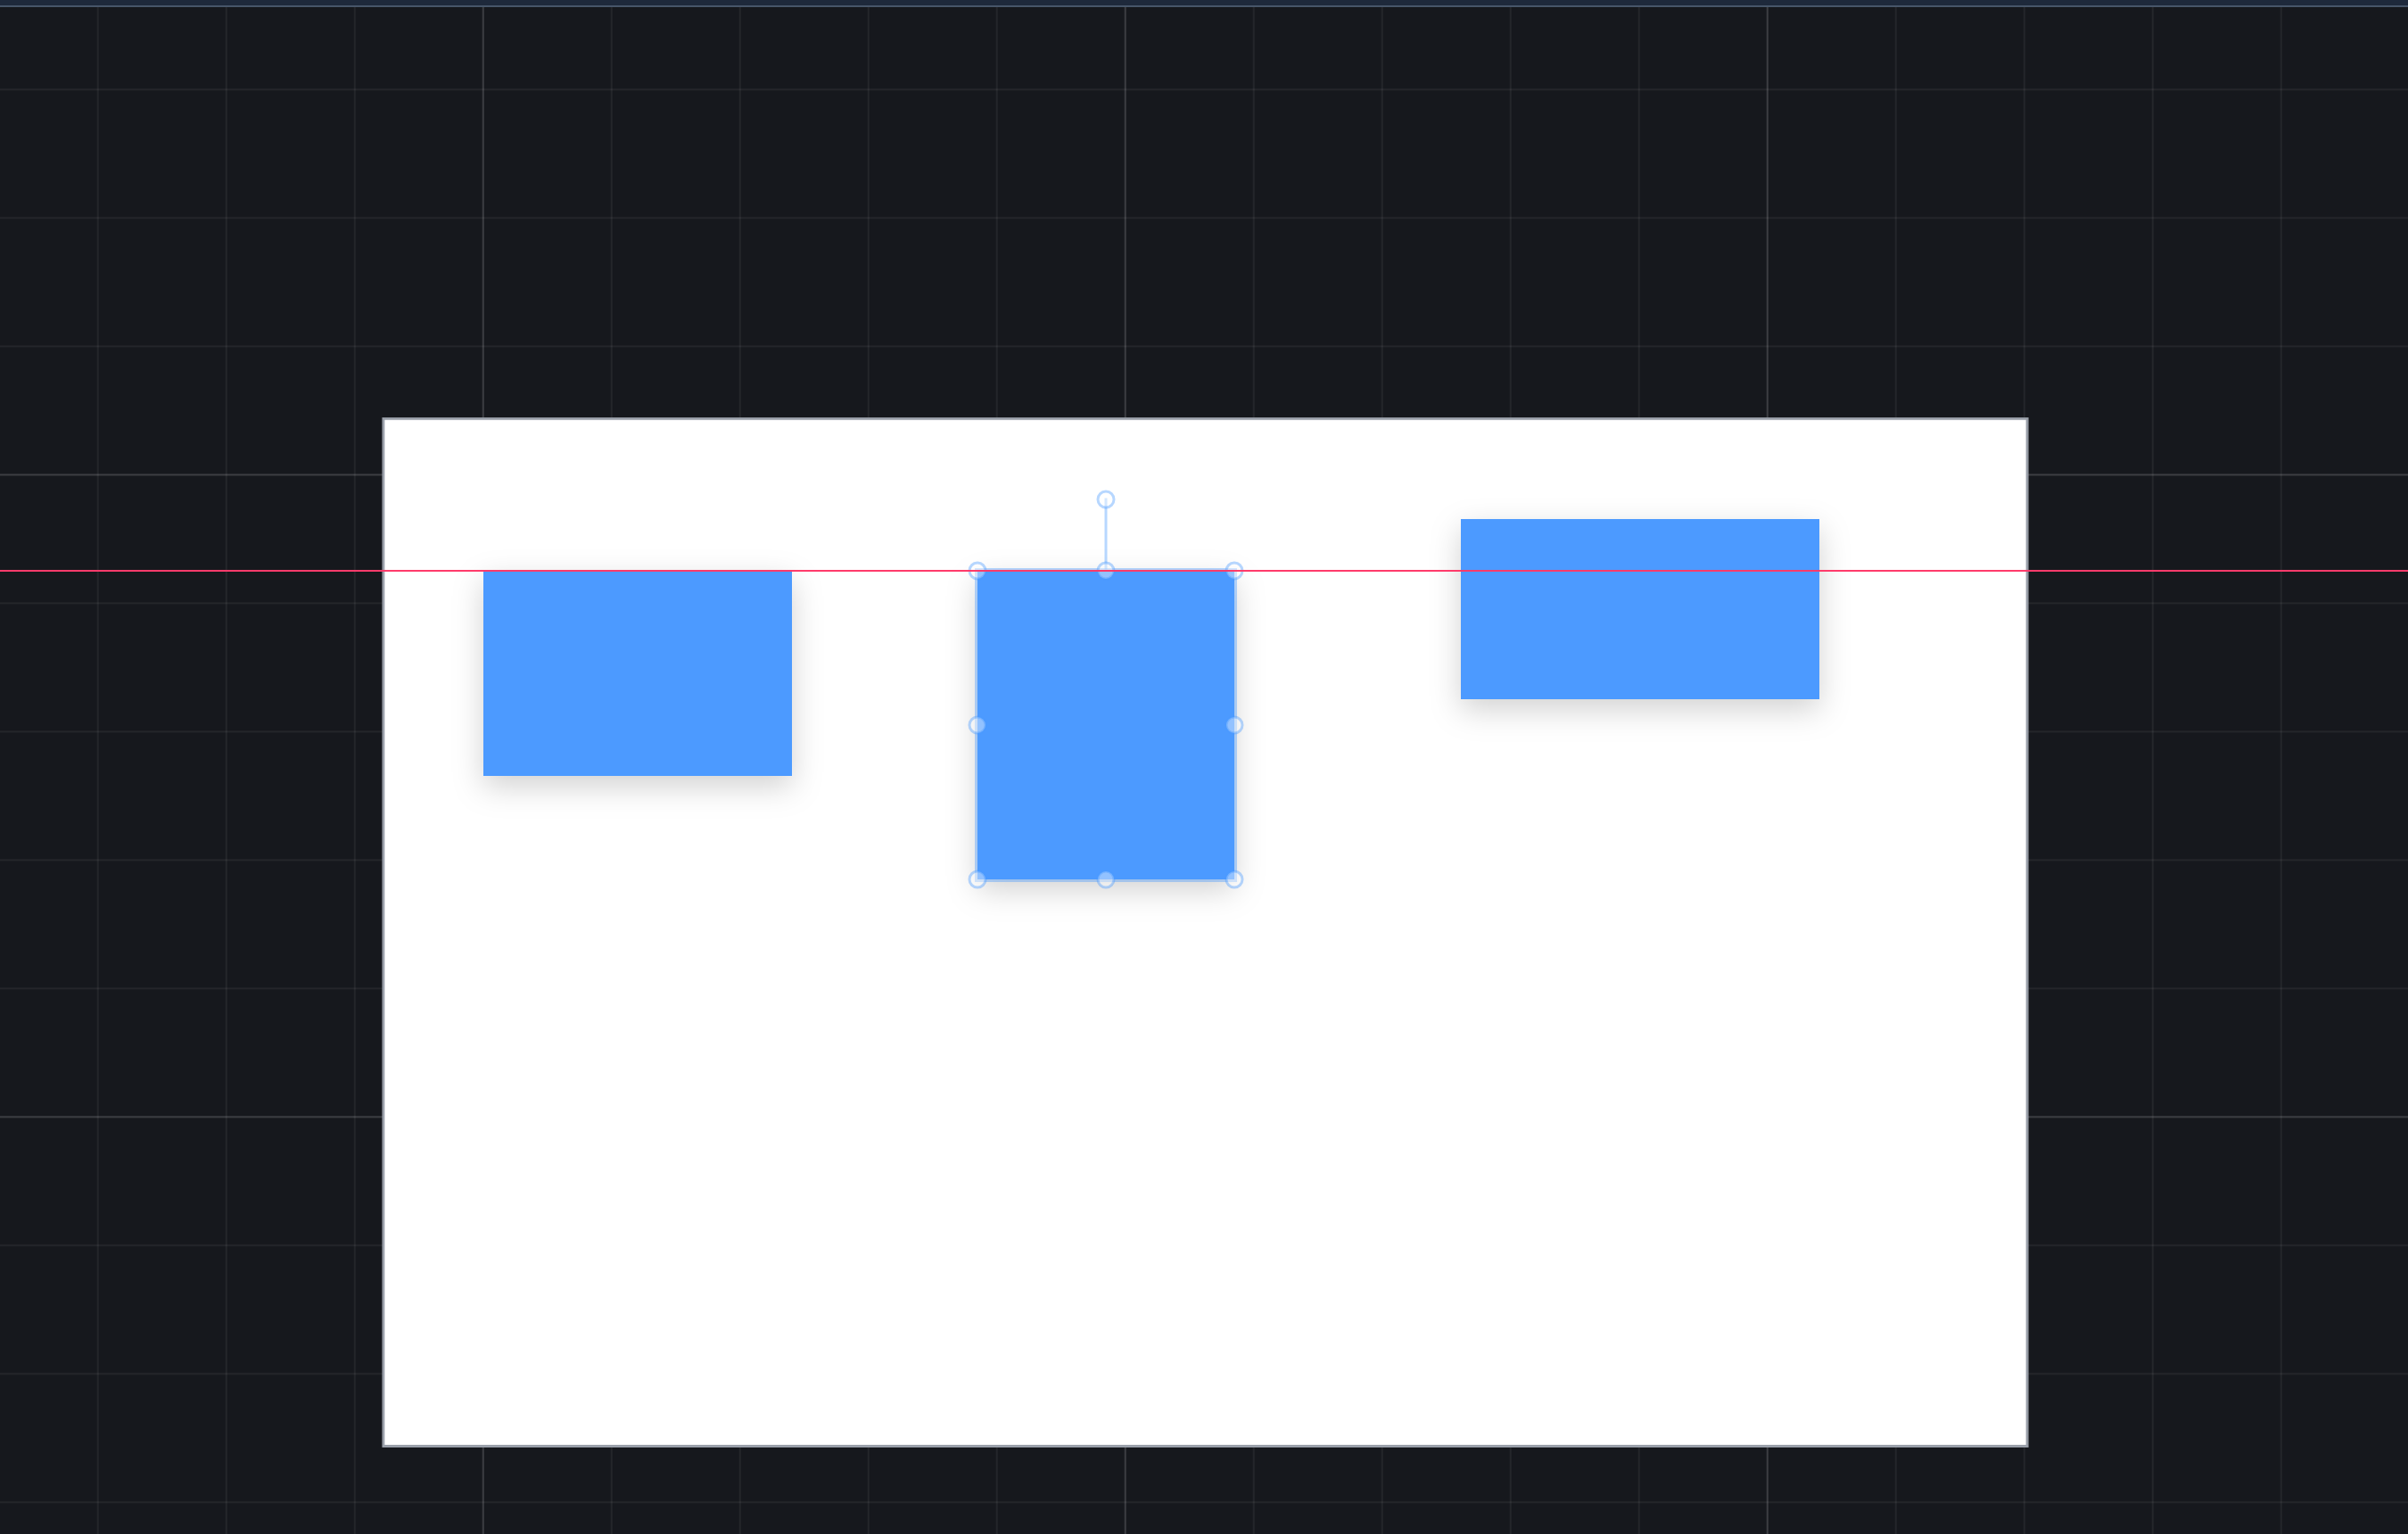
What a shape lines up with:
- the edges and centres of every other shape, frame and text on screen, both across and down;
- that includes the frame it's in, so a shape snaps to the frame's edges and to its centre lines.
It lets go once you've dragged past, so a guide never traps a shape. Hold Alt while dragging to switch snapping off and place a shape exactly where the pointer is.
Resizing snaps too: the edge you're dragging lines up with the edges around it, and the opposite edge stays put.
A frame never snaps to what's inside it. Its contents move with it, so lining its edge up with one of them is lining it up with something that follows it.
New: only what's on screen counts. Every shape in the drawing used to be a target, wherever it was. Dragging Two here also drew a vertical guide down the canvas and moved Two sideways by a few pixels, to line it up with something on a screen of the Starter app far above, out of sight. Now a guide only lines up with something you can see.
Align
Select two or more shapes and Properties shows three sections:
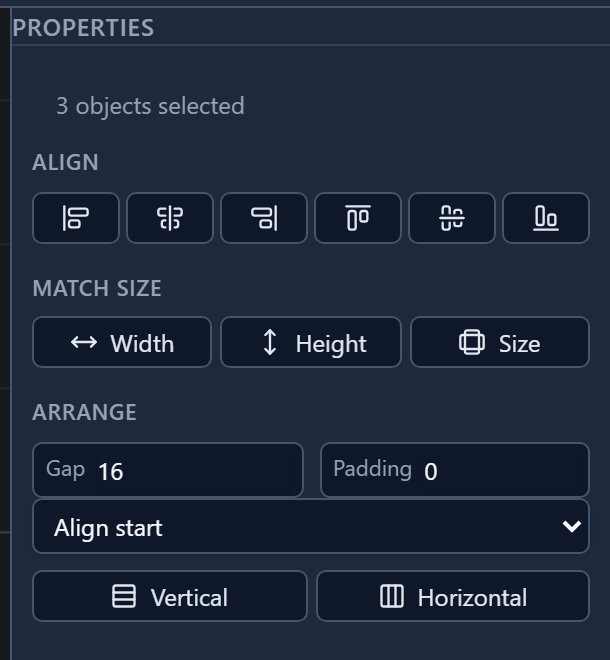
The six Align buttons line the shapes up with the box around all of them: left edges, centres across, right edges, tops, centres down, bottoms. Here are the three rectangles before:
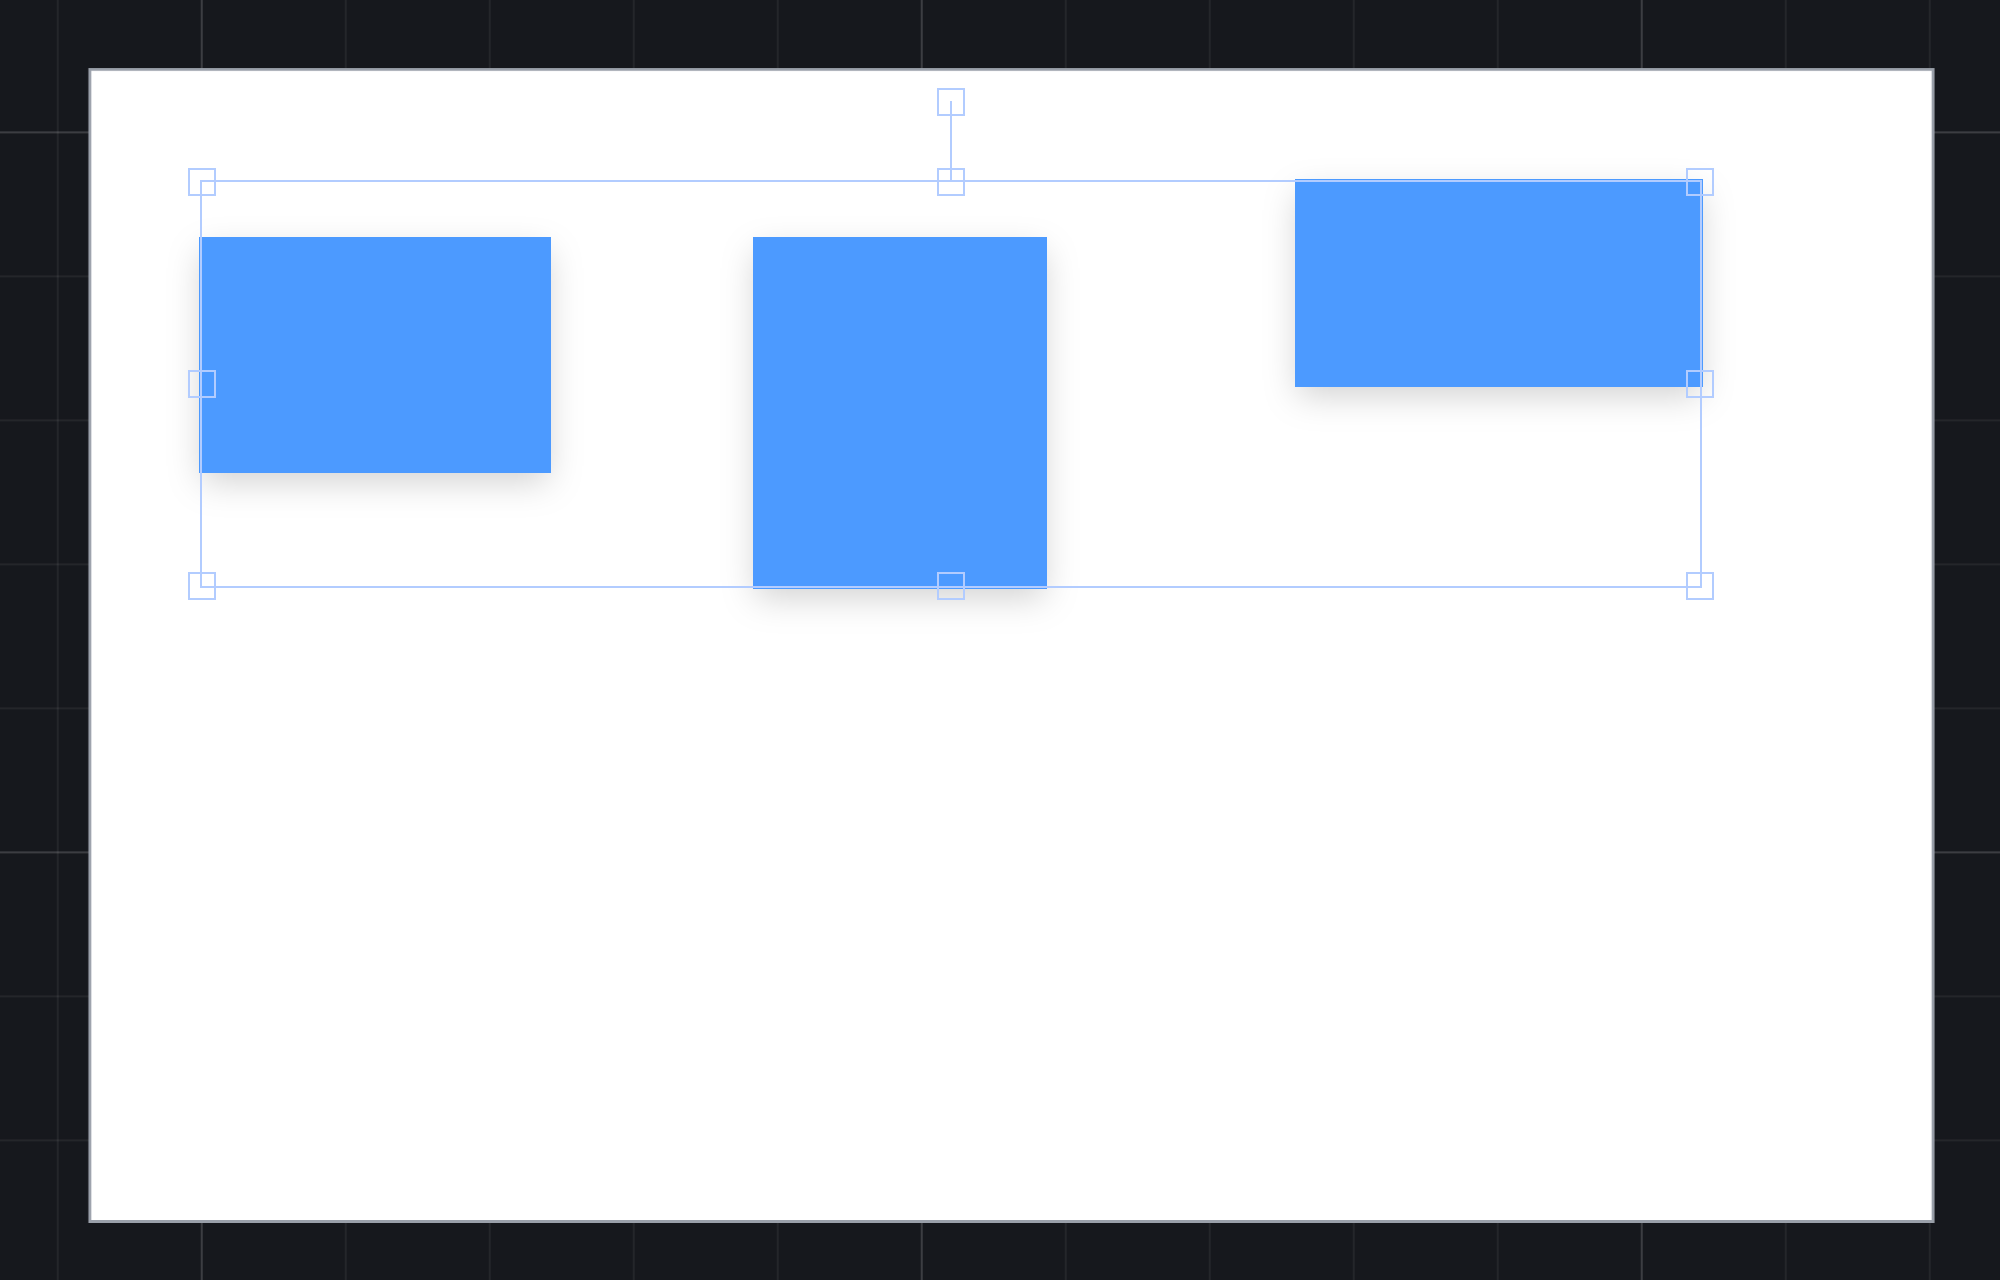
and after Align vertical centers:
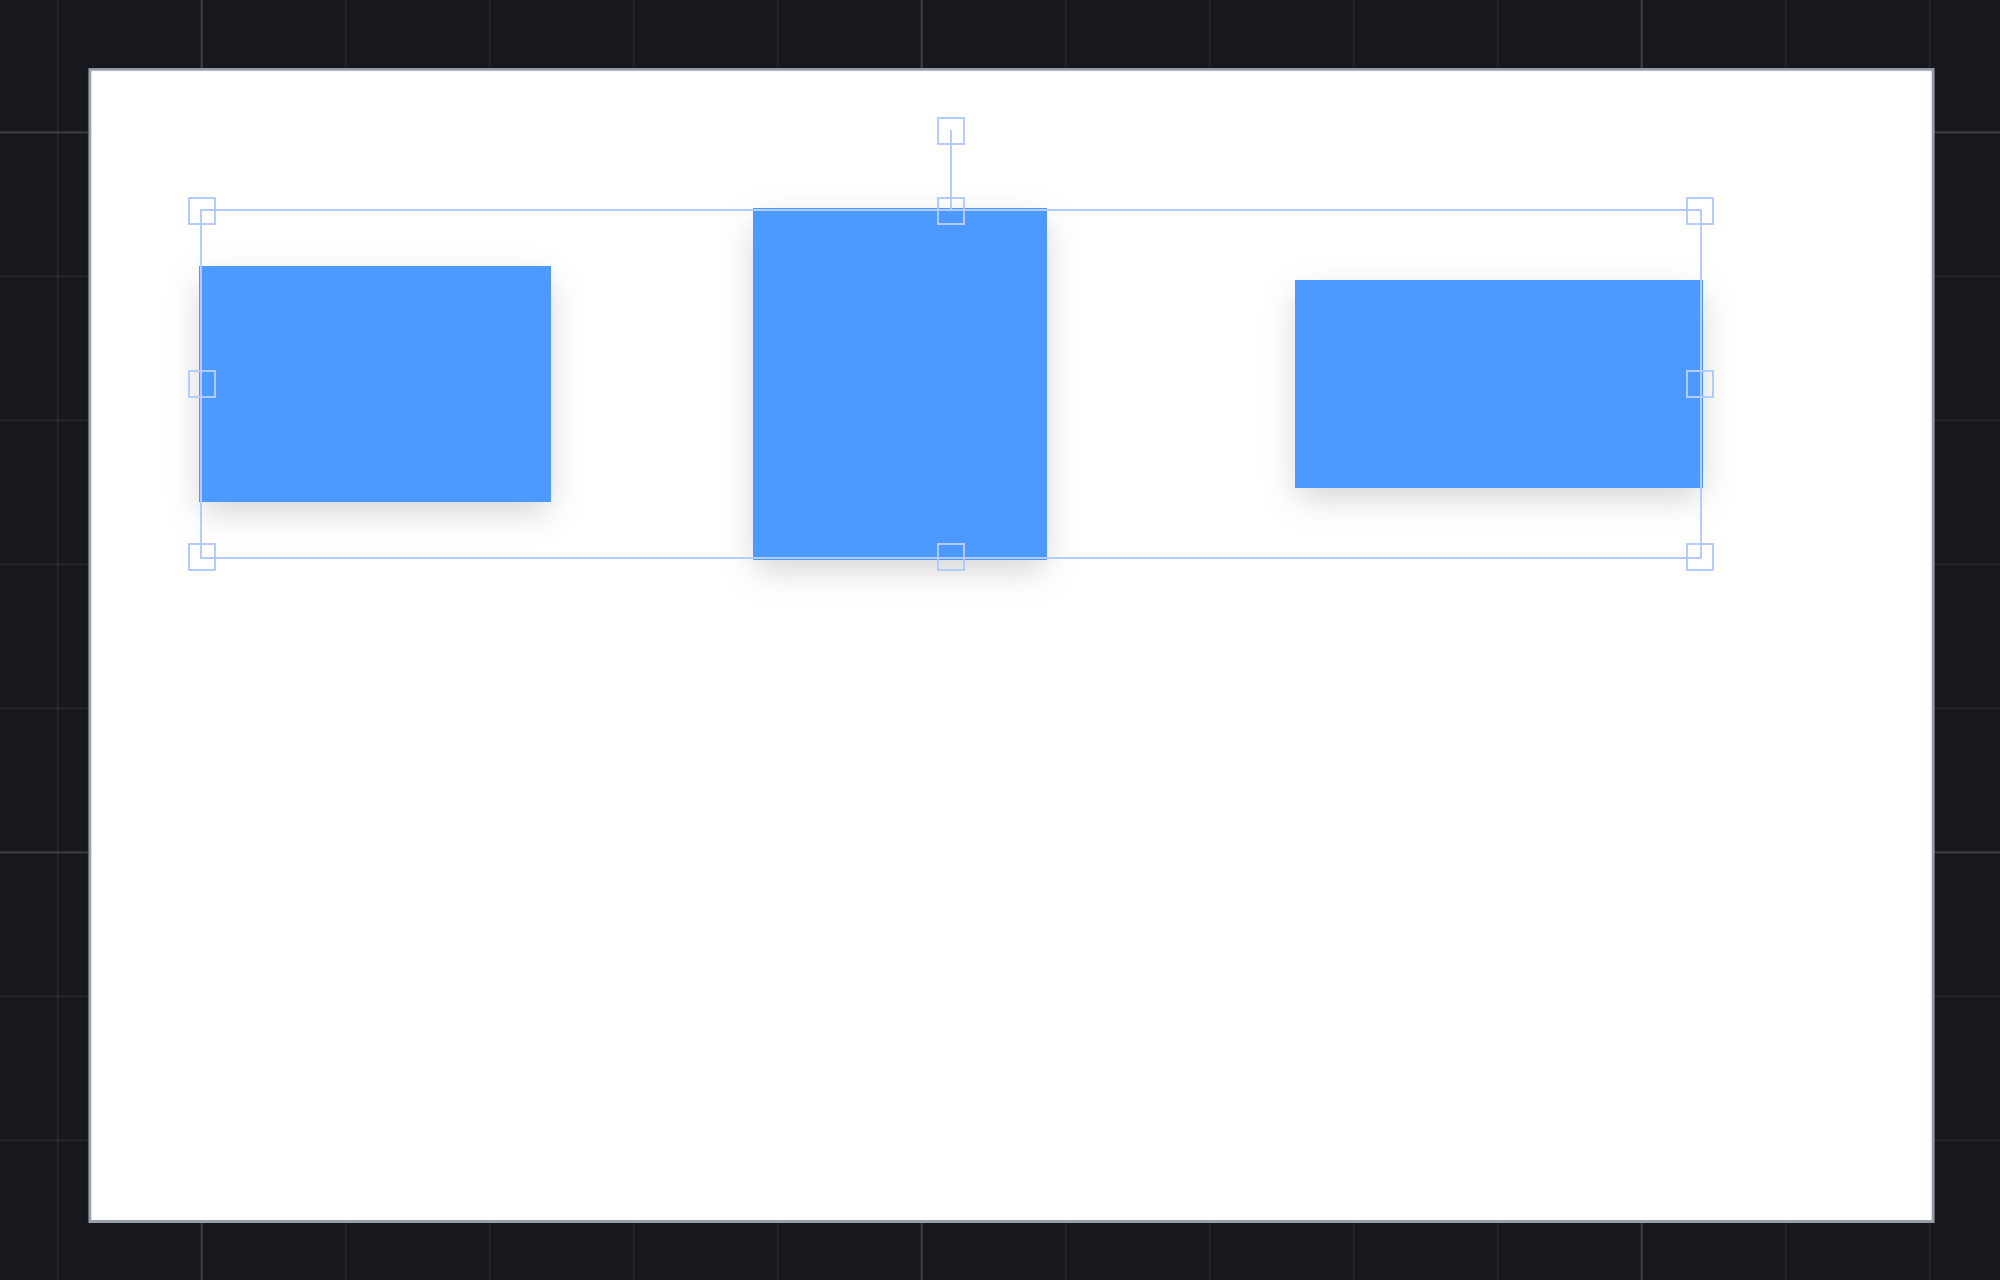
The buttons don't turn round in Persian or Arabic. Align left moves shapes to the left of the drawing, which is where they go however the interface around it reads.
Match size
Width, Height and Size make every selected shape as wide, as tall, or both, as the largest of them. Each one keeps its top-left corner.
Arrange
Arrange puts the selected shapes in a row (Horizontal) or a column (Vertical), in the order they already are, with the Gap between them. Align start, centre or end says how they line up across the row. We set the gap to 24 and pressed Horizontal:
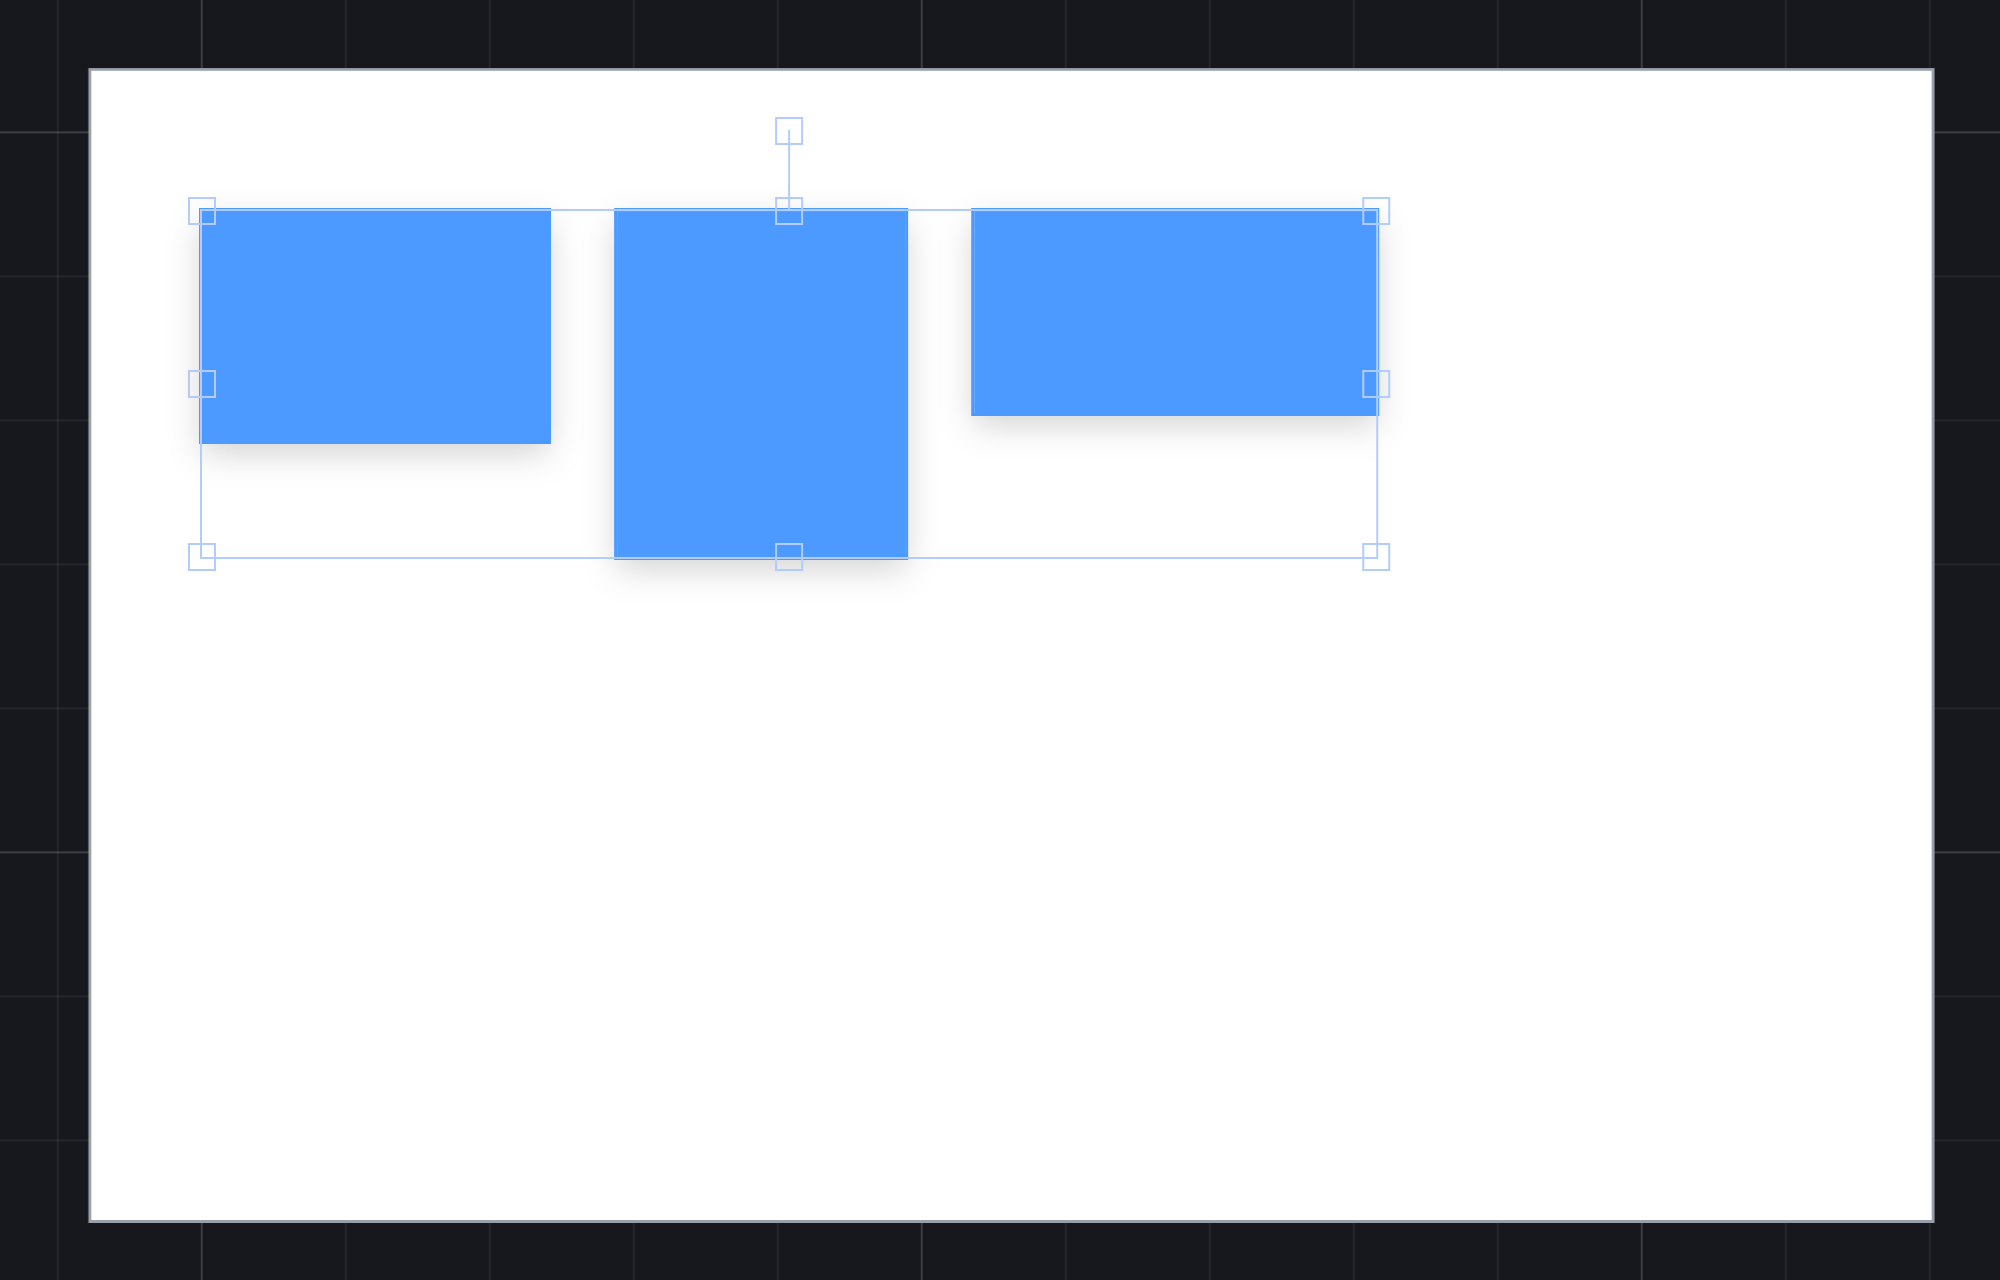
This arranges them once. To keep a row arranged as you add things to it, put it in a frame with Auto layout, which has its own article.
Centring something in its frame
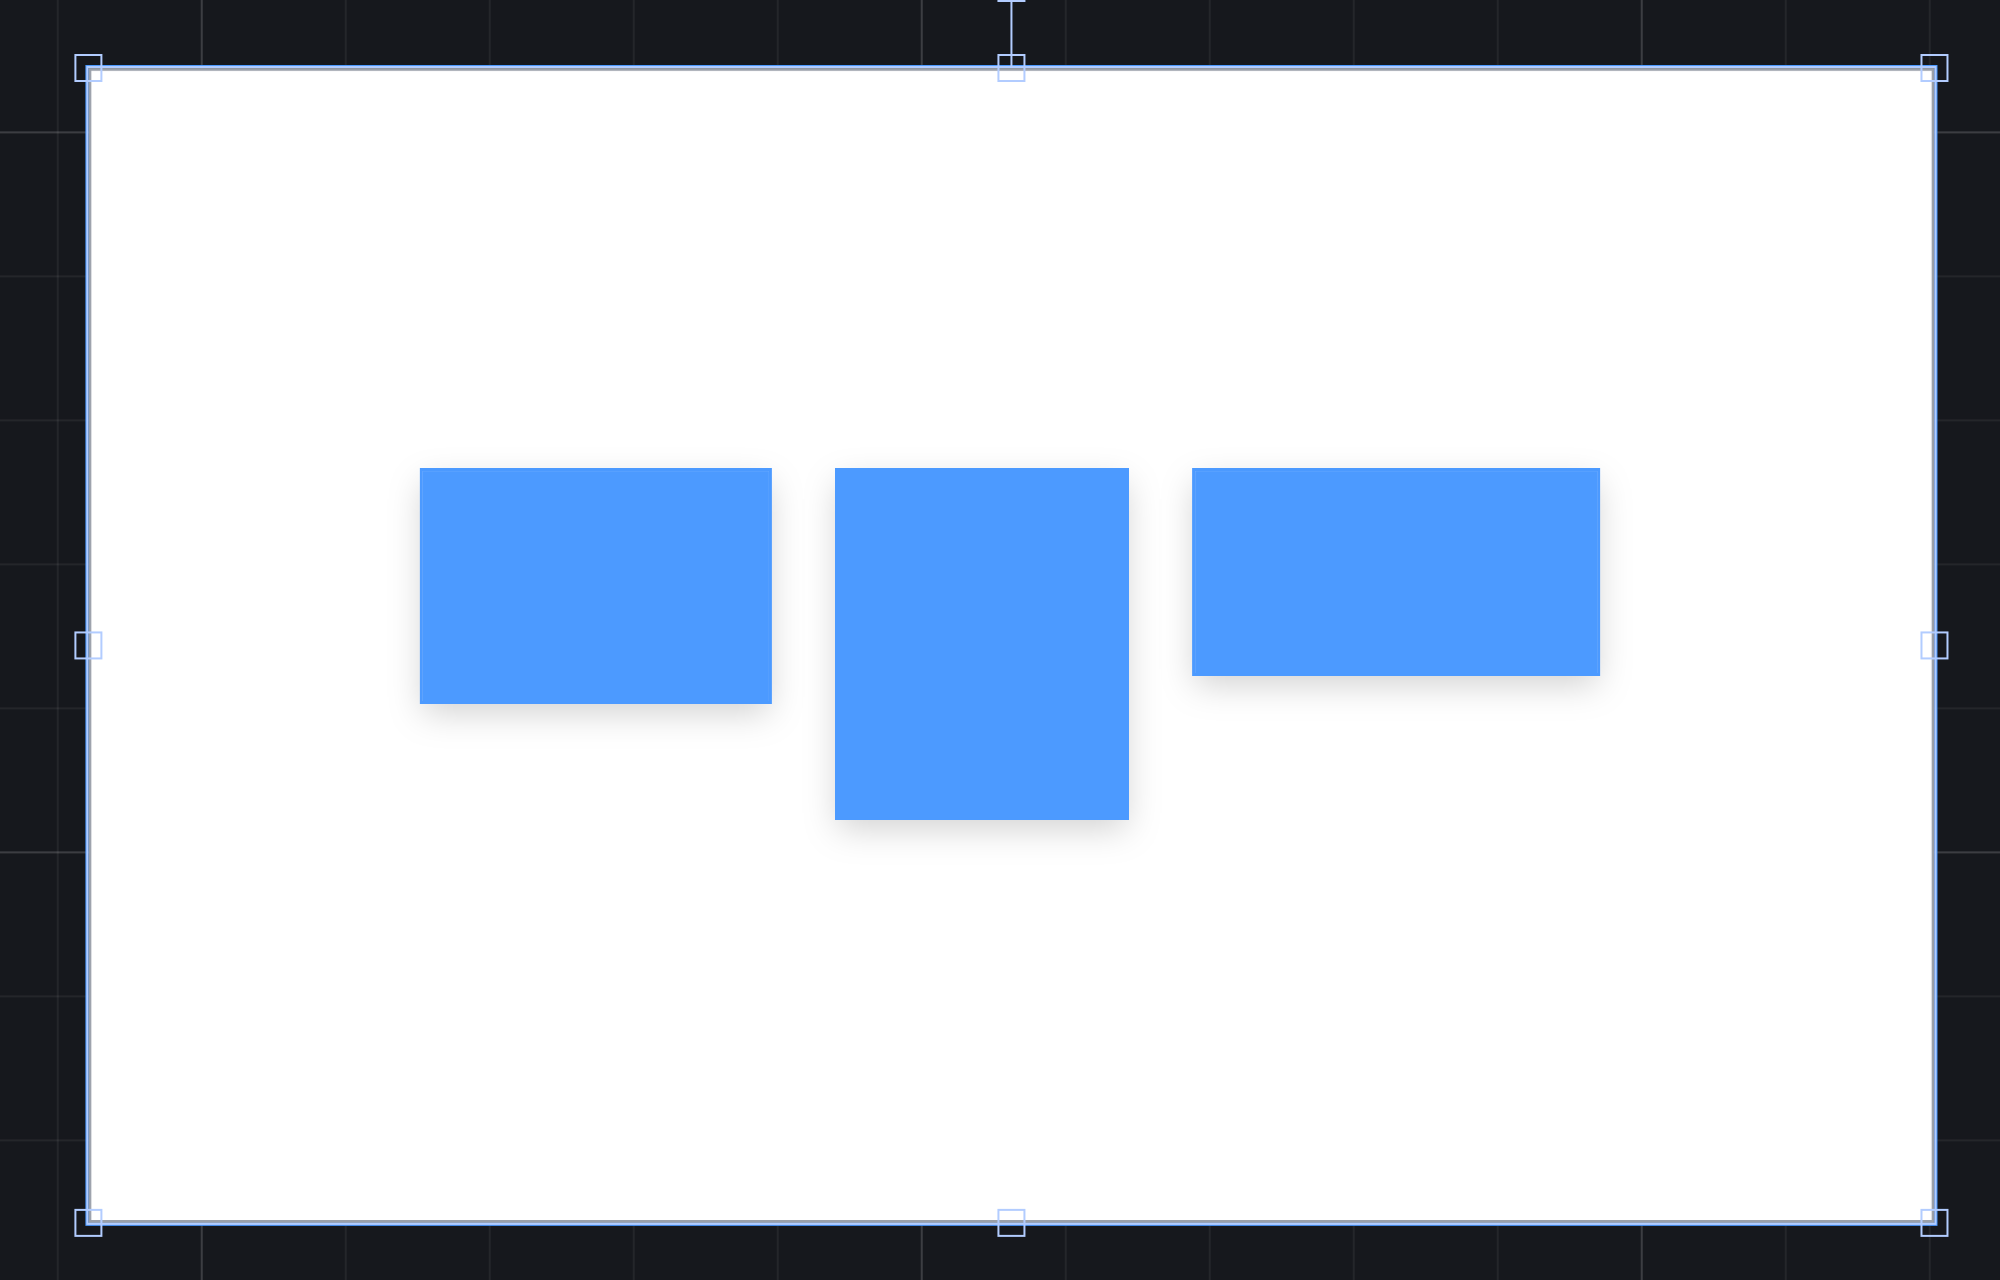
Select the frame and what you want to centre, then press Align horizontal centers and Align vertical centers. The frame is the biggest box in the selection, so it doesn't move, and everything else is centred in it.
The Align buttons move each selected thing separately, so three shapes would all land in the middle on top of each other. To centre the row as one, group it first: select the three, press Ctrl+G, then Ctrl-click the frame in Layers and align:
Try it
Draw three rectangles of different sizes. Drag one towards another until a guide shows, then again with Alt held. Select all three, press Align top, then Match size → Height, then Arrange → Horizontal with a gap of 24. Group them and centre the group in its frame.
Next: groups and boolean shapes.