For Power Apps
Start from a shipped design
The fastest way to a report of your own is often one that already works. The Parsware samples come with an editable copy of each drawn design, so you can rename one, change it and publish it into your own solution, while the original stays exactly as it shipped.
Este artículo solo está disponible en inglés.
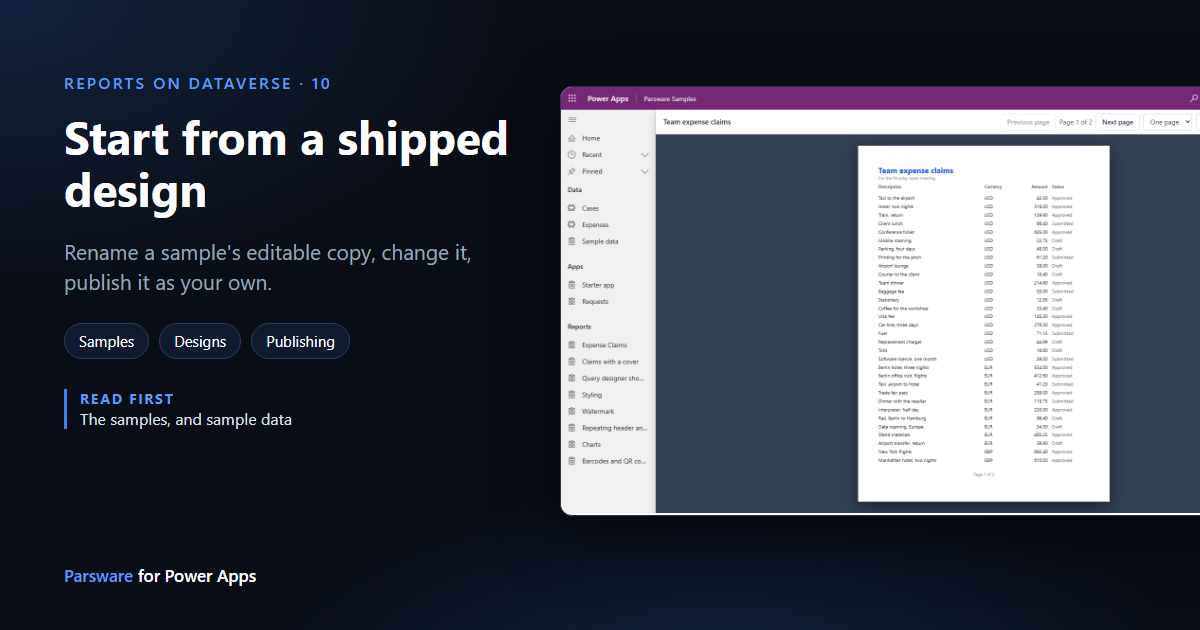
A blank page is a slow start. The samples already have a claims list with a header, column titles, a repeating row and a total, and it prints. If what you need is close to that, start from it.
There's a catch worth understanding first. The samples arrive published, as finished output, and publishing keeps only what readers need. The drawing itself isn't in there, so a shipped design can't be opened for editing. That's why Fill also writes an editable draft of each drawn sample into Parsware Studio. That draft is the copy you start from.
We'll turn the Expense Claims sample into a Team expense claims report of our own.
1. Find the draft
In Parsware Studio, open Designs. Alongside your own designs are the drafts Fill wrote: Expense Claims, Claims with a cover, Starter app, Expense panel and the rest.
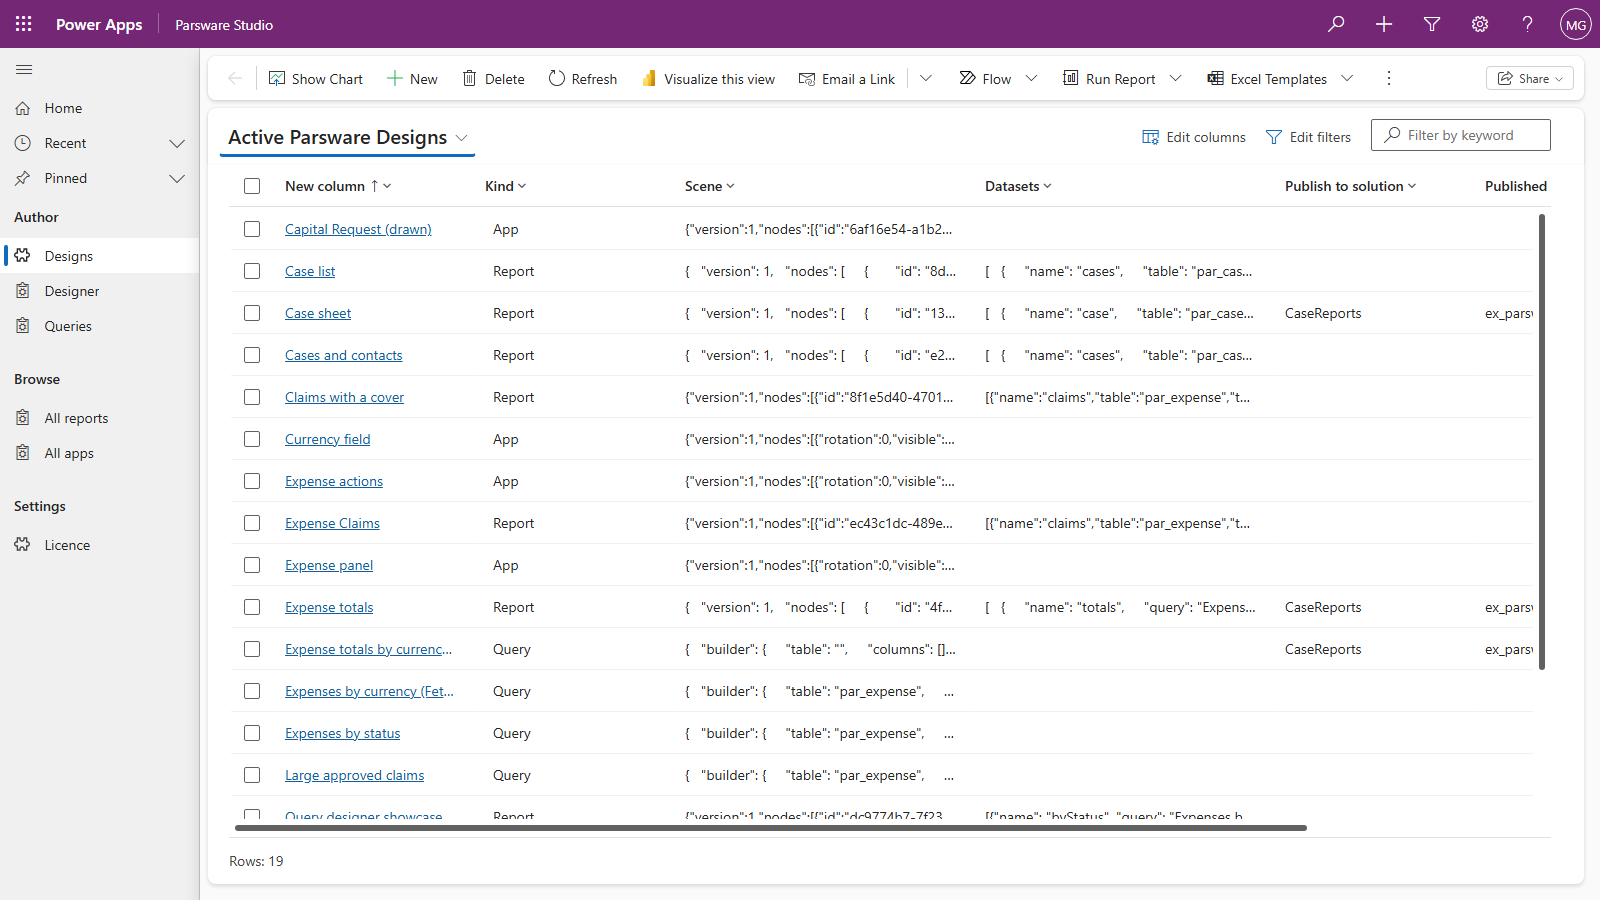
Only drawn samples have a draft. The five feature reports in the Samples app (Styling, Watermark, Repeating header and footer, Charts, Barcodes and QR codes) are generated rather than drawn, so there's nothing to copy for them.
2. Give it your own name
Open Expense Claims and change its Name. Ours is Team expense claims. Save.
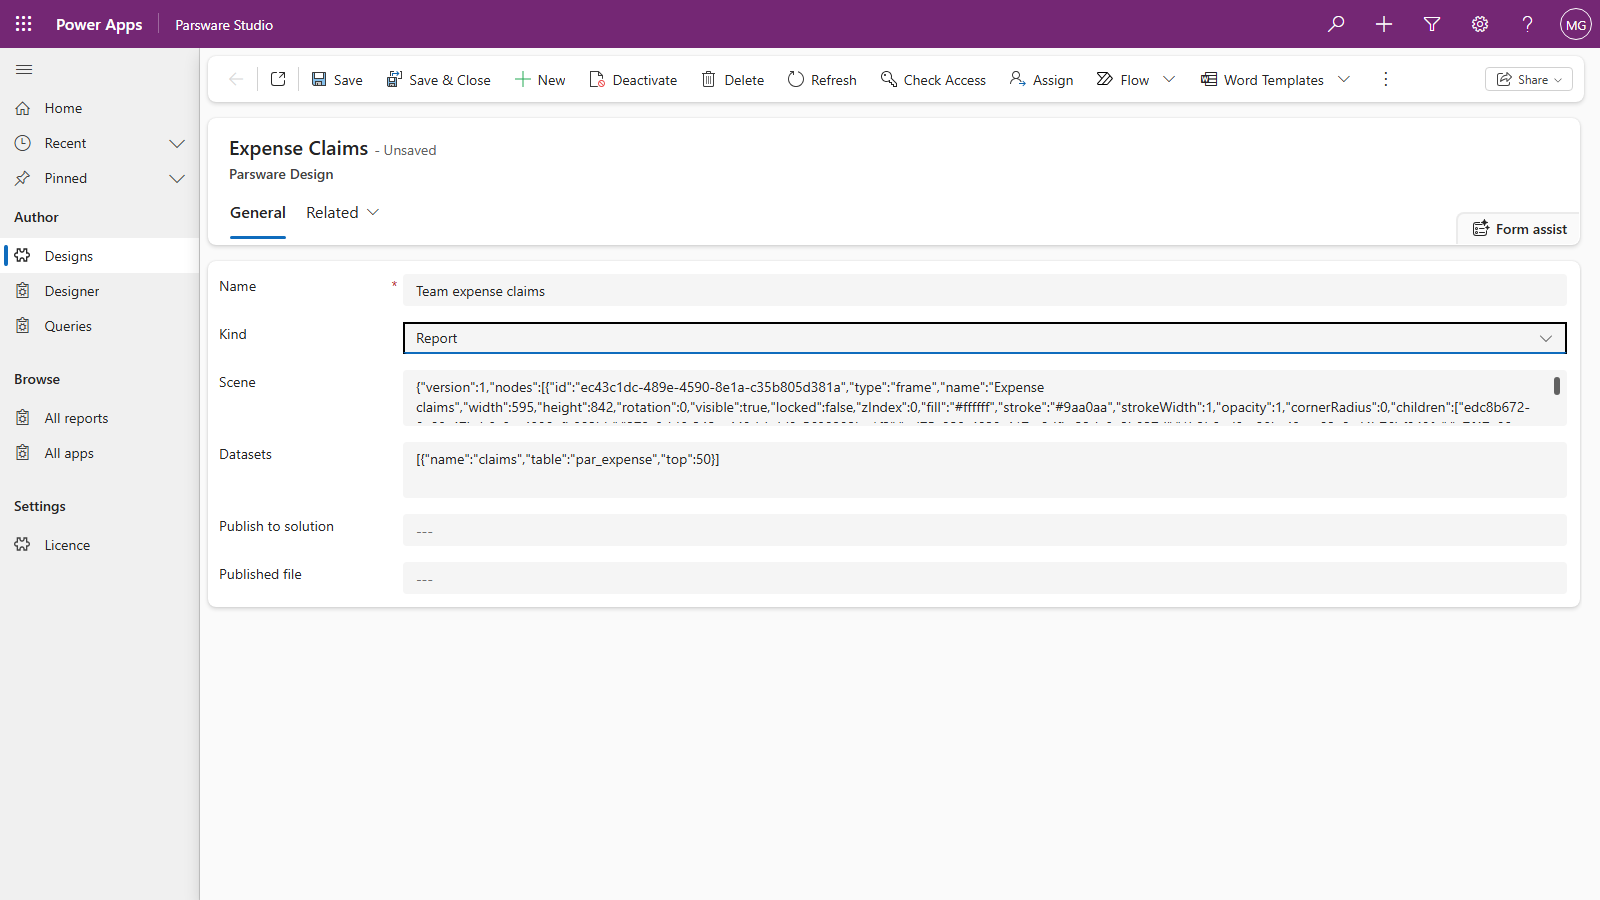
Rename it before you publish it, not after. Reports are found by name, and a design of yours with the same name as a sample is found first. So an Expense Claims you published would replace the sample everywhere it's opened by that name, including the Samples app's own navigation. A new name keeps the two apart.
The last two fields are empty: this draft has never been published, and the sample it came from isn't affected by anything you do to it.
3. Change it
Open Team expense claims in the designer. It's the whole drawing, with the same frames, bands, bindings and datasets as the sample, so change whatever you need. We changed the title and its colour, and the line below it:
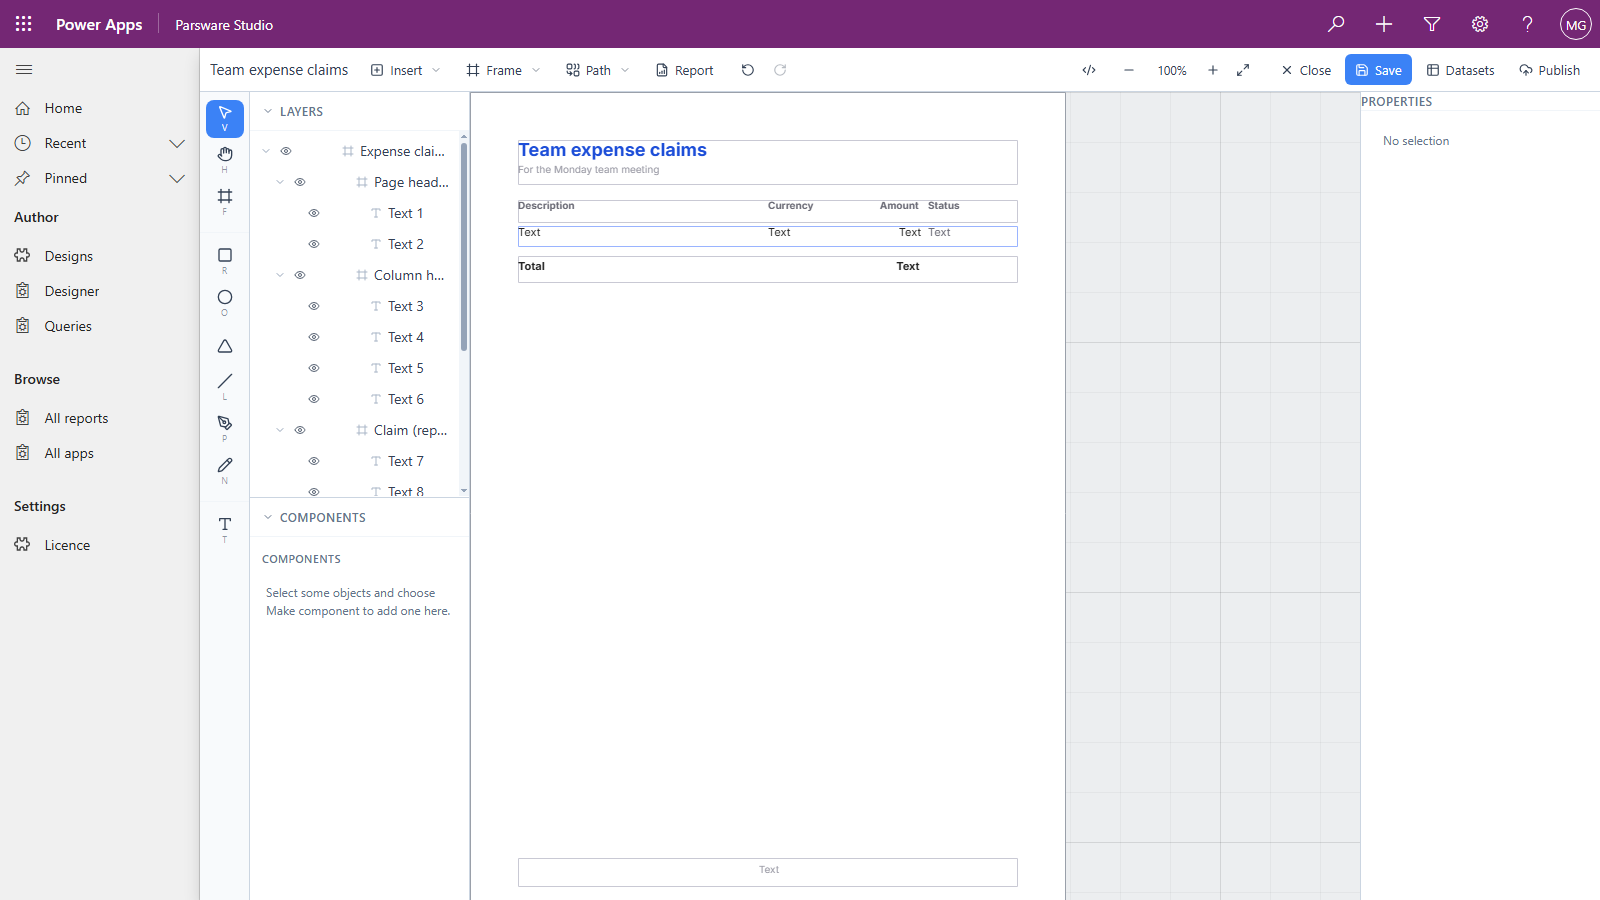
Datasets shows what it reads: one dataset, claims, on the Expense table. Point it at a
view of your own to change which rows it lists. Save, and preview
with Report.
4. Publish it into your solution
Press Publish and choose one of your solutions, not Parsware Samples. Ours is Case reports, and the designer answers Published as ex_parsware/team-expense-claims.json. The copy now belongs to your solution, travels with it, and uses your publisher's prefix.
Open it the way readers will. Here it is on a page in the app:
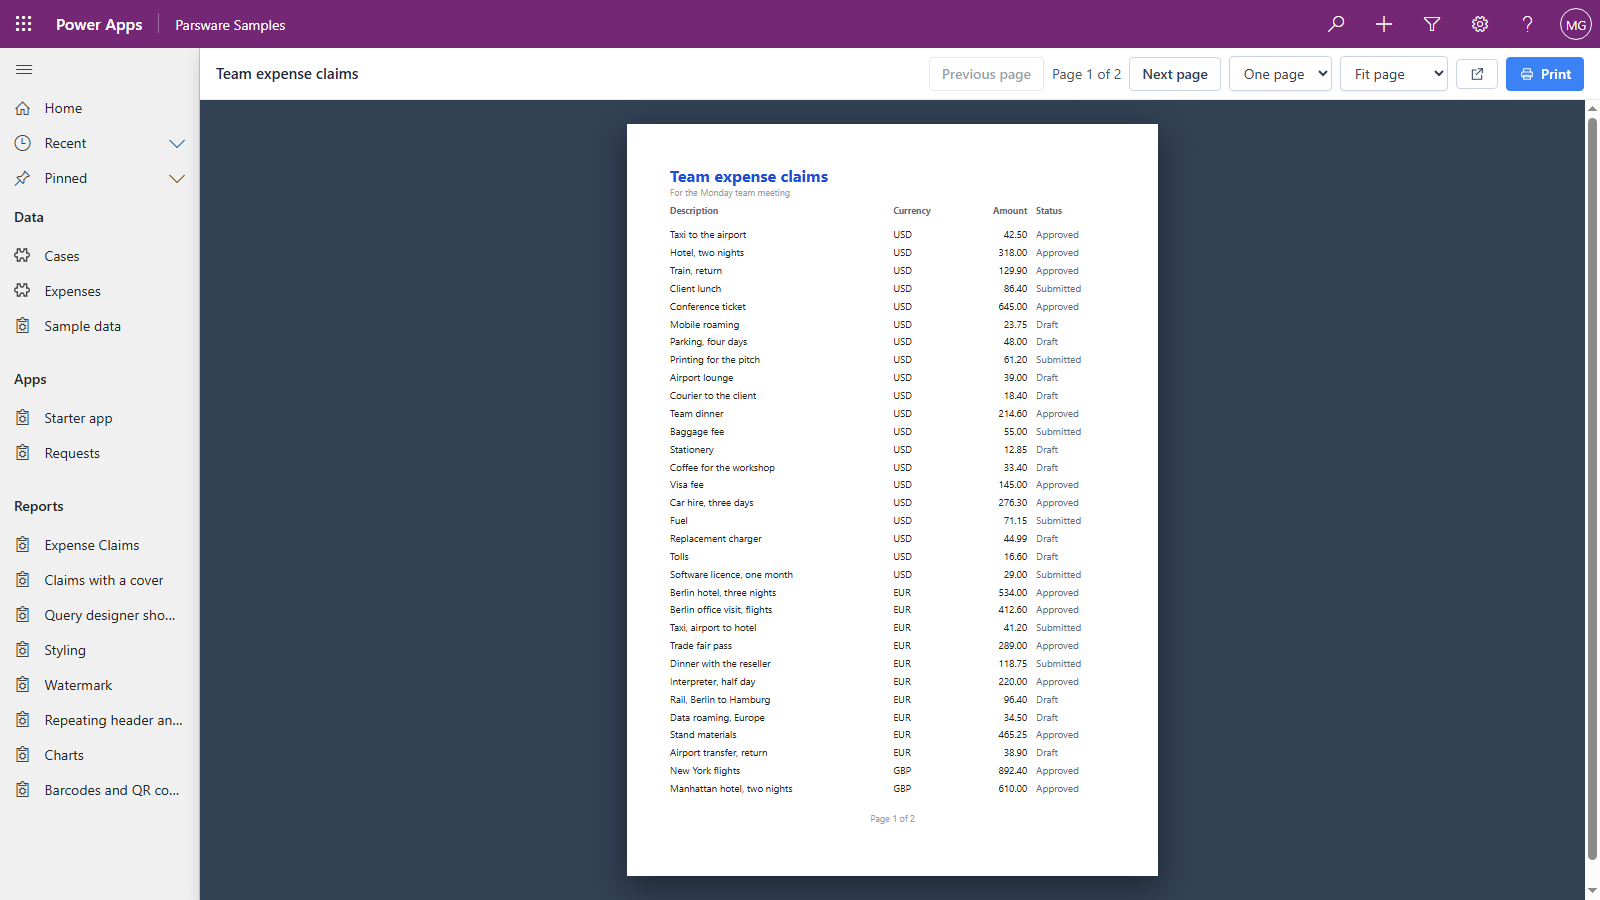
To give it a place in your own app's navigation, add a navigation item pointing at
/WebResources/par_designer/run.html?data=Team expense claims, as described in
The two apps. Or put it on a form, as in
A report on a form.
The original is untouched
The Samples app's Expense Claims still shows the sample as it shipped:
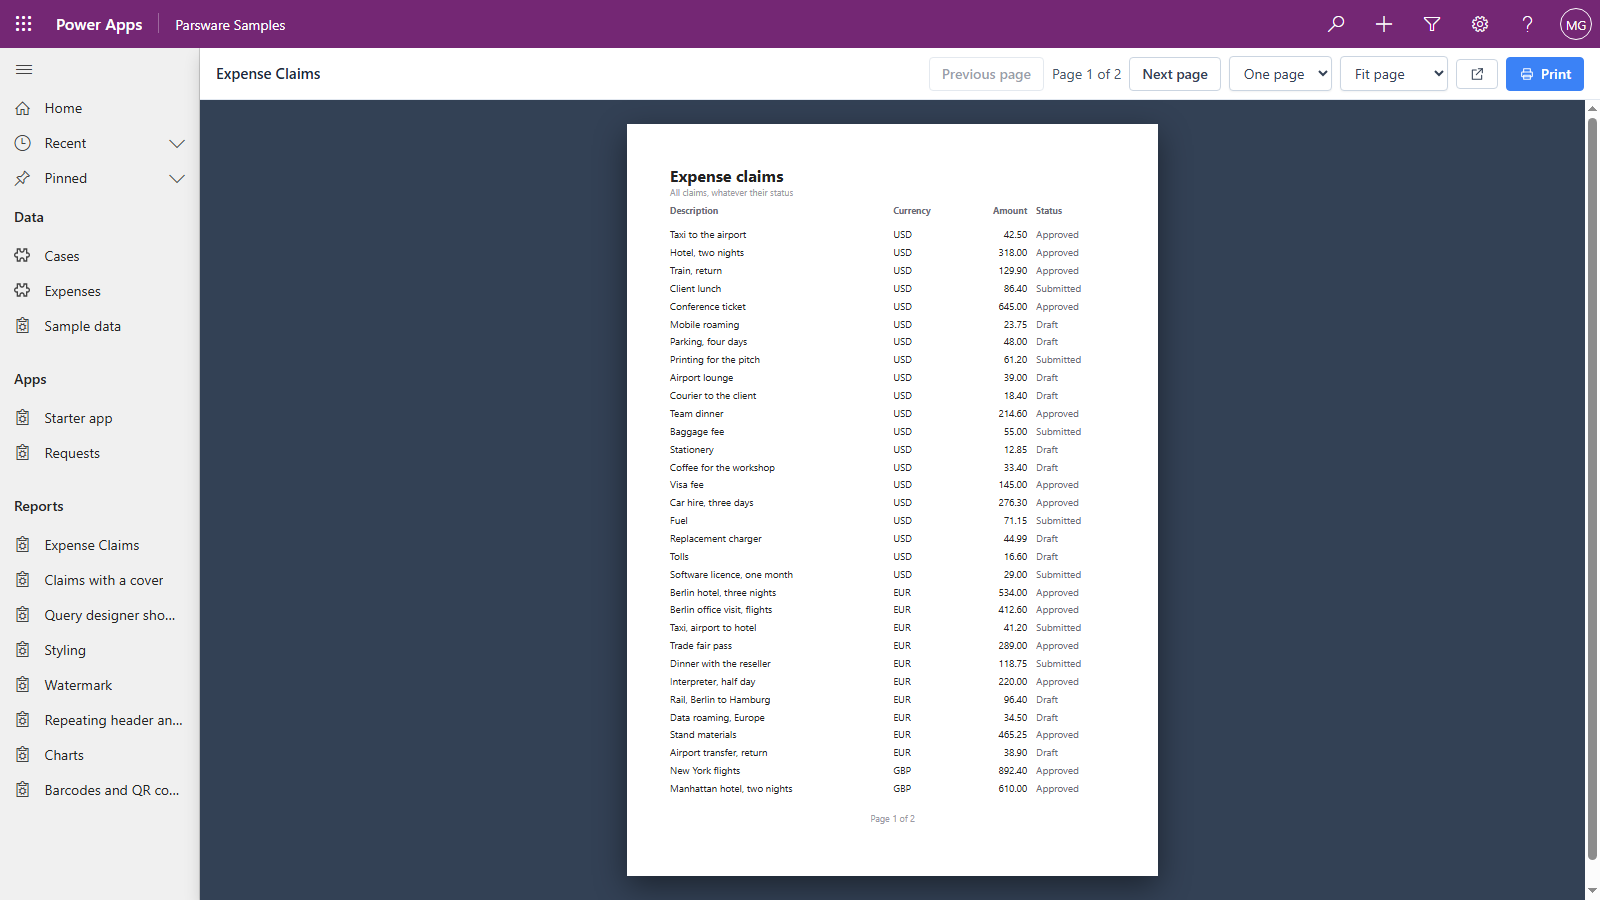
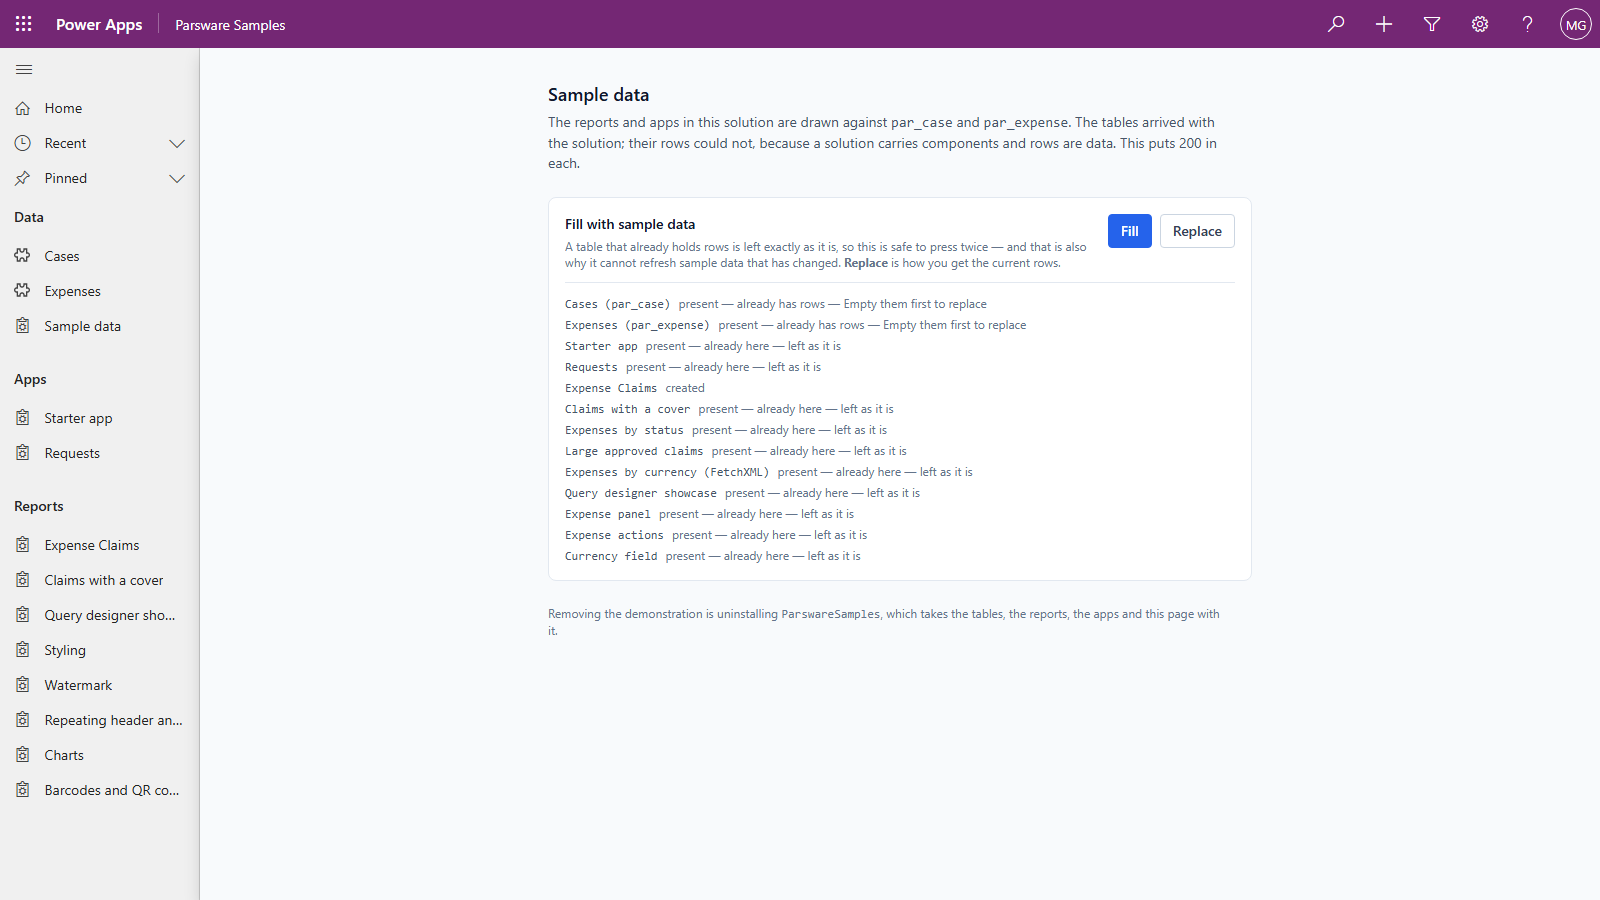
And if you'd like another copy of the original, press Fill on the Sample data page again. Fill looks for its drafts by name, finds no Expense Claims any more, and writes a fresh one. Every other sample is left as it is, and so are your tables' rows:
Good to know
- Your copy doesn't follow the samples. A new release of Parsware Samples updates the shipped designs, not your copy. That's what you want from something you've made your own.
- Uninstalling the samples leaves your copy. Your published design is in your solution. Its data is a different matter: Team expense claims reads the samples' Expense table, which goes with the samples. Point your copy at your own tables before you rely on it.
- Studio apps copy the same way. Starter app, Requests, Expense panel and the other drawn apps have drafts too. Rename, change, publish.
Next
That's the end of the reports series. Next come Studio screens on Power Apps forms, starting with a drawn screen as a form section. The whole series is in the reading list.