Parsware Platform
Publishers and solutions in Parsware
How Parsware names your work, packages it and moves it between environments. Create a publisher and its prefix, build a solution in development, export it, import it into test as a managed solution, and uninstall it cleanly.
Cet article n’est disponible qu’en anglais.
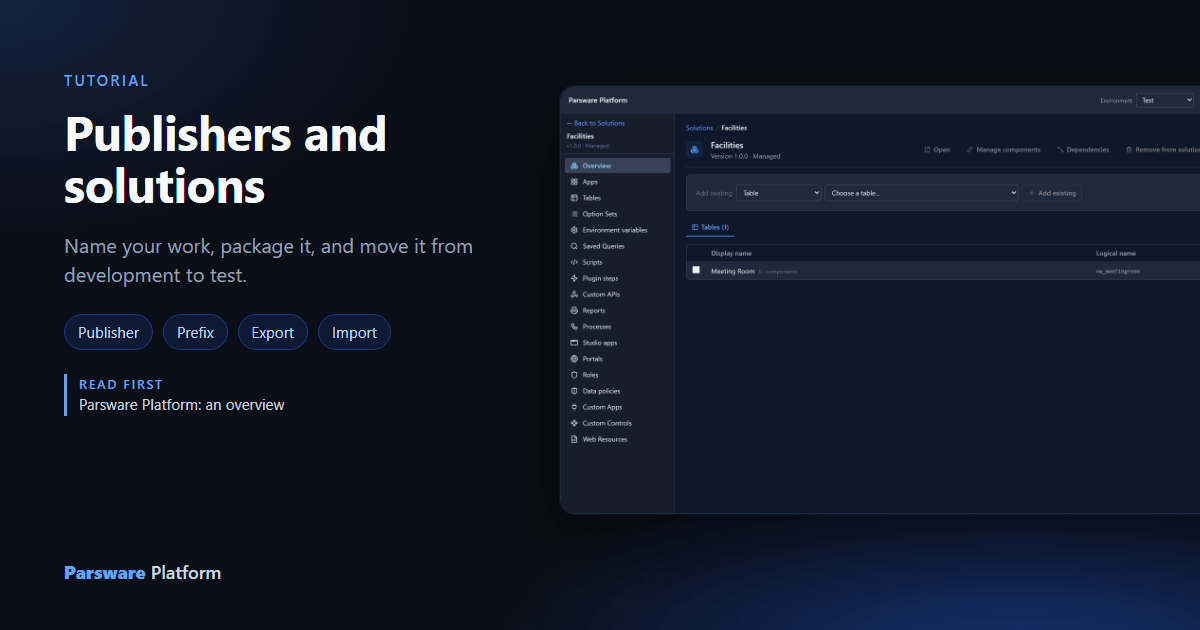
Everything you build in Parsware lives in a solution, and every solution belongs to a publisher. Together they answer two questions every team runs into sooner or later: how do we stop our names clashing with someone else's, and how does the work we built in development get to test and production without anyone rebuilding it by hand?
In this walkthrough we create a publisher, build a small solution in the Development environment, move it to Test as a single file, and then remove it again. Every picture below is the real product, captured while the walkthrough was being run.
Publishers and prefixes
A publisher is whoever owns the work: your company, a department, or a vendor who builds solutions for you. Its most important setting is its prefix, a few letters that go in front of the logical name of everything its solutions create.
Under Admin, open Publishers, then choose New.
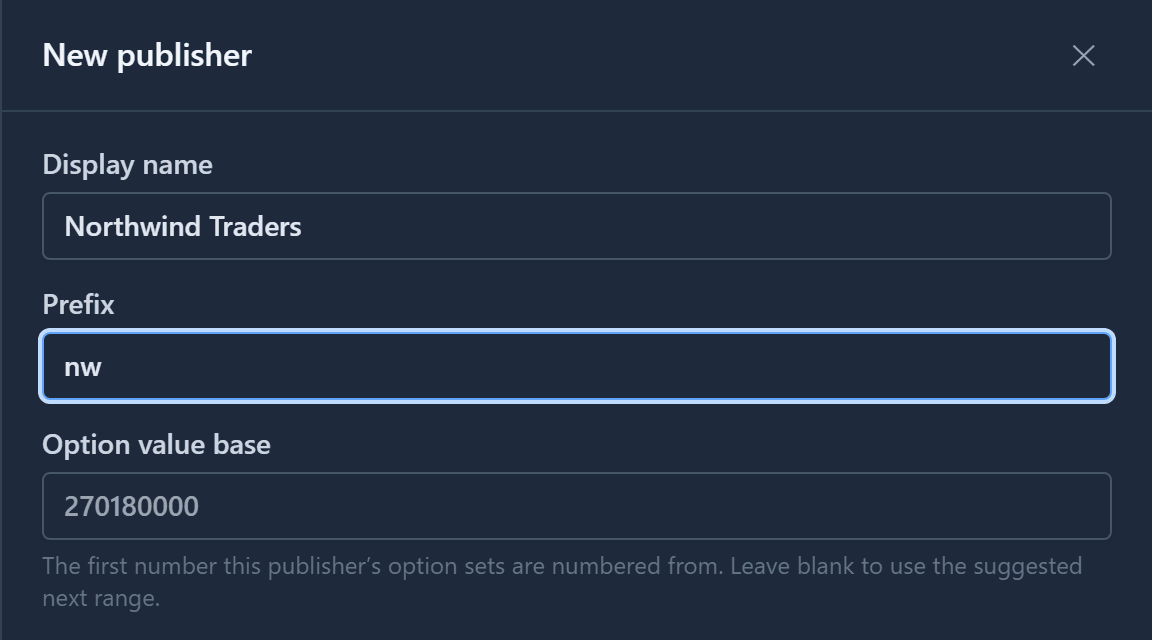
- Display name:
Northwind Traders. - Prefix:
nw. Keep it short, because it's in every logical name. It can't sensibly be changed later, for the same reason. - Option value base: suggested for you. The values in this publisher's choice lists are numbered from it, so they never collide with another publisher's. Leave it as it is.
Choose Add. The publisher appears in the list with its prefix:
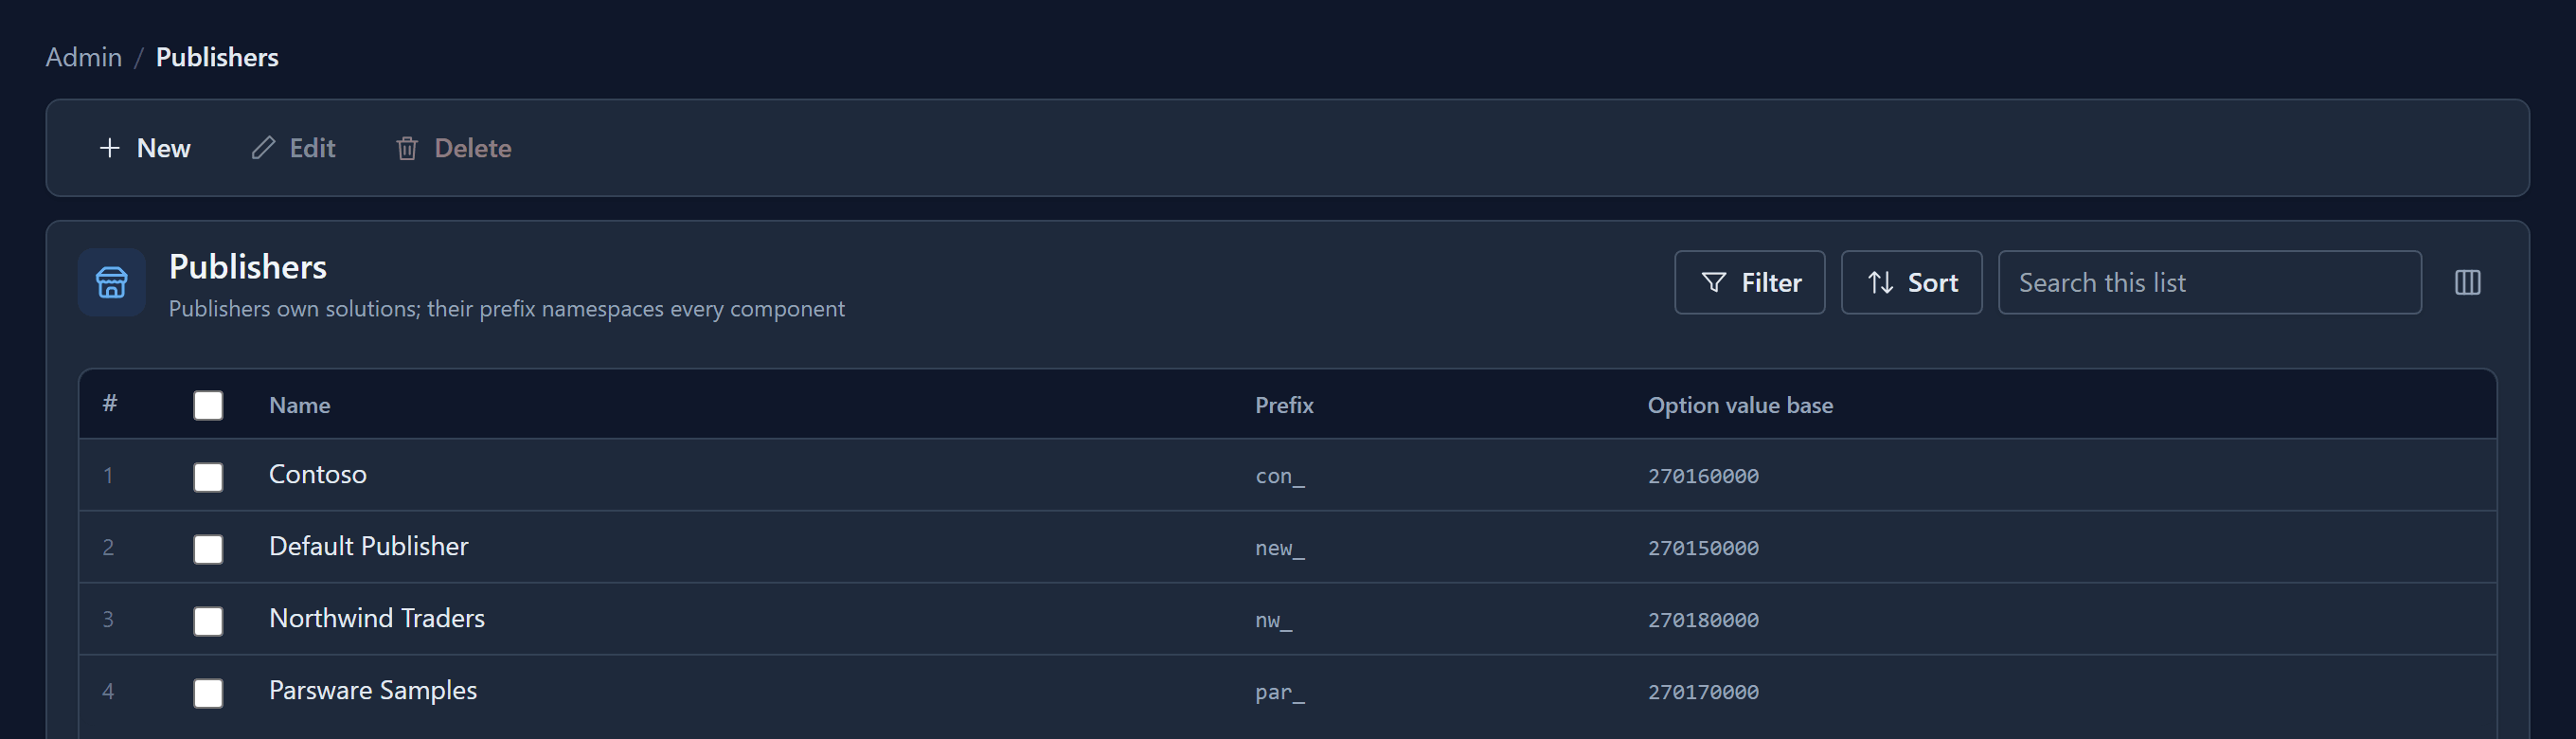
Why prefixes matter. Two teams can each make a table called Room. Without prefixes, the
second one to install would find the name already taken, or worse, would change a table it
doesn't own. With prefixes they are nw_room and con_room, and both can live in the same
environment. Only the platform's own standard tables, like Account and Contact, have no prefix.
Anything you add, even a field on a standard table, gets yours.
Create a solution
Open Solutions and choose New. Name it Facilities and choose Northwind Traders as
its publisher.
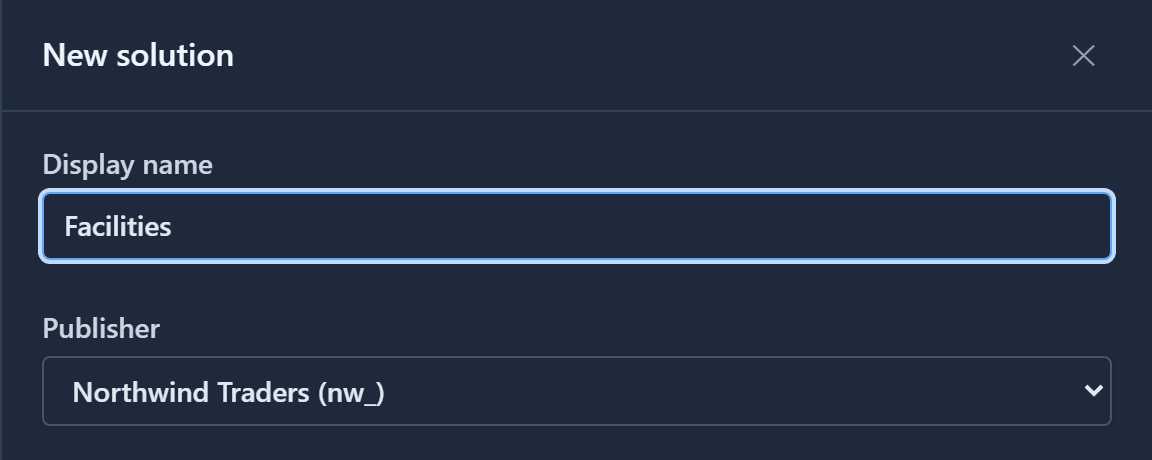
Choose Save, and the solution opens on its overview:

It starts at version 1.0.0 and it is unmanaged. Unmanaged means editable: this is the copy you build in, normally in a development environment.
Build something in it
Anything you create from inside the solution belongs to it. Choose Tables, then New, and
type Meeting Room.
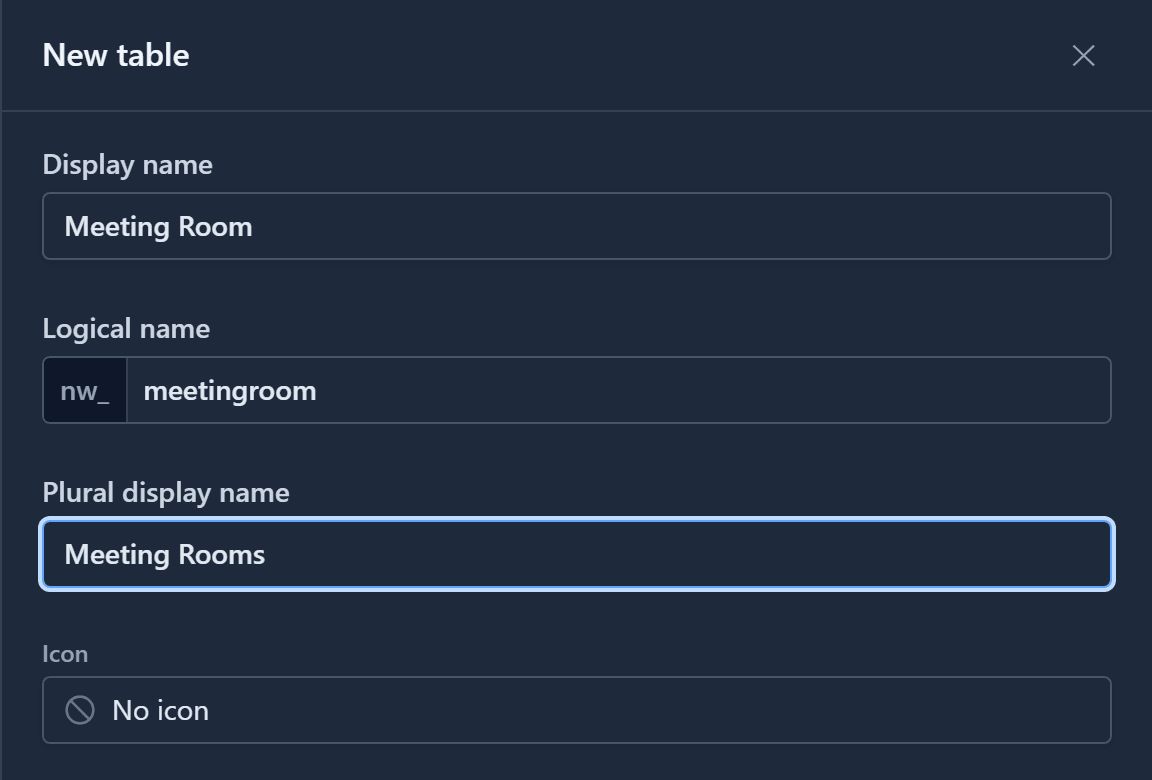
The logical name fills itself in as nw_meetingroom. The prefix comes from the solution's
publisher, so you never type it and can't forget it. Save the table, then add a field called
Capacity with the data type Integer:

Both fields carry the prefix too: nw_name and nw_capacity. For a real solution you would go
on to add forms, views, an app and perhaps a process. The walkthrough
Build your first table and view covers that part.
Export: the whole solution as one file
Go back to Solutions, select Facilities, and choose Export. The solution downloads
as a single file named after it and its version: Facilities-1.0.0.json.
That file holds everything in the solution, with the same names it had in development: the table, its fields, and in a larger solution the forms, views, apps, reports and processes. It's plain JSON, so it can be kept in source control next to the rest of your work.
Export carries only the solution's own components. If something in it depends on a component that isn't in the solution, say a lookup to Contact, the import checks that the target environment already has it, and stops before changing anything if it doesn't.
Import into Test
Switch to the Test environment with the Environment picker at the top of the screen. Each environment has its own database schema, so nothing you built in development is here yet.
Open Solutions, choose Import, and pick the file.
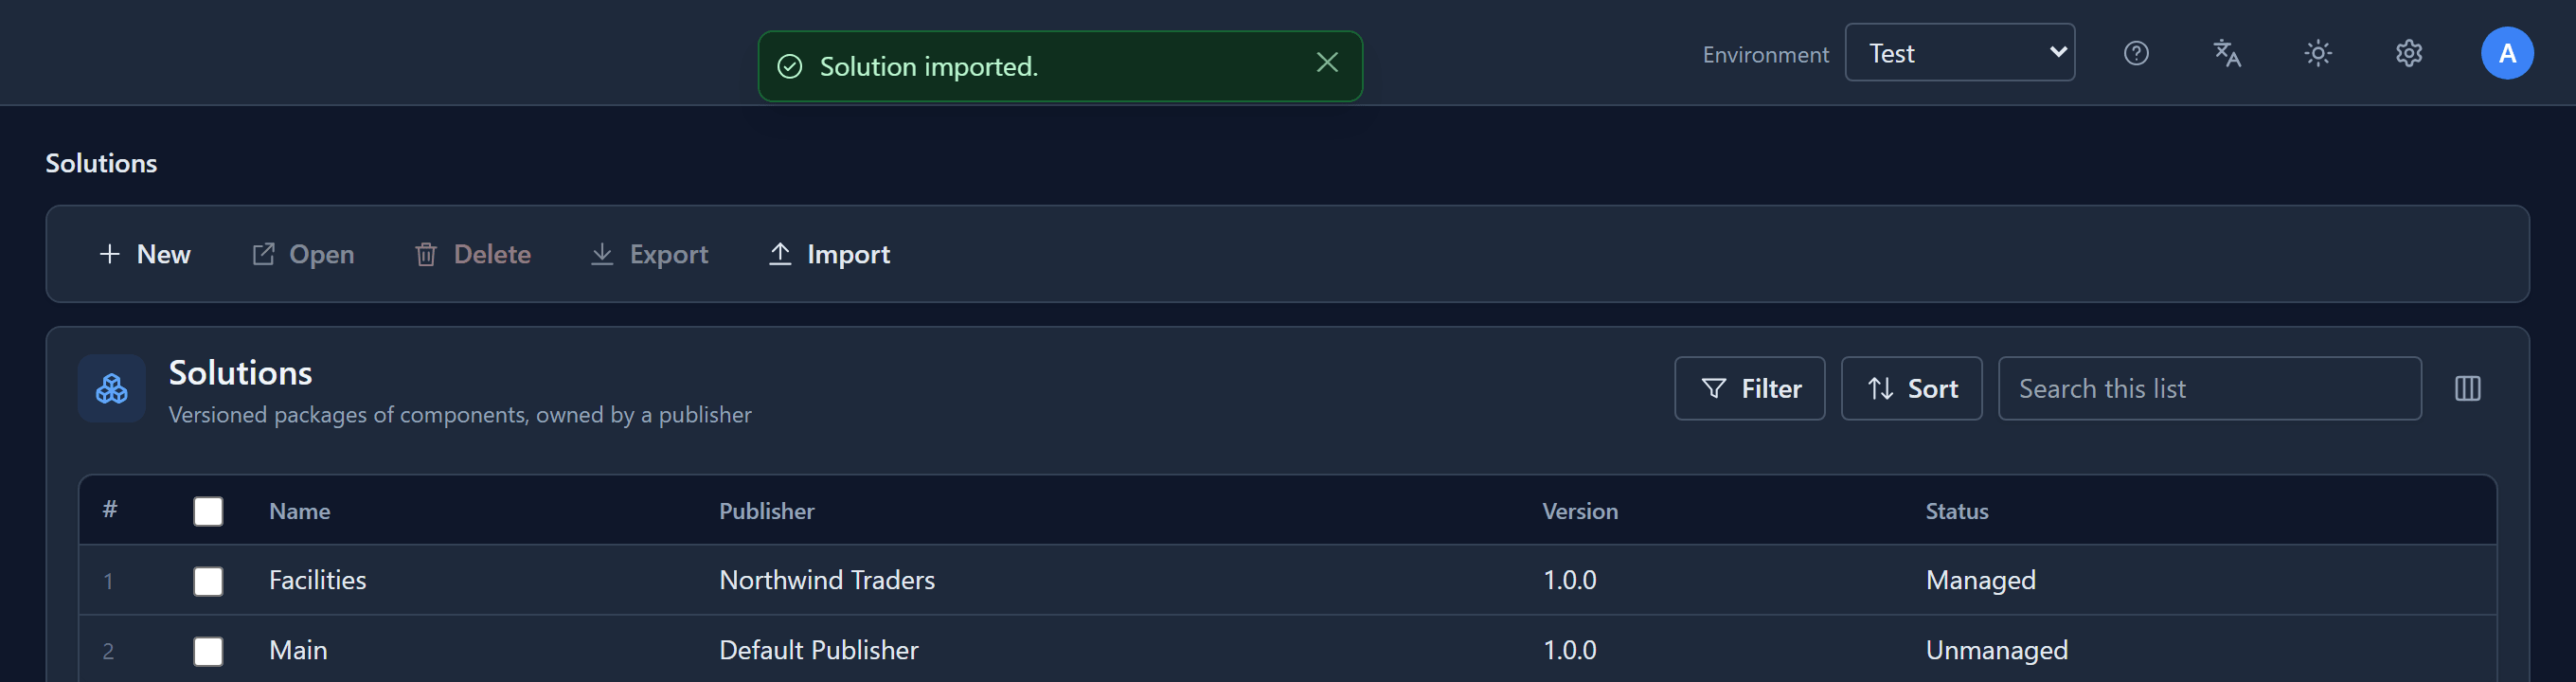
Facilities arrives as a managed solution, from Northwind Traders, at version 1.0.0. Open it and the Meeting Room table is there, with the same logical names. Nobody retyped anything.
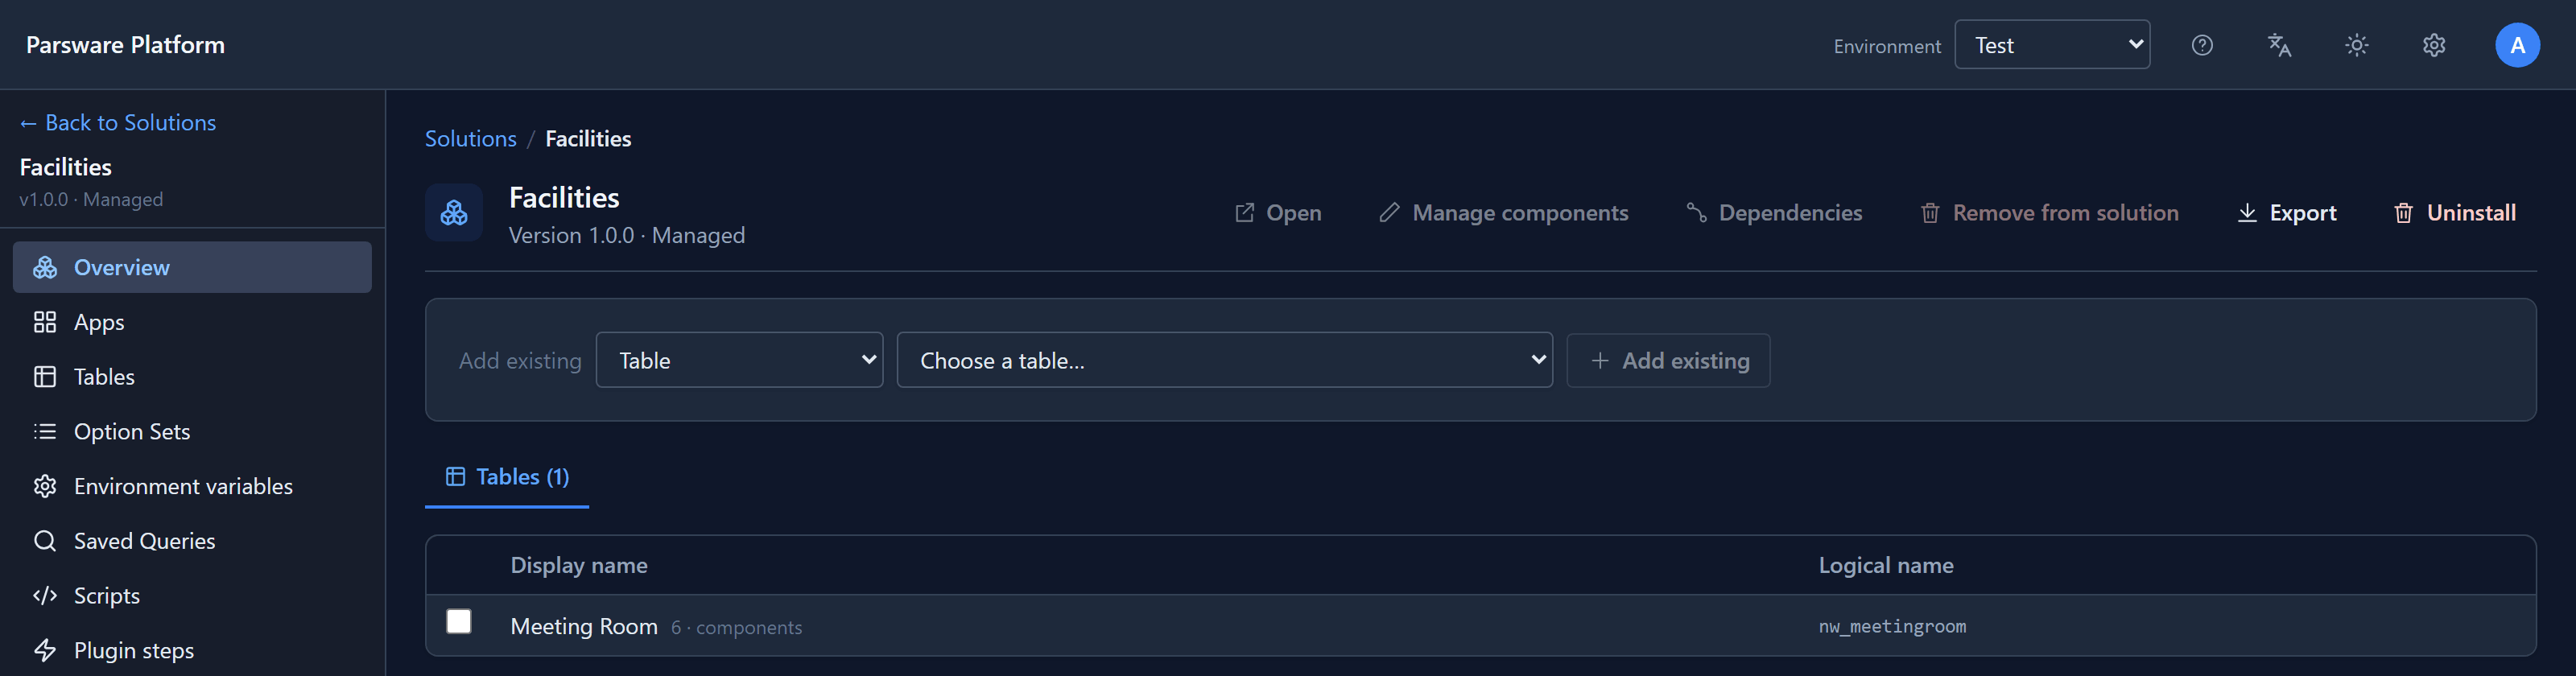
Managed and unmanaged, side by side:
| Unmanaged | Managed | |
|---|---|---|
| Where | Where you build it, usually Development | Where it's deployed: Test, Production |
| How it gets there | Created with New | Imported from an exported file |
| How it changes | You edit its components | A new export is imported over it |
| How it leaves | Delete: the solution goes, its components stay in the environment | Uninstall: what it brought is removed |
Two rules keep this safe. Importing an older version of a solution over a newer one is refused, so a stale file can never drag an environment backwards. And a managed solution can't be deleted: where Delete was on the command bar, there's Uninstall.
Uninstall
Select Facilities in the list and choose Uninstall.
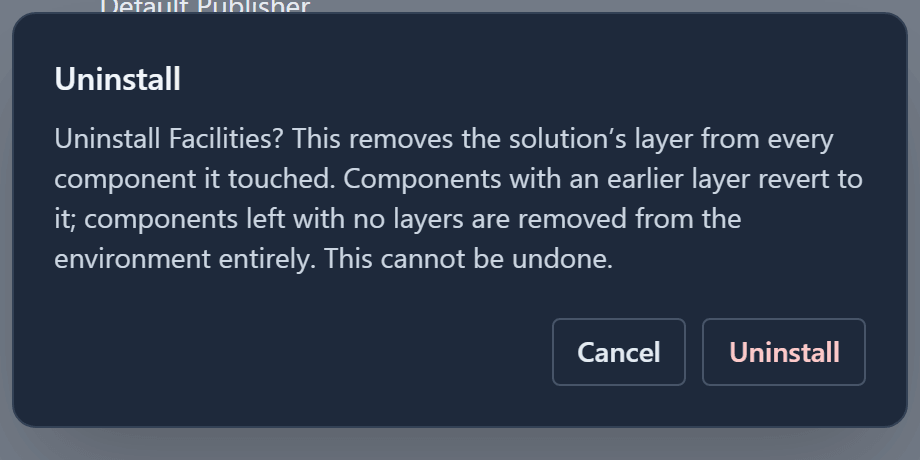
Every component a managed solution touches gets a layer from it. Uninstalling takes that layer away. A component the solution brought with it, like the Meeting Room table, has nothing left underneath and is removed. A component that existed before, like a standard table the solution added a field to, goes back to how it was. Tables you created yourself in the environment are left alone.
After the uninstall, Test is back where it started: only its default solution, Main.
What we did
- Created a publisher with a prefix, which names everything its solutions create.
- Built an unmanaged solution in development, with a table and a field that took the prefix by themselves.
- Exported it as one versioned file.
- Imported it into Test, where it arrived managed, with the same names.
- Uninstalled it, and the environment went back to how it was before.
Going to production is the same import again, into the Production environment. To ship a change, make it in development, export again, and import the new file over the old one.
Next: Build your first table and view, inside a solution of your own.