Parsware Platform
Text and rich text
Placing text, giving one word its own weight and colour, fonts and sizes, and choosing whether the box fits the words or the words fit the box. Trying it, we fixed two things: you can now type as soon as you place a text, and styling after typing reaches the whole line.
Este artículo solo está disponible en inglés.
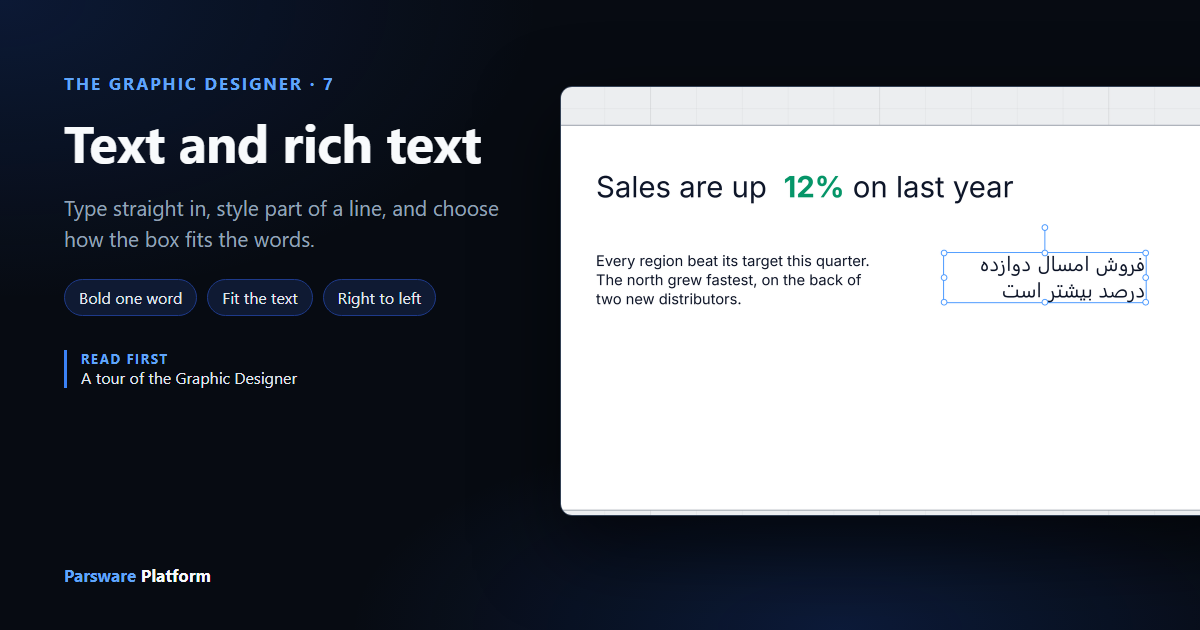
Every screen has words on it: headings, labels, notes, the caption on a button. In the designer, text is an object like any other. You place it, size it and style it, and you can style one part of a line differently from the rest.
We worked in a 760 by 420 frame on an empty part of the Starter app sample's canvas, without saving.
Placing text
Press T, or pick the Text tool from the rail, and click where the text should start. A box appears with its placeholder selected, so just type:
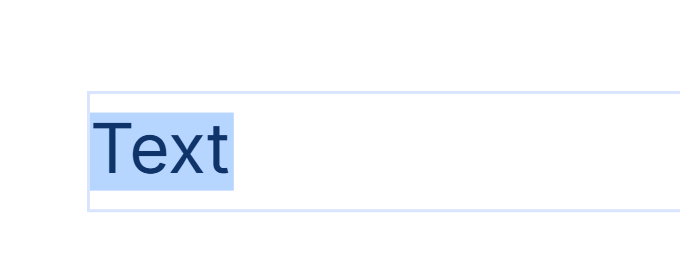
Click anywhere else when you're done. To change the words later, double-click the text, or edit them in the Text box in Properties.
New: you can type straight away. A click used to place a box reading Text and leave it there: nothing selected, no cursor, and the Text tool still on. The letters you typed next were taken as tool keys. Typing Hello left you on the Ellipse tool. Now the new text is selected, the Select tool is back, and the first key replaces the placeholder.
The Text section
With a text selected, Properties has a Text section:
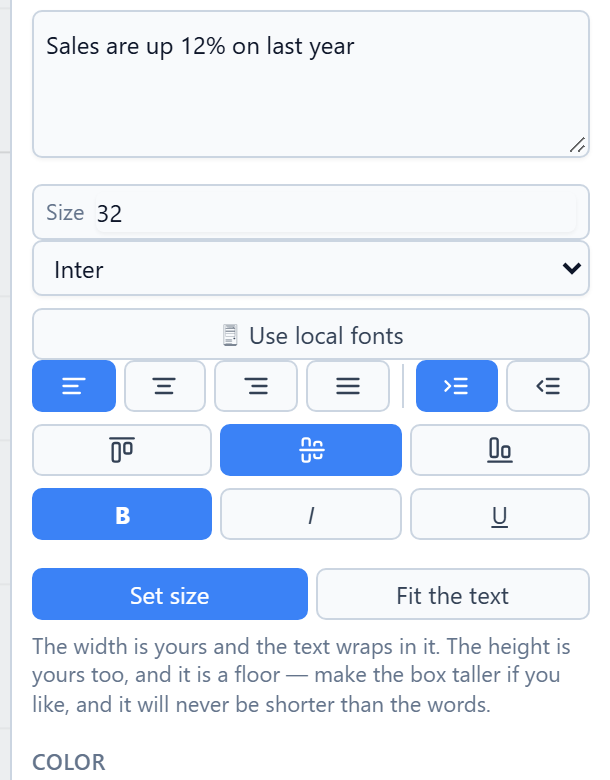
From the top:
- The words themselves.
- Size.
- Font. Inter, Arial, Georgia, Times New Roman and Courier New are always there. Use local fonts adds the ones installed on your computer, in Chrome and Edge. Only use one of those if everyone who opens the app has it too.
- Alignment: left, centre, right or justified, then left to right or right to left.
- Where the words sit when the box is taller than they are: top, middle or bottom.
- B, I and U: bold, italic and underline.
- Set size or Fit the text, below.
The colour is in the Color section underneath. It works like any other fill, which is the next article.
Styling part of a line
Double-click a text to edit it, select some of the words, and the buttons and fields in Properties apply to the selection only. We typed Sales are up 12% on last year, set the size to 32, selected 12%:

then pressed B and gave it a green colour:

With nothing selected inside the text, the same buttons change the whole text, and a whole-text change wins over any part styled earlier. Bold, italic, underline, colour, outline, size and font can all be set on part of a line. Alignment and direction belong to the whole text.
New: styling after typing. The designer remembers the part you last selected, so a click on Size or Bold can still reach it after you've left the text. It went on remembering after you typed over it. Select the placeholder, type a headline, set Size 32, and only the first four letters grew. Typing now forgets the old selection, so a change reaches the whole text.
The box: Set size or Fit the text
Set size is the default. The width is yours, and the words wrap inside it. We set a note's width to 320:
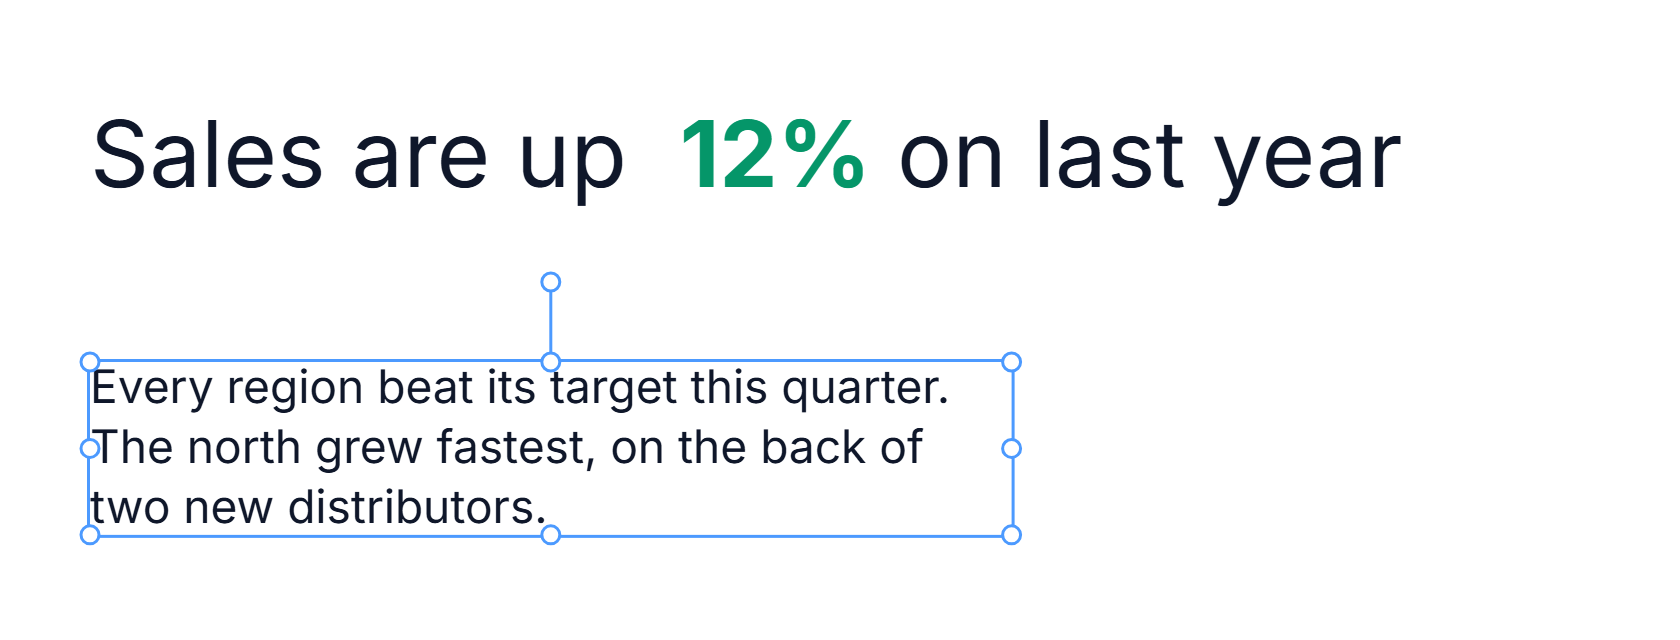
The height is yours too, but only as a minimum. Make the box taller and it stays taller. It can never be shorter than the words, because a box that hid what you typed would be a mistake you can't see.
Fit the text makes the box exactly the words, as wide as the longest line and as tall as the lines. Nothing wraps, and the resize handles go away until you press Set size again:
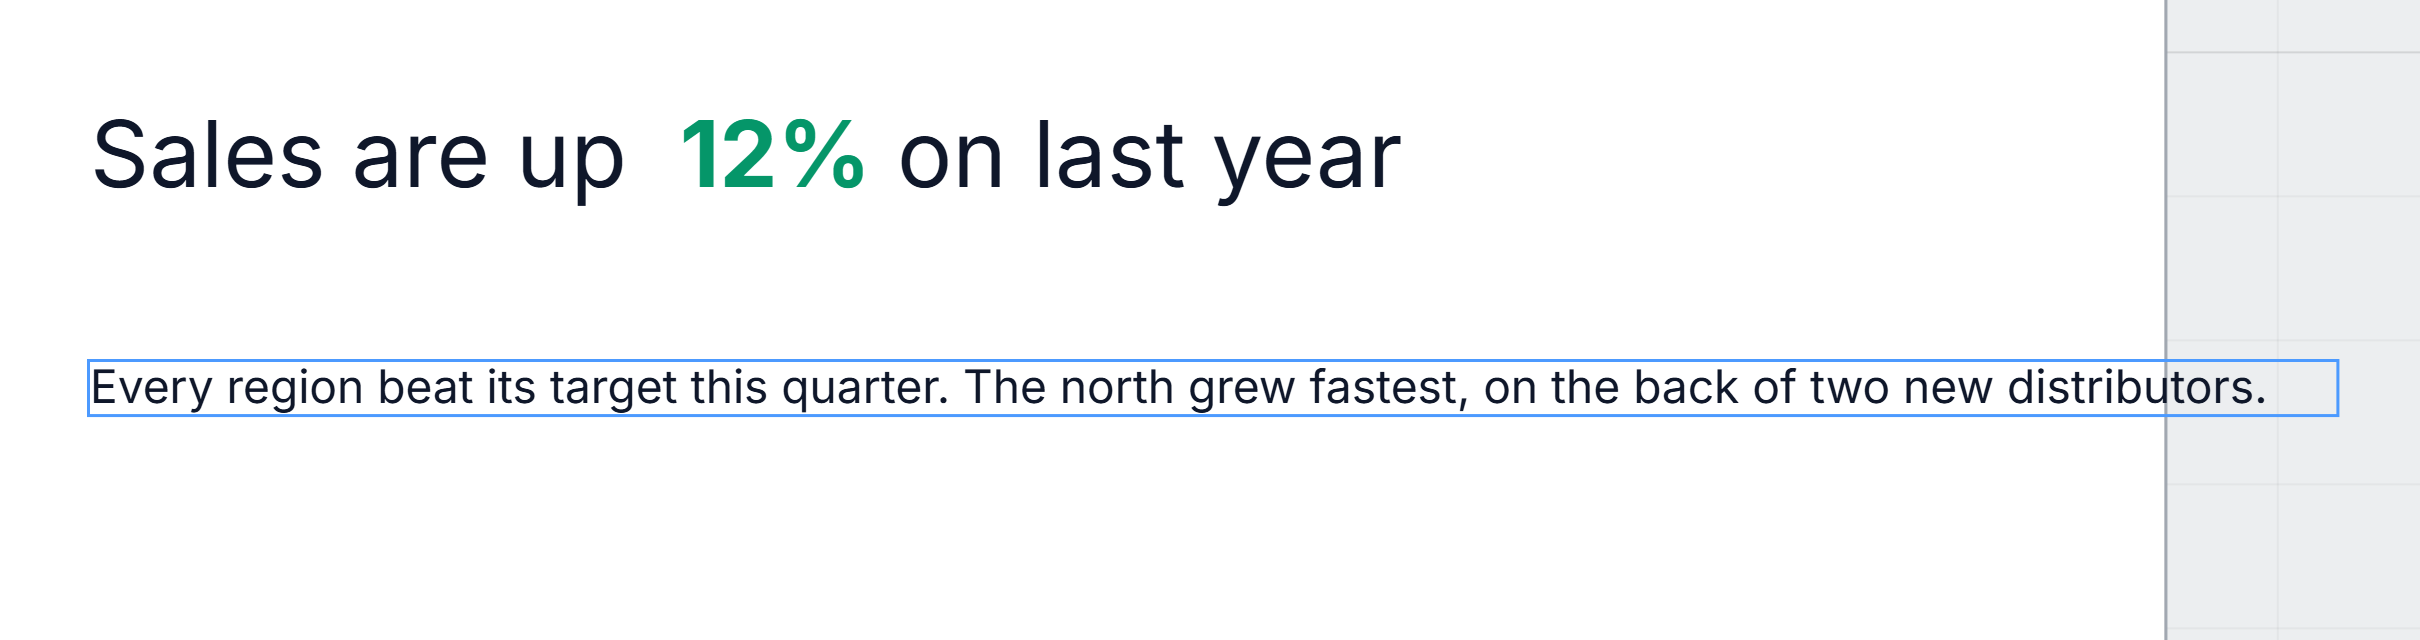
Use Fit the text for short things like labels, captions and numbers. Use Set size for anything that should wrap.
Where the words sit
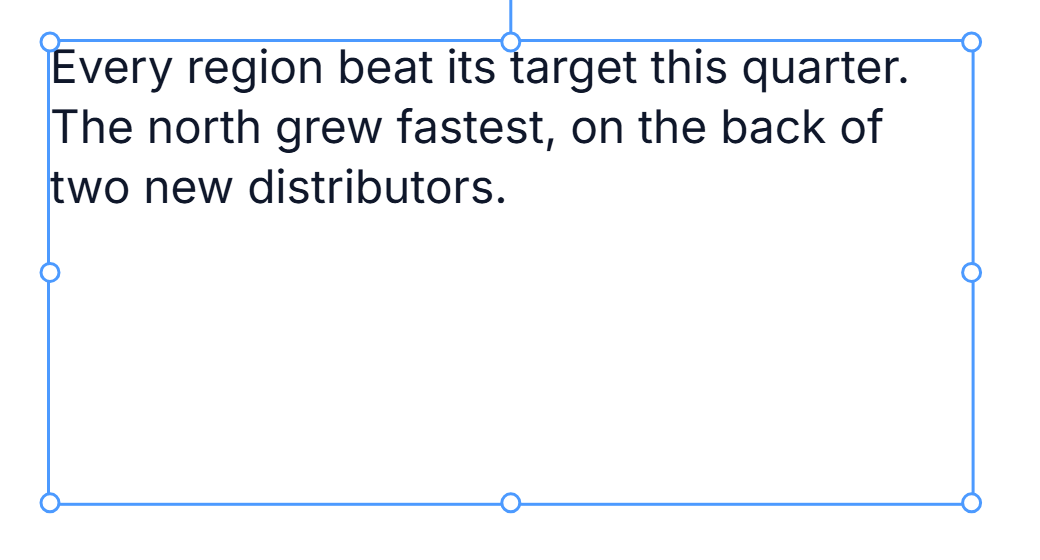
When the box is taller than the words, the top / middle / bottom buttons say where they go. On a screen, the middle is the default, because that's what a caption inside a button needs:
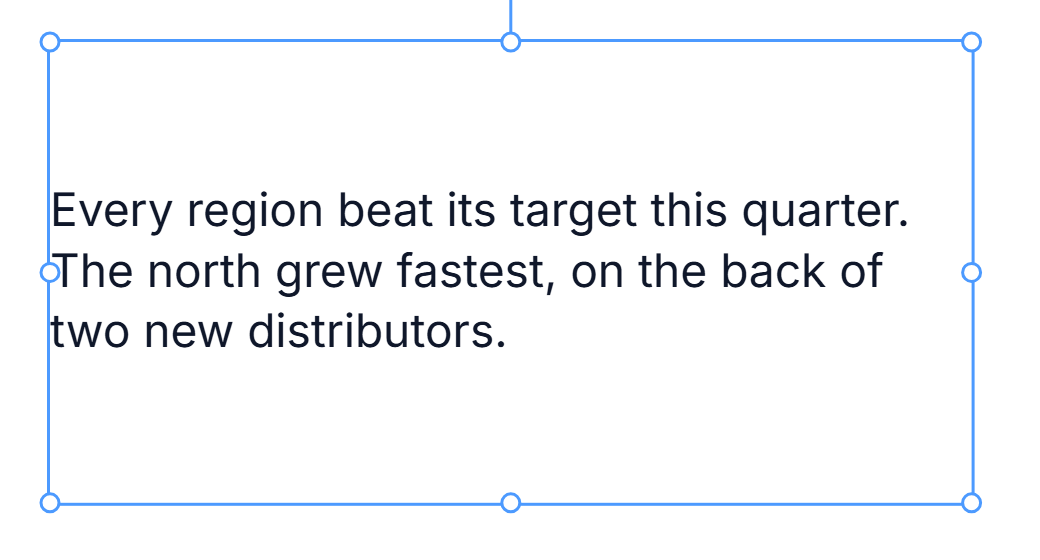
Choose the top for anything whose words might grow, such as a note or a description. A box that turns out too small then grows downwards, into space you can see, instead of up over whatever is above it:
Right-to-left text
Type Persian, Arabic or Hebrew and the text turns right-to-left by itself, aligned to the right edge of its box:
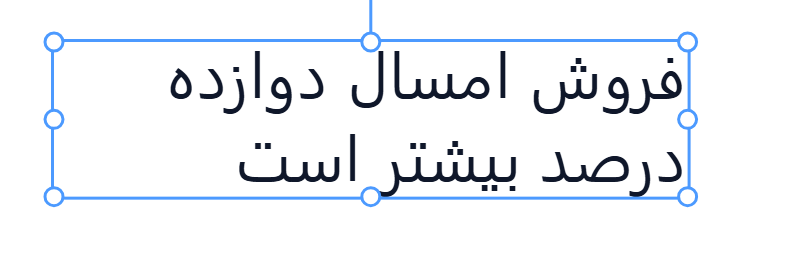
The direction buttons in the Text section switch it by hand, for a line that mixes scripts.
Try it
Press T, click and type a headline. Double-click it, select one word, and make that word bold and a different colour. Then place a paragraph, give it a width of 320, and try Fit the text and Set size in turn.
Next: fills, gradients and icons.